Spring is the season when everything around you wakes up — and your hair deserves the same energy. Whether you have been growing out a cut all winter or just want something that feels lighter and more alive, the right haircut can completely change how you carry yourself. This guide walks you through 25 real, wearable spring haircut ideas that work across different hair types, face shapes, and budgets. From low-maintenance crops to longer styles with shape and movement, there is something here for every mood. Each idea comes with practical tips you can actually use — no salon jargon, no unrealistic expectations. Just honest, helpful guidance to help you walk into your next appointment with a clear vision and walk out feeling exactly like yourself. If you’re also exploring Summer Haircut Ideas, airy layers, shorter lengths, textured cuts, and lightweight styles can help keep your hair manageable, cool, and stylish during warmer weather without sacrificing movement or personality.
1. The Collarbone Bob

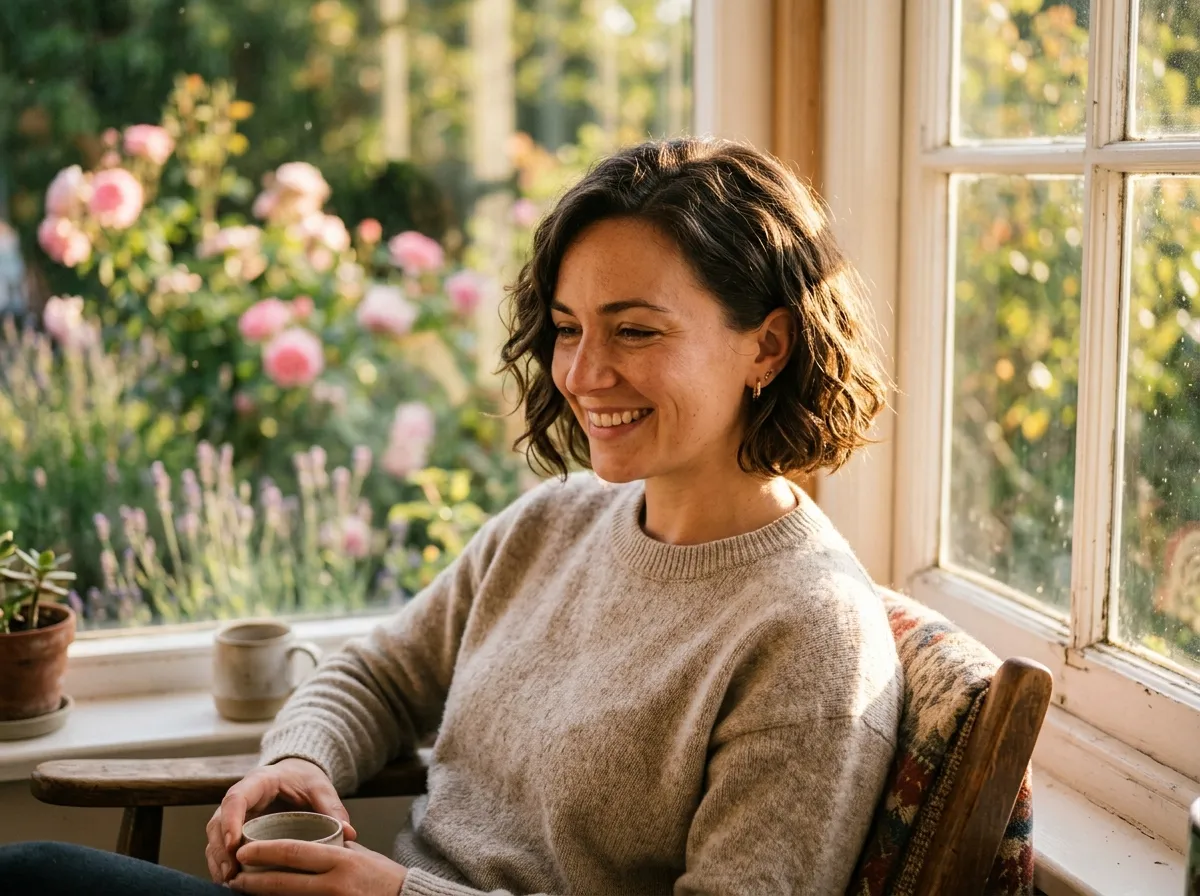
The collarbone bob is one of those cuts that works on almost everyone. It hits right at the collarbone — not too short, not too long.
This length is great because it frames the face beautifully without requiring much daily styling. You can wear it straight, wavy, or tucked behind one ear and it always looks intentional.
For straight hair, a flat iron once a week is all you need. For wavy or curly hair, just scrunch in some curl cream and let it air dry.
Budget tip: Ask your stylist for a blunt cut at this length. Blunt cuts hold their shape longer between trims. You can go six to eight weeks before needing a touch-up, which saves money.
If you want to DIY the maintenance at home, trim the very ends with sharp hair scissors every six weeks. This keeps split ends away without losing length.
The collarbone bob looks especially good in spring when you pair it with soft, natural hair colors. It is a clean look that requires very little effort to maintain day to day.
2. The Curtain Bang Lob

Curtain bangs paired with a lob (long bob) are having a serious moment. And for good reason — this combination is incredibly flattering and surprisingly easy to style.
The bangs part down the middle and sweep outward, framing the face on both sides. They soften strong jawlines and add movement to flat hair.
The lob itself sits anywhere from the chin to just below the shoulders. This gives you enough length to pull back on busy days while still looking styled when you leave it down.
The best part? Curtain bangs grow out gracefully. Unlike blunt bangs that become awkward at a certain length, curtain bangs just get longer and still look good.
To style them at home, use a round brush and a blow dryer. Blow dry the bangs outward from the center using low to medium heat. This takes less than three minutes once you get the hang of it.
If your hair is naturally wavy, the bangs will have a soft, effortless wave to them without any extra work. This is a spring-ready look that stays relevant well into summer.
3. The Pixie Cut with Texture
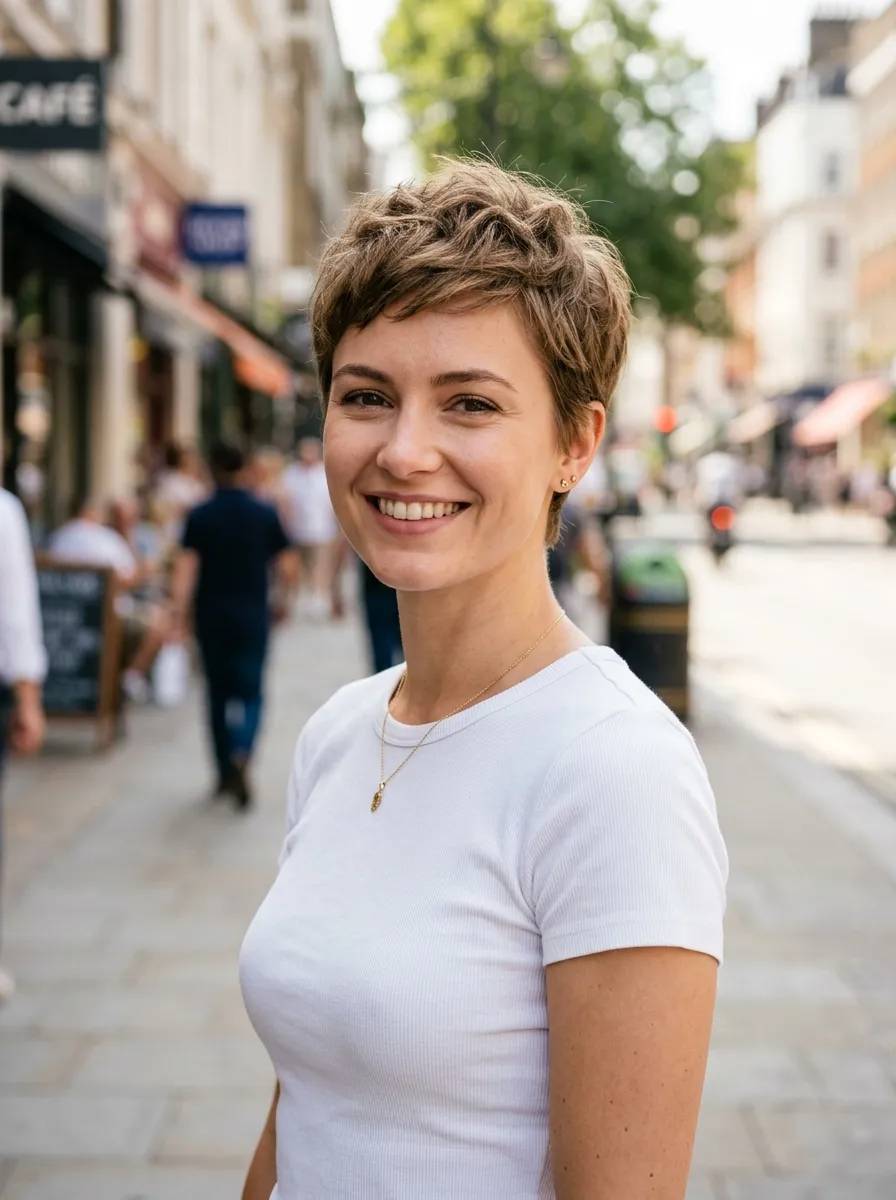
A textured pixie cut is bold, low-maintenance, and absolutely perfect for spring. When the weather warms up, having less hair on your neck is a genuine relief.
This is not your grandmother’s pixie. A textured pixie has layers cut into the top so it sits with movement and dimension rather than lying flat. It looks lived-in and cool, not severe.
Ask your stylist to leave a little more length on top — around one to two inches — while keeping the sides and back close. This gives you styling options without losing the short-cut benefits.
To style at home, apply a small amount of matte paste or texturizing cream through damp hair. Scrunch and shape it with your fingers. That is literally all it takes.
Budget tip: Pixie cuts are easy to maintain yourself between salon visits. Use a small pair of trimmers to clean up the neckline every two to three weeks. This is a thirty-second task that keeps your cut looking sharp.
This style suits all face shapes when cut correctly. Let your stylist know your face shape before they start — a good pixie should be customized to you.
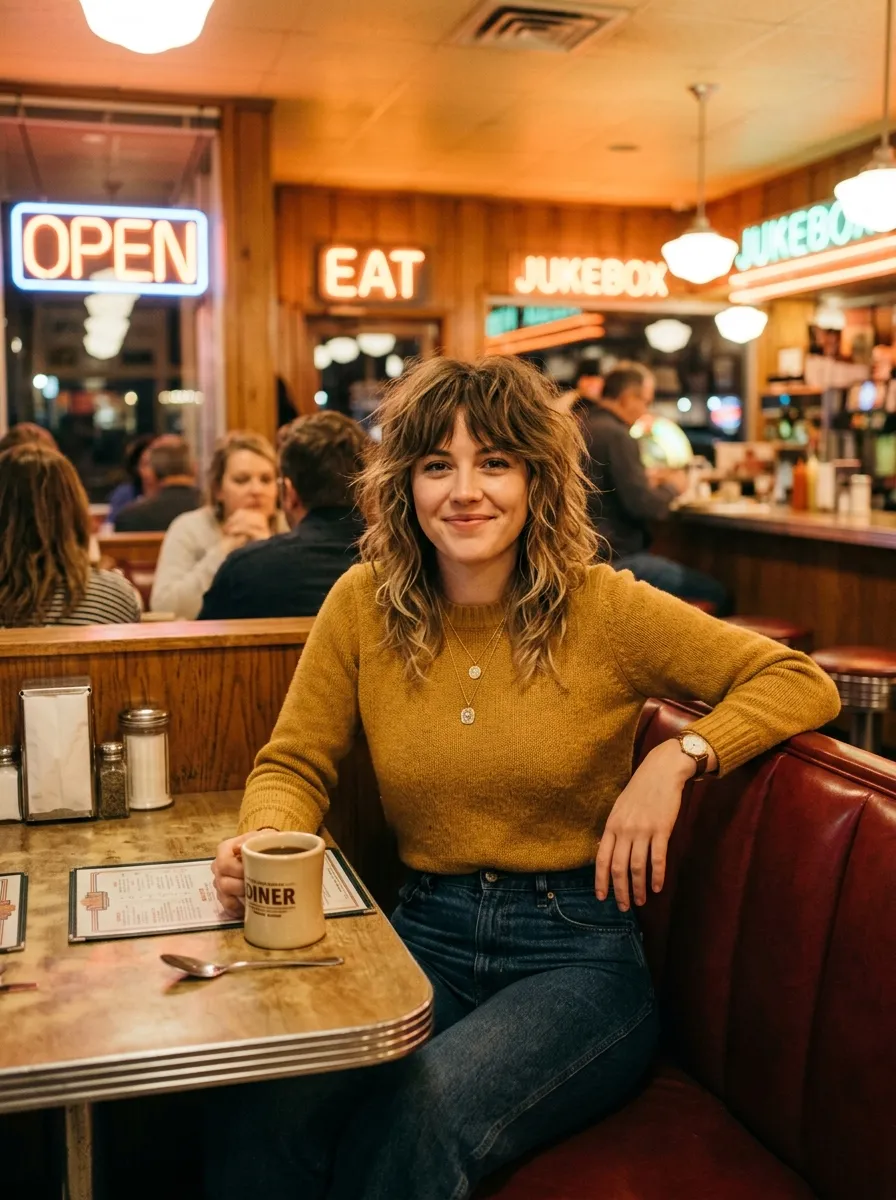
4. The Shaggy Wolf Cut

The wolf cut is all about layers, volume, and that effortless undone energy. It borrows from the shag haircut of the 1970s but feels completely current.
The key features are heavy layers throughout, a defined crown, and wispy ends. It works on straight, wavy, and curly hair — each texture gives the cut its own personality.
For wavy and curly hair, the wolf cut is practically a cheat code. The layers enhance your natural texture without requiring heat or product. Just diffuse and go.
For straight hair, you will want a little product to add body. A volumizing mousse applied to damp hair before blow drying works well.
Ask your stylist for: layers starting from the crown, face-framing pieces, and wispy ends rather than blunt ones. Bring a reference photo to your appointment so you are both on the same page.
This cut grows out well, so you are not locked into constant salon visits. Trimming the ends every eight to ten weeks keeps it looking intentional without much expense.
It is the kind of haircut that looks good whether you just woke up or spent twenty minutes on it. That is a real spring win.
5. The Bixie Cut

The bixie is the halfway point between a bob and a pixie. It is short enough to feel like a real change but long enough to tuck behind your ears and pull back with a clip.
This cut typically falls just below the chin or at the jaw. Layers are cut throughout so it does not look boxy or heavy.
It is one of the most flattering lengths for round and square face shapes because it creates vertical movement and draws the eye upward.
Styling takes about five minutes. A small round brush and a blow dryer are all you need for a polished look. For a casual version, scrunch in some air-dry cream and skip the heat entirely.
Budget tip: The bixie holds its shape well for six to eight weeks. Ask your stylist to keep the weight in the right places so the cut stays looking intentional as it grows. This is the kind of cut you can stretch between appointments without it looking neglected.
If you have been thinking about going short but are not ready for a full pixie, the bixie is the perfect step. It is a committed short cut without being dramatic.
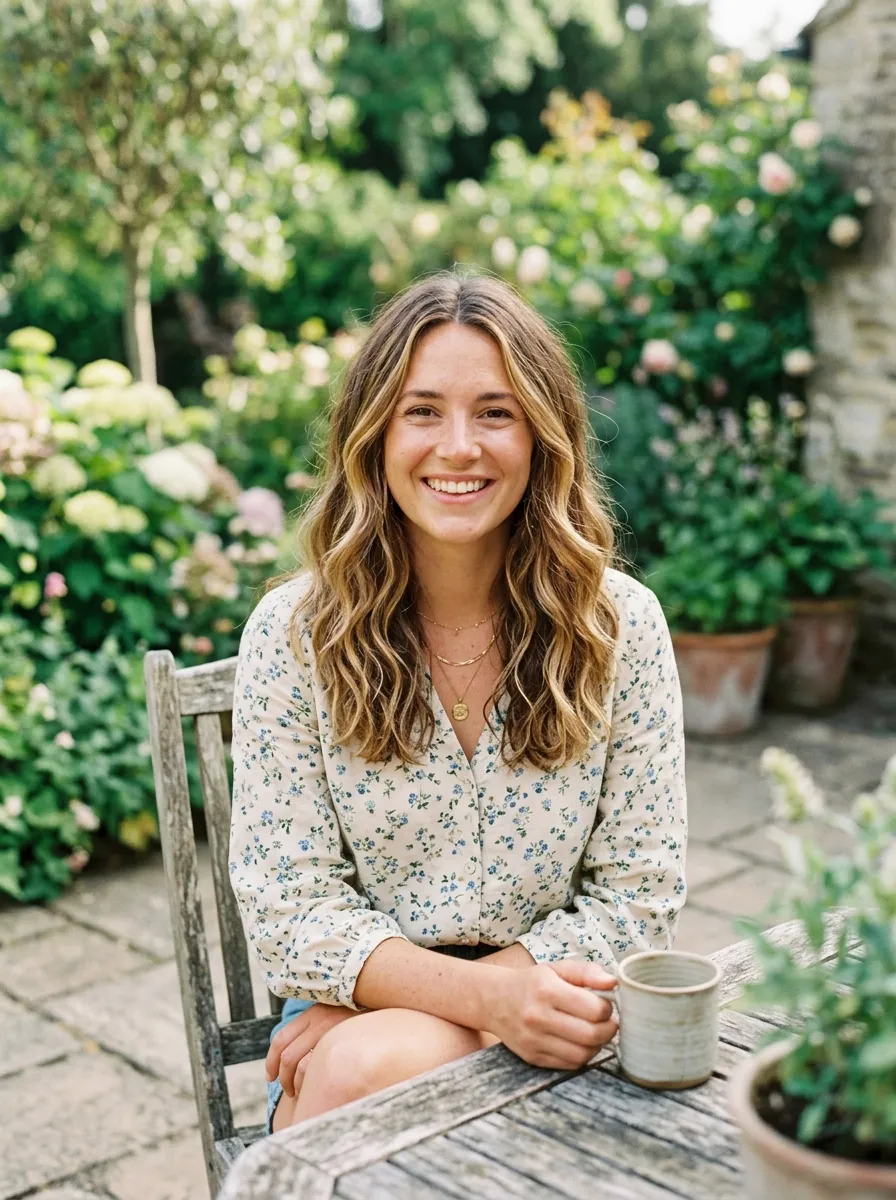
6. The Lived-In Layers

Lived-in layers are exactly what they sound like — a layered cut that looks natural, not overdone. Think movement without drama, shape without structure.
This works beautifully on medium to long hair. Your stylist removes weight throughout the length while keeping the overall look soft and unstructured.
The goal is hair that looks good whether it is freshly blow-dried or air-dried on day three. That is the whole point of this style.
Great for: people who want a low-maintenance cut that still looks put together. You are not chasing a perfect blowout. You are just letting the cut do the work.
To style, use a lightweight hair oil through the mid-lengths and ends when damp. Let it air dry or give it a quick diffuse. The layers create natural movement without any effort.
No need for daily heat styling. No need to chase a specific look every morning. Just wash, add a little product, and let your hair dry the way it wants to.
Budget tip: Lived-in layers require less frequent trims than more precise cuts. Every ten to twelve weeks is usually enough to keep the shape looking good.
7. The French Bob

The French bob is one of the most iconic short haircuts in existence. It sits just above or at the chin, cut bluntly, often with a fringe or short bangs.
It is minimal, clean, and gives off exactly the kind of effortless confidence you want to carry into spring.
This cut looks sharp on straight hair but also works on fine wavy hair if the right technique is used. Ask your stylist about a point cut at the ends to add softness if your hair has natural wave.
Styling is simple. A round brush and blow dryer for a sleek version, or just let it air dry for a more relaxed look. Either way takes minutes.
Because the cut is blunt, it does require regular trims — every five to six weeks — to maintain that clean line. Factor this into your budget before committing.
Budget tip: If full salon visits every five weeks feel like a lot, ask your stylist to show you how to do a basic end trim at home using sharp scissors. This can extend the life of your cut by two to three weeks between appointments.
The French bob is a style that never really goes out of fashion. If you want something that feels timeless and clean, this is it.
8. The Micro Fringe

A micro fringe is a short, statement-making bang that sits well above the eyebrows. It is a bold choice that works incredibly well in spring when you want your look to feel intentional and current.
This is not a subtle change. It draws attention to your forehead and eyes, which works beautifully if you have strong brows or striking eye makeup.
It suits oval and heart-shaped faces particularly well. If you have a very high forehead, this can actually balance your features by visually shortening it.
Ask your stylist to cut the fringe dry for the first time so they can see exactly how it falls naturally. This prevents any surprise shrinkage from the hair drying shorter than expected.
Maintaining this at home is easy. Once you know the length you like, use sharp fringe scissors to trim them straight every two to three weeks. It takes about sixty seconds.
Budget tip: This trim does not require a salon visit. Watch one tutorial, invest in a good pair of sharp hair scissors (under fifteen dollars), and handle the maintenance yourself.
The micro fringe is low-commitment in maintenance but high-impact in appearance. If you want your hair to start conversations this spring, this does it.
9. The Asymmetrical Bob

An asymmetrical bob is a bob where one side is deliberately longer than the other. It creates a graphic, architectural look that is eye-catching without being over the top.
The difference in length can be subtle — an inch or two — or more dramatic, with one side at the jaw and the other at the chin. Both versions work.
This cut is great for straight and fine hair because the clean lines show up beautifully. For thicker or wavier hair, your stylist will need to work with the texture to keep the asymmetry visible.
Styling is clean and polished. Use a flat iron or round brush blow-out for the sharpest look. For a more casual version, let it air dry with some smoothing serum through the ends.
This cut works especially well if you wear statement earrings. The asymmetry draws attention to your neck and jaw, making jewelry pop more than usual.
Budget tip: Keep a reference photo of your exact asymmetry ratio on your phone. Showing this at each appointment ensures consistency without the stylist having to guess where the longer side falls each time.
It is a strong spring choice that looks completely different from the standard bob but requires the same level of care.
10. The Curly Shag

The curly shag is specifically designed for people with natural curl or wave patterns who want a cut that works with their texture instead of fighting it.
The layers in a curly shag are cut to remove bulk without removing curl definition. The result is lighter, springier, more defined curls that do not require hours of styling.
Ask for a dry curly cut if possible. A stylist who cuts curly hair dry can see exactly how each curl falls and where the weight needs to come out. This produces a much better result than wet cutting for curly hair.
After the cut, your wash-day routine should feel easier. Curls should spring up more readily and clump naturally without you having to do much.
Product-wise, stick to what already works for your hair. A curl-defining cream or gel applied to soaking wet hair before diffusing will show off the new shape beautifully.
Budget tip: A good curly cut can last three to four months before needing a trim. Invest once in a skilled curly hair specialist rather than visiting a cheaper stylist who might not understand curl patterns.
This is the spring cut that can genuinely change how you feel about your natural hair.
11. The Blunt Lob

The blunt lob is a long bob cut with no layers and no graduation — just a clean, even line across the ends. It is one of the most polished haircuts you can get.
This works best on straight or slightly wavy hair where the clean line can show up clearly. On thick hair, it can look very heavy without internal layers, so discuss this with your stylist.
The blunt line adds visual weight to fine hair, making it look thicker and healthier than it actually is. If you have thin or limp hair, this is one of the best cuts for creating the illusion of volume.
Styling is simple — a flat iron or round brush blow-out creates a sleek, put-together look. To add just a bit of softness to the ends, curl them slightly inward on the last inch or two.
Budget tip: Blunt lobs require consistent trims to maintain that sharp line — every six weeks is ideal. If you want to save money, ask your stylist to show you how to trim your own ends using the ponytail method at home between visits.
For spring, pair this cut with a gloss treatment at the salon. It adds incredible shine and makes the blunt ends look even more intentional.
12. The Side-Swept Bob

A side-swept bob is a classic bob with a deep side part that adds softness and asymmetry. The hair sweeps over one eye or one cheek, creating a romantic, effortless look.
This is one of the most flattering options for oval and heart-shaped faces because the deep part draws the eye diagonally, adding width where needed.
The length can sit anywhere from the chin to just below the jaw. Ask your stylist for a slight graduation so the back is slightly shorter than the front — this gives the sweep its shape and prevents the ends from flipping outward.
To style, blow dry with a round brush, emphasizing the deep part. Once dry, wrap the front section around a large barrel curling iron or just pin it back with a clip while still warm. Release and it will fall in a soft wave.
Budget tip: This style is easy to recreate at home with just a blow dryer and a large round brush. Once your stylist shows you the technique once, you are set. No special tools required.
The side-swept bob pairs well with both casual and polished outfits, which makes it a great everyday spring option.
13. The Layered Pixie Bob

The layered pixie bob is a pixie cut that has been grown out just enough to have some length around the ears and nape. It is short without being fully cropped.
Layers cut throughout the top give it texture and movement. The sides and back stay short and close. It is a cut that looks polished with zero effort.
This is great for people who have been growing out a short cut and want something that looks intentional during that in-between phase. Instead of fighting the awkward grow-out, this cut turns it into a style.
Styling is minimal. Apply a pea-sized amount of texturizing paste through the top with your fingers and shape it however feels natural. Done in sixty seconds.
For straight hair, this cut will look clean and polished. For wavy or curly hair, the texture adds personality and dimension without any additional work.
Budget tip: Trims every six to eight weeks are enough to maintain the shape. Ask your stylist to only trim the sides and back, leaving the top to grow — this helps you move toward a longer style over time if you want to.
It is one of those cuts that photographs well from every angle, which is always a bonus.
14. The Long Curtain Bang

Long curtain bangs are bangs that have been grown to cheekbone or even nose length, parted in the center, and swept to the sides. They are the most forgiving bang style in existence.
They frame the face beautifully without obscuring your forehead. They work with nearly every face shape. They grow out gracefully. They can be styled or pinned back.
If you have never had bangs before, long curtain bangs are the place to start. The risk is low and the payoff is high.
Styling options are wide. You can blow dry them with a round brush for a polished sweep, air dry for a more casual look, or clip them back on days when you want them out of the way.
Because they are long, they do not require the same frequent trims as short bangs. Trimming them every eight to ten weeks is typically enough to keep them at the right length.
Budget tip: This is one of the easiest styles to maintain at home. Use sharp scissors and trim small amounts at a time. Go slower than you think you need to — it is always easier to take more off than to wish you had left more on.
Pair them with a lob, long layers, or even shoulder-length hair. They upgrade any base cut.
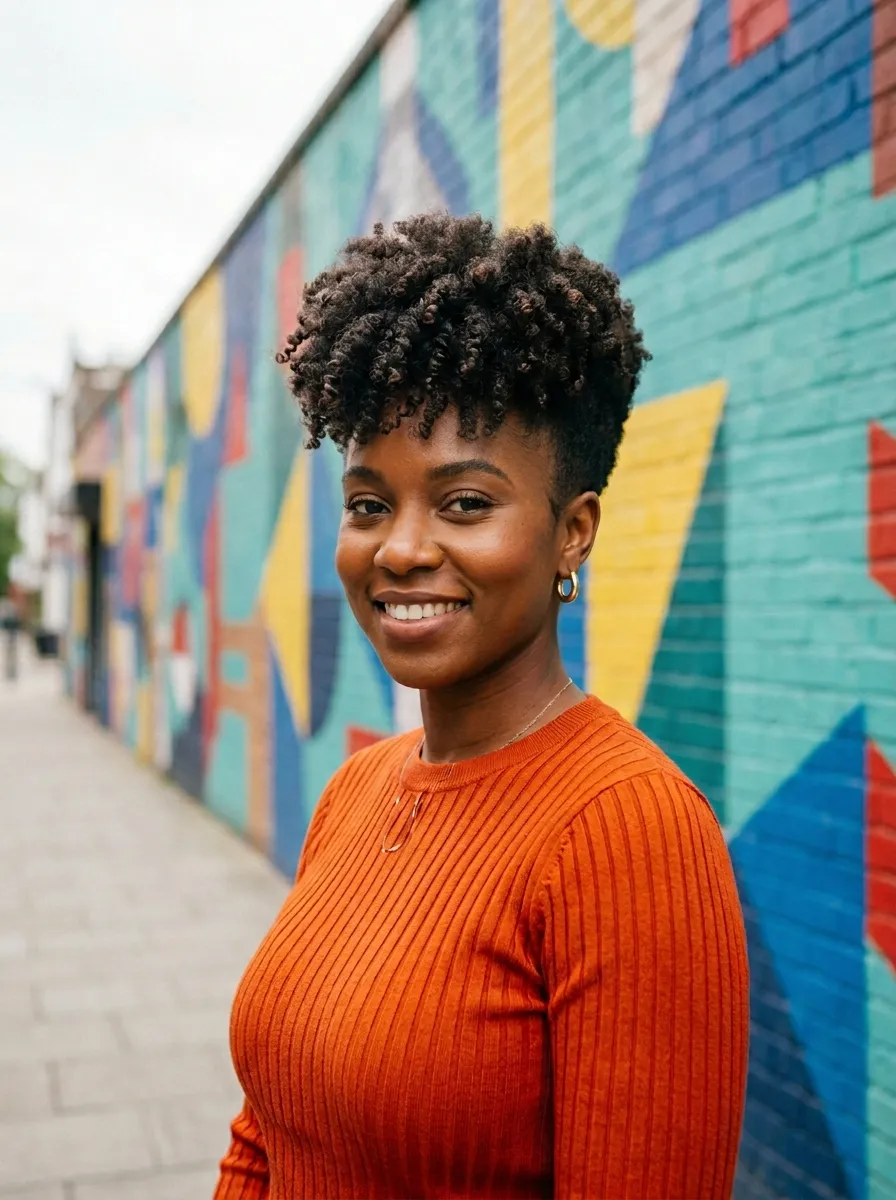
15. The Textured Crop
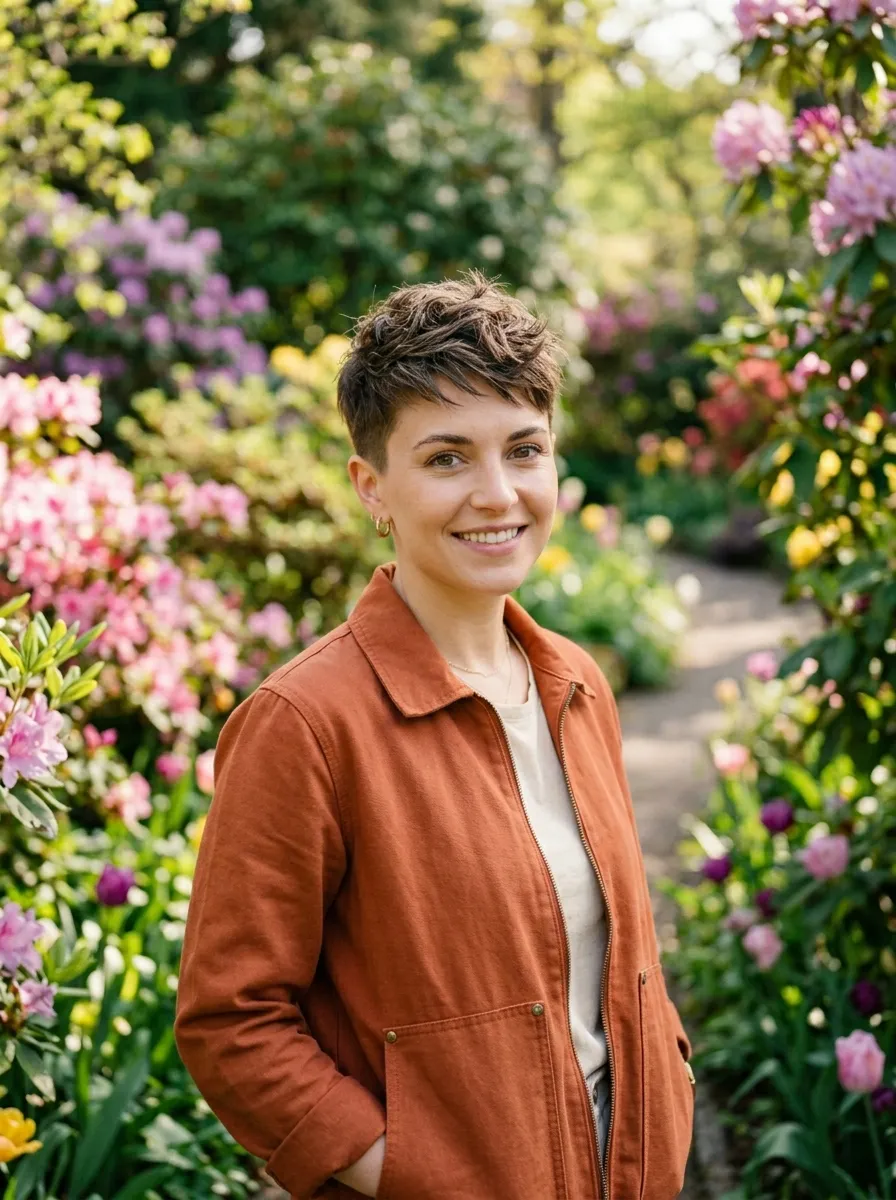
The textured crop is a short haircut where the top is left with enough length to be styled with texture while the sides and back are cropped close. It sits between a pixie and a buzz cut in terms of length.
What makes it different from a pixie is the intentional, product-driven texture on top. The styling is part of the cut’s identity.
This is a wash-and-go haircut in the most literal sense. Wash, apply a small amount of clay or matte paste, and shape with your fingers. Takes two minutes max.
It is low-maintenance, low-heat, and incredibly practical for spring and summer when you want to be outside and not fussing with your hair.
This works on all hair textures but looks particularly striking on natural Afro-textured hair where the texture and crop create a clean, bold shape.
Ask your stylist for a skin fade or taper at the sides if you want a sharper, more defined look. Or ask for a softer taper if you prefer something less high-contrast.
Budget tip: A good fade or taper needs a touch-up every three to four weeks to stay sharp. If budget is a concern, ask a friend or family member to use clippers at home to clean up the sides between salon visits.
16. The Butterfly Cut
The butterfly cut is named after the silhouette it creates — wings of shorter face-framing layers that begin near the cheekbones, with longer hair underneath.
The contrast between the shorter top layers and the longer base creates dramatic movement and shape. When the wind catches it or you shake your head, the layers separate beautifully.
This cut is made for wavy and curly hair. The layers allow the natural texture to show up fully. Each layer of curl has space to coil or wave without being weighed down by the layer above it.
For straight hair, the cut still works but you will need a bit more styling effort — a curling wand or beach spray — to give the layers visible separation.
Styling at home is fun with this cut. Apply curl cream or beach spray to damp hair, scrunch, and diffuse or air dry. The layers will fall into place naturally.
Budget tip: Because the layers start fairly high, this cut requires a trim every ten to twelve weeks rather than six. The top layers need freshening to maintain the butterfly shape over time.
This is one of the most photogenic haircuts out there right now. It moves, it has depth, and it flatters a wide range of face shapes.
17. The Classic Shag
The classic shag is the original layered haircut that came from the 1970s and keeps coming back because it is genuinely flattering on so many hair types.
It features multiple layers throughout from root to end, curtain bangs, and wispy, slightly choppy ends. The overall silhouette is round and full rather than angular or sharp.
This cut works on nearly every hair texture. Straight hair gets body and shape from the layers. Wavy hair gets enhanced movement. Curly hair gets definition and lift.
Styling can be as minimal or as involved as you want. Air dry with a bit of curl cream for a relaxed look. Blow dry with a diffuser for more volume. Use a flat iron for a retro, 70s-inspired version.
The shag grows out gracefully, which is one of its biggest practical advantages. You are not constantly fighting an awkward grow-out phase.
Budget tip: Ask your stylist to cut the shag with a razor for the most textured, authentic result. A razor cut creates softer, more lived-in ends than scissor cutting alone. Not all stylists use razors, so ask specifically.
For spring, the shag pairs perfectly with effortless, undone styling and minimal product. Let it do its thing.
18. The Sleek Straight Bob

The sleek straight bob is all about precision and polish. No waves, no texture, no movement — just a clean, sharp, straight cut that sits at or just below the chin.
This is a power look. It communicates clean edges and intentional grooming without any fussiness.
To achieve this at home, blow dry your hair thoroughly with a round brush, then run a flat iron through the length on medium-low heat. Finish with a small amount of smoothing serum through the ends for shine.
This cut requires hair that is in good condition. Straight styling reveals damage easily — split ends and dry ends are very visible on a sleek bob. Use a weekly deep conditioning mask to keep the hair healthy.
The blunt ends should be trimmed every five to six weeks to maintain sharpness. This is more frequent than layered cuts, so factor in the cost.
Budget tip: Use a quality heat protectant every time you flat iron. This protects the hair from damage and extends the life of your blowout by one or two extra days, which means washing and restyling less often.
Pair this look with bold earrings and a strong brow for maximum impact this spring.
19. The Tapered Afro
The tapered Afro is a natural hairstyle where the sides and back are cut close and tapered while the top is left with full natural coil texture. It is a clean, defined shape with all the beauty of natural hair front and center.
This style celebrates natural Afro-textured hair without requiring any chemical processing or heat styling. The shape does the work.
Moisture is the most important element of maintaining this cut. A good leave-in conditioner and sealing oil keep the coils hydrated, defined, and healthy-looking between washes.
For styling, apply a curl defining cream or gel to wet hair section by section. Scrunch and let it air dry, or use a hooded dryer or diffuser.
The taper on the sides needs a touch-up every three to four weeks to stay sharp. The top can go longer between trims — every eight to ten weeks.
Budget tip: Learn to do a basic line-up at home with a small trimmer. The hairline and sides are the parts that look most overgrown soonest. Maintaining them at home saves a full salon visit each month.
This is a spring cut that requires no heat, no chemical processing, and very little time to style once you have your routine sorted.
20. The Face-Framing Highlights with a Trim
Sometimes the change you want is not purely a cut — it is color working together with a fresh trim. Face-framing highlights are thin pieces of color placed only around the front sections of the hair to brighten the face without coloring the whole head.
This is one of the most budget-friendly ways to get a color effect at the salon because it uses a small amount of color on a small number of pieces. It costs significantly less than a full highlight service.
Pair this with a half-inch trim to remove any split ends and your hair will look completely different even if the length barely changed.
At home, keep these highlights looking their best by using a color-protecting shampoo and conditioner. This prevents them from fading or turning brassy between appointments.
Budget tip: Face-framing highlights are one of the DIY-friendly color options if you are comfortable with color. Box highlighting kits with a cap and hook tool are available at drugstores for under twenty dollars. Watch a tutorial first and go with a shade only one or two levels lighter than your base for the most natural result.
Refreshing your cut and adding face-framing color in spring is an easy two-step update that photographs beautifully.
21. The Grown-Out Pixie

Growing out a pixie cut is one of the most frustrating hair experiences — but the grown-out pixie is actually a style of its own when handled correctly.
This stage typically sits between two and four inches in length all over, with some sections starting to reach the ear and nape. Instead of fighting it, lean into the texture and softness of this length.
Ask your stylist to shape the grown-out pixie every six to eight weeks. They can remove weight in the right places to prevent it from looking puffy or uneven without losing length.
For styling, a small amount of texturizing paste or mousse applied to damp hair creates separation and shape. Finger styling rather than brush styling keeps the look soft and natural.
Clip back one side with a pin or small barrette for an easy look that also keeps hair out of your face. This simple styling trick makes any in-between length look intentional.
Budget tip: You do not need to commit to a specific style during a grow-out. Just ask your stylist to clean up the shape without taking any length off the top. This costs less than a full restyle and keeps the grow-out on track.
Embrace where your hair is rather than fighting it. The grown-out pixie can be genuinely beautiful.
22. The Undone Wavy Bob

The undone wavy bob is the opposite of a sleek or polished cut. The goal is texture, movement, and that I-did-not-try energy. And it is incredibly wearable.
This cut is a bob — jaw to chin length — but styled with natural or enhanced waves so it looks relaxed and effortless rather than structured.
For naturally wavy hair, this cut is almost zero effort. Wash, apply a little wave-enhancing cream, and let it air dry. Done.
For straight hair, use a one-inch curling iron to wrap sections loosely. Do not curl all the way to the ends. Once set, run your fingers through to break up the waves and make them look less styled.
Finish with a light-hold spray or a tiny amount of hair oil for definition without crunchiness.
The length is easy to maintain — trims every eight weeks keep it healthy and in shape without much effort.
Budget tip: Invest in a single good wave-enhancing or curl cream product. You only need one. Apply it when hair is dripping wet and scrunch in. Let it dry without touching. This is the technique that separates good wavy results from bad ones.
This spring, skip the iron and let your hair live in its natural state with just a little guidance.
23. The Stacked Bob

The stacked bob is a bob cut where the back is cut shorter and graduated, creating volume and roundness at the back of the head. Seen from the side, it has a distinctive stacked, full shape.
This cut is particularly great for people with fine or thin hair because the graduation creates the appearance of volume and thickness where the hair naturally lies flat.
From the front, it can look like a standard bob. The drama is in the back — and it is a genuinely striking shape when you see it from behind.
Styling is simple. Blow dry with a round brush, lifting the roots for volume. Flip your hair upside down for the last thirty seconds of drying to boost the shape at the back.
One thing to know: the stacked bob requires trims every five to six weeks to maintain the graduation. As it grows, the stacking loses definition quickly. This is a cut that relies on regular maintenance.
Budget tip: Schedule your trims in advance and try to book during less busy times — many salons offer small discounts for mid-week appointments. Building a relationship with one stylist who knows your cut saves time explaining from scratch each visit.
This is a spring classic that has been flattering people for decades and is not going anywhere.
24. The Money Piece Lob
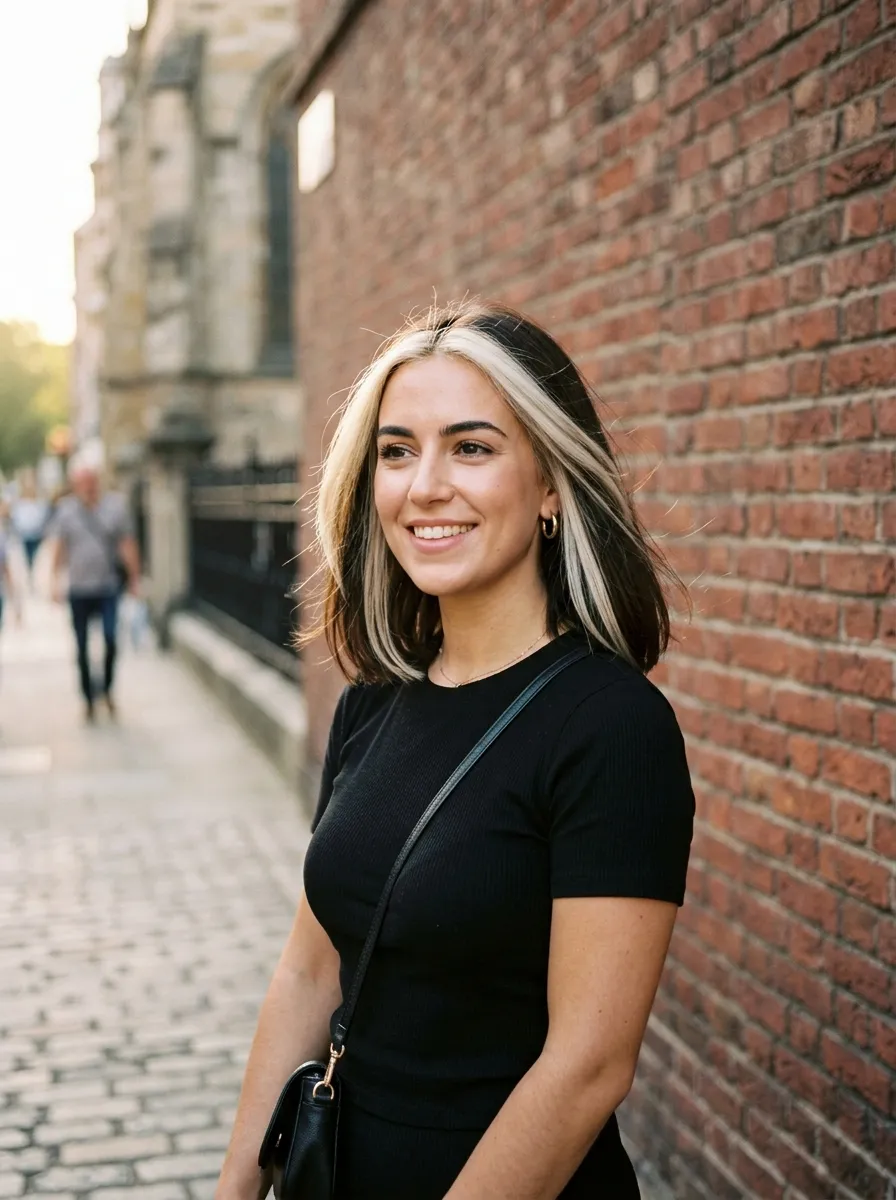
The money piece is a color technique where two bold, bright sections of color are placed at the front of the hair to frame the face. Combined with a lob, it becomes a full look with visual impact.
The highlights are typically placed at the very front on both sides of the face — think of them as built-in face-framing pieces that draw immediate attention to your eyes and cheekbones.
This works with any base color. Honey tones on brunettes, bright blonde on lighter hair, or even copper and caramel for a warmer spring feel.
The lob as a base keeps the color looking intentional rather than just highlighted randomly. The length showcases the two front pieces beautifully.
Maintaining this look involves keeping the base color fresh and toning the highlighted pieces every two to three months to prevent brassiness. A purple or blue shampoo used weekly helps in between toner appointments.
Budget tip: The money piece is a small amount of color on a small number of sections. At the salon, ask for just the two front pieces rather than a full highlight. This typically costs significantly less while still delivering a strong visual effect.
For spring, this is one of the most impactful changes you can make without spending a lot.
25. The Feathered Long Layers

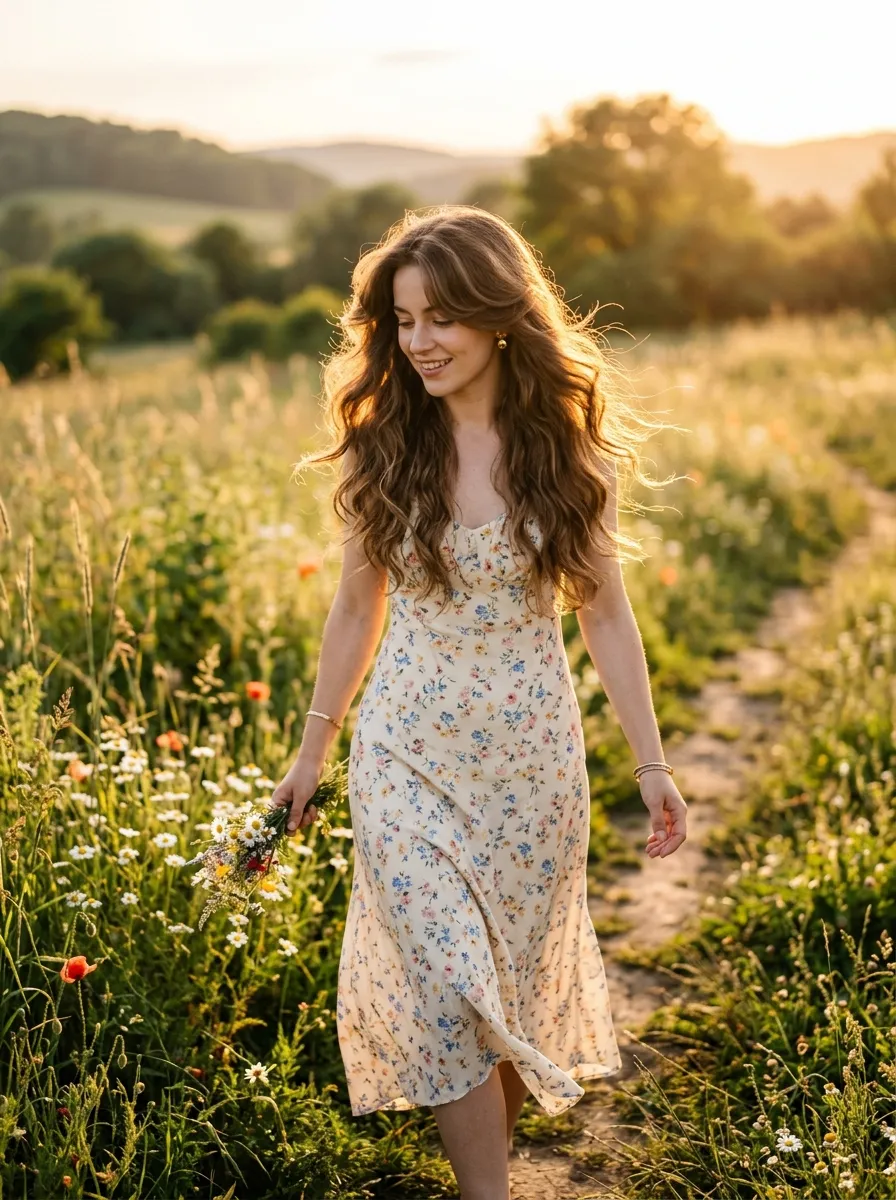
Feathered long layers are long layers with ends that have been point-cut or razor-cut to create a soft, feathery, wispy effect. Instead of heavy blunt ends, the hair tapers into soft points that catch the light and move beautifully.
This cut creates incredible movement in long hair without losing length. It is the spring update that long-hair lovers have been waiting for.
Great for thick hair that tends to feel heavy and flat. The feathering removes bulk from the ends and allows the hair to swing and move rather than hanging in a curtain.
For fine hair, use this technique lightly — too much feathering can make fine hair look thin and stringy. Ask your stylist to only feather the very tips.
Styling is simple. Blow dry with a large round brush, curling the ends slightly outward or inward depending on your preference. Apply a small amount of lightweight oil to the ends for the best feathered effect.
Budget tip: This trim is not dramatic in length, so you can go twelve or more weeks between appointments. The feathered ends naturally look softer as they grow, which means the style has a graceful grow-out rather than an awkward one.
This is the haircut that makes long hair look alive again.
Conclusion
Spring is the ideal time to try something new with your hair. Whether you want to go short, add texture, try bangs for the first time, or simply clean up your existing cut with a few layers, there is genuinely something on this list that will work for your hair type, lifestyle, and budget.
The most important thing is to walk into your appointment knowing what you want. Use reference photos, have a specific conversation with your stylist about your daily routine and how much time you want to spend styling, and ask questions before any scissors come out. A good cut starts with a good consultation.
And remember — many of these styles are highly maintainable at home between appointments. A pair of sharp hair scissors, a basic blowdryer, and one or two good products can take you a long way. You do not need to spend a fortune to have hair that looks great every day.
Pick one style from this list that excites you, book your appointment, and walk out this spring feeling exactly like yourself.
Leave a Reply