
Rope braid hairstyle ideas are one of the easiest ways to turn plain hair into something pretty in just a few minutes. Unlike a traditional three strand braid, a rope braid only uses two sections of hair twisted together, which makes it faster and more forgiving for beginners. Whether you have short hair, long hair, curly hair, or straight hair, this simple twist can work with almost any texture and length. It looks polished for work, relaxed for a weekend brunch, and pretty enough for a wedding guest look. Best of all, you do not need fancy tools or a salon visit to get it right. A little bit of practice, a comb, and a few small elastics are usually all you need. Below are 22 rope braid hairstyle ideas that are simple to copy at home, budget friendly, and perfect for anyone who wants a cute look without spending an hour in front of the mirror. Each idea includes a quick tip so you can adjust it based on your hair type, your schedule, and the occasion you are dressing for. If you’re also exploring Beach Hairstyle Ideas, rope braids pair beautifully with loose waves, messy buns, textured ponytails, and carefree half-up styles that can withstand ocean breezes while keeping your hair looking stylish and effortless all day long.
1. Classic Two Strand Rope Braid hairstyle ideas
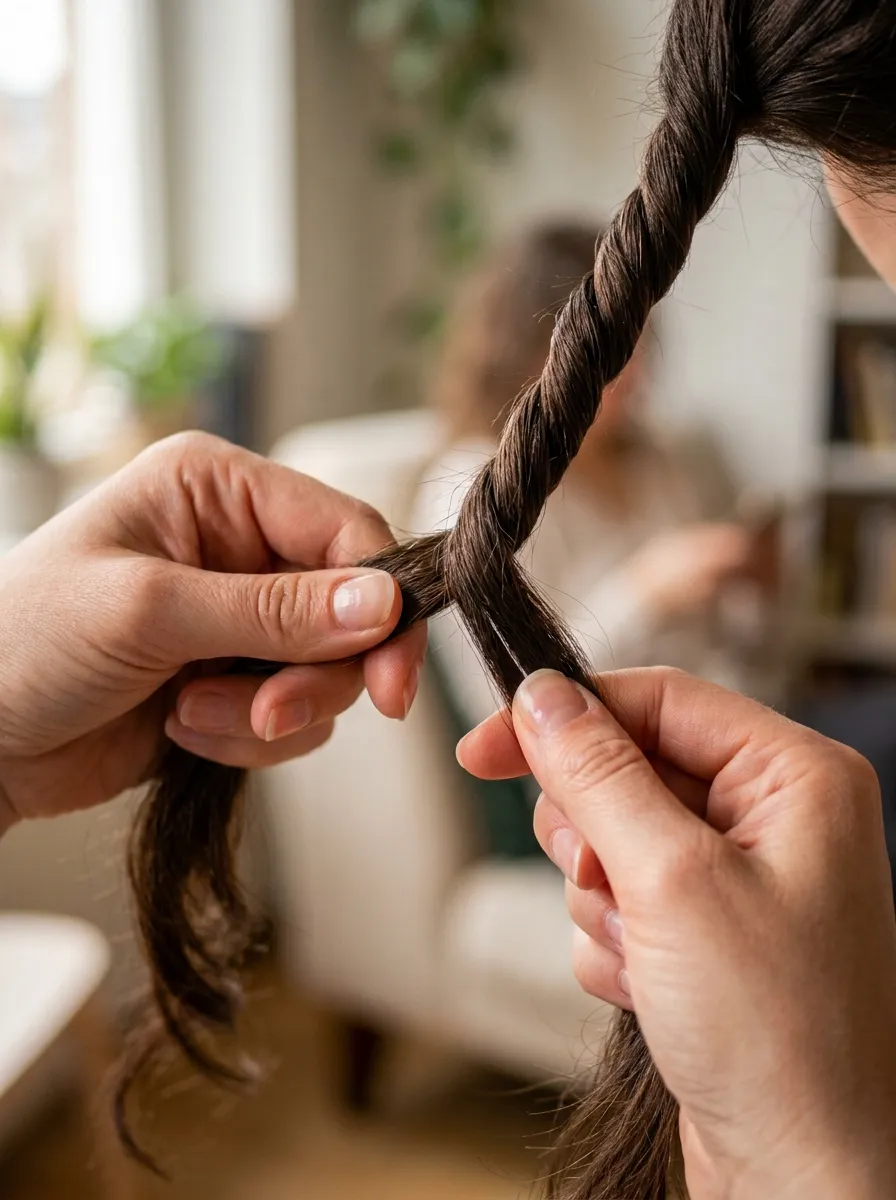
This is where every rope braid style starts. Split your hair into two even sections. Twist each section to the right, then cross them over each other to the left. Keep repeating until you reach the ends. Secure with a small elastic. The key is keeping tension even so the twist does not loosen halfway down. If your hair is slippery or fine, spritz a little texturizing spray before you start. This gives the strands something to grip onto. A classic rope braid works on wet or dry hair, so it is a great option for busy mornings. You can wear it as a low ponytail braid or pull it over one shoulder for a softer look. It takes less than five minutes once you get the hang of it. Practice on a day off so your fingers memorize the motion. Once you have this down, every other style on this list becomes much easier to follow.
2. Side Rope Braid Pulled Over One Shoulder
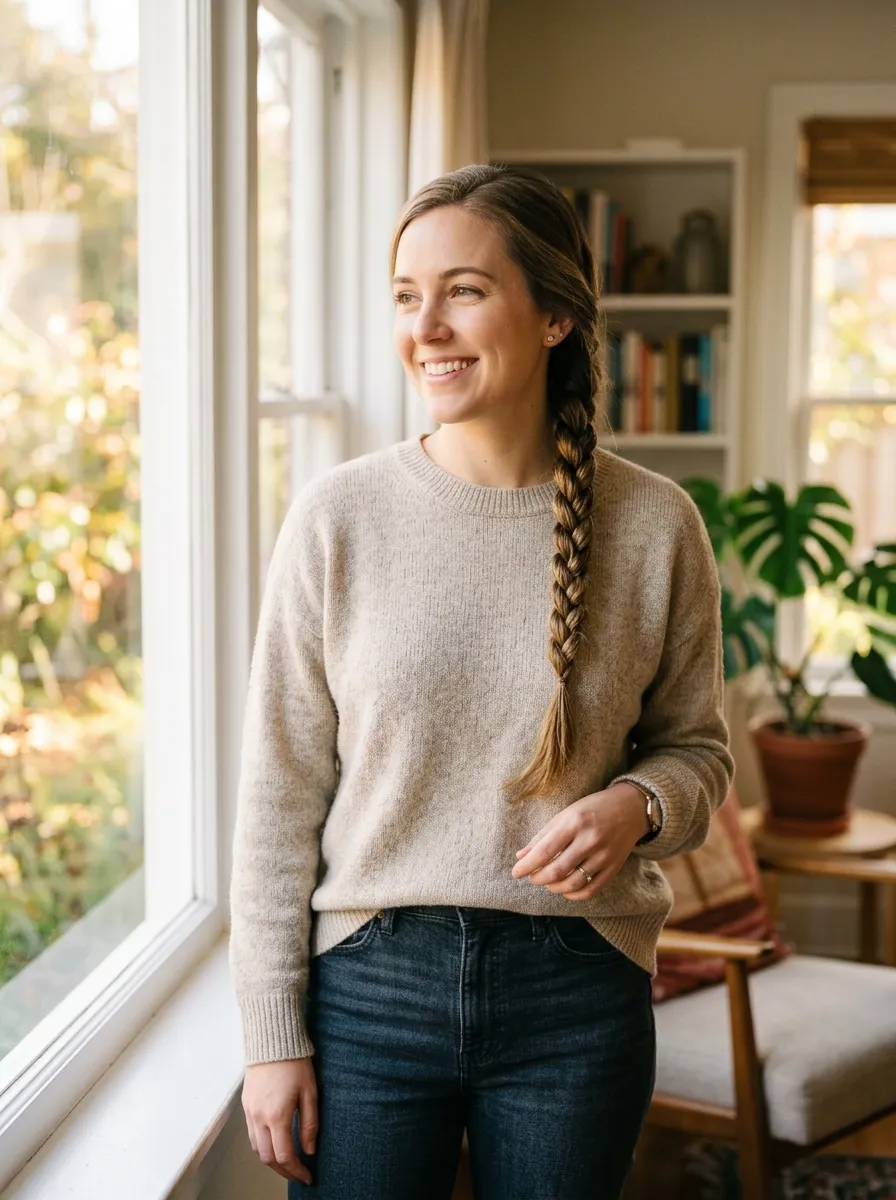
Gather all your hair to one side before you start twisting. This small change instantly makes the style feel more romantic. It also works well if you want your braid to be the focal point of an outfit with a low back or off shoulder top. Start the rope twist near your ear and work down to the ends. Leave a few loose pieces near your face if you want a softer frame. This look is great for date night because it takes minimal effort but photographs beautifully. If your hair is thick, spray a little dry shampoo at the roots first so the twist has more grip and lasts longer. Pin it slightly at the base with a small clip to keep it from sliding to the center of your back during the day. This is one of the easiest ways to look put together without spending money on a salon updo.
3. Double Rope Braid Pigtails
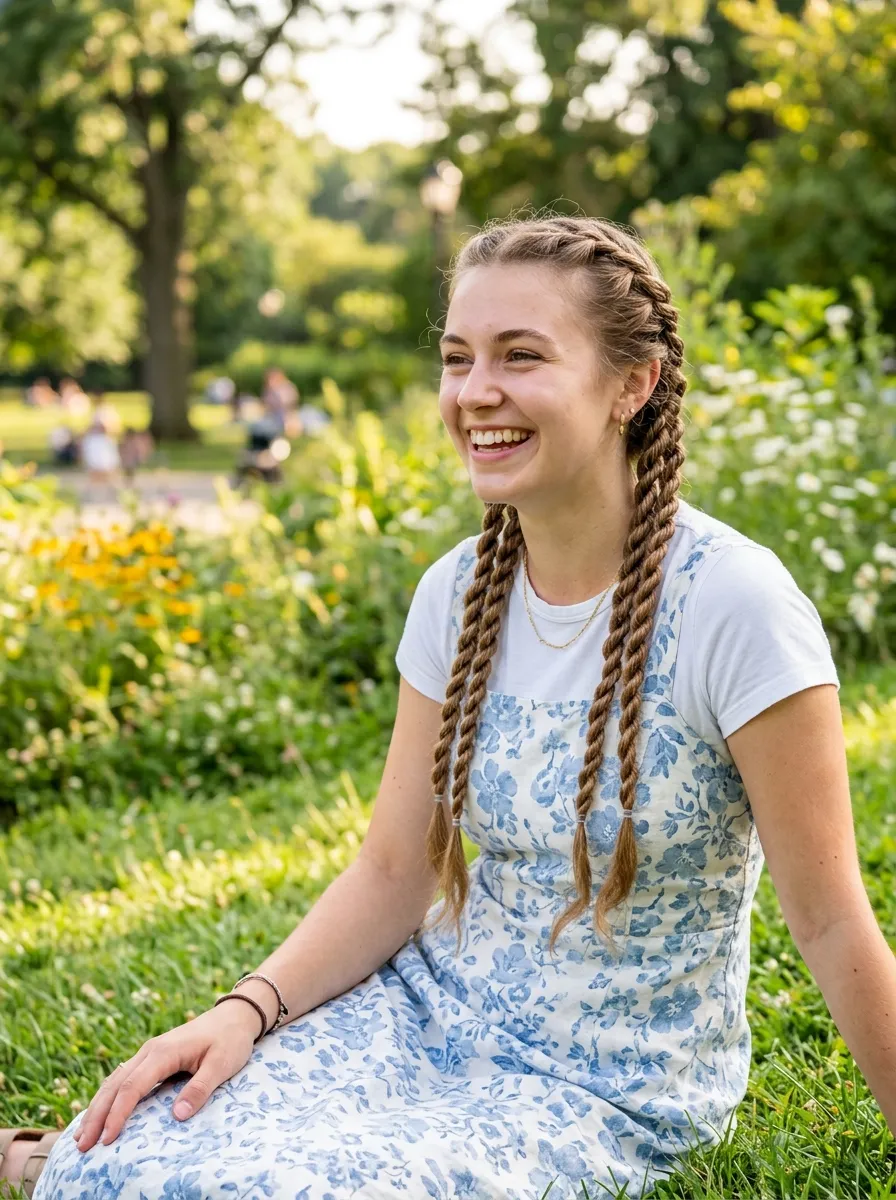
Split your hair down the middle into two equal sections, then rope braid each side separately. This style is fun, symmetrical, and works for both kids and adults. It is a favorite for gym days, festivals, or anytime you want your hair fully off your face. Because each braid is smaller, it usually stays neater for longer than a single large braid. Use matching elastics or mix colors for a playful touch. If your part line is not perfectly straight, do not worry. A slightly uneven part actually gives the style a more relaxed, everyday feel. For added texture, gently pull on the twists once you finish braiding to loosen them a bit. This softens the shape and makes the braids look fuller. Pigtail rope braids also work well under a hat or headband, which makes them a smart pick for outdoor activities where you need your hair secured the entire day.
4. Rope Braid Half Up Style

This style keeps hair out of your face while letting the rest flow freely. Grab the top section of your hair, split it into two, and twist it into a rope braid. Secure it with a small elastic at the back or middle of your head, then let the rest of your hair fall naturally. This is a great option if you like the look of a braid but do not want your whole head involved. It works for office days, casual outings, or even a simple wedding guest look. If you want more grip, tease the top section slightly before braiding. This adds height and makes the twist stand out more. You can also add a few small pins underneath to hide the elastic for a cleaner finish. Because only part of your hair is braided, this style takes less than three minutes, making it one of the fastest options on this list.
5. Rope Braid Bun Combo
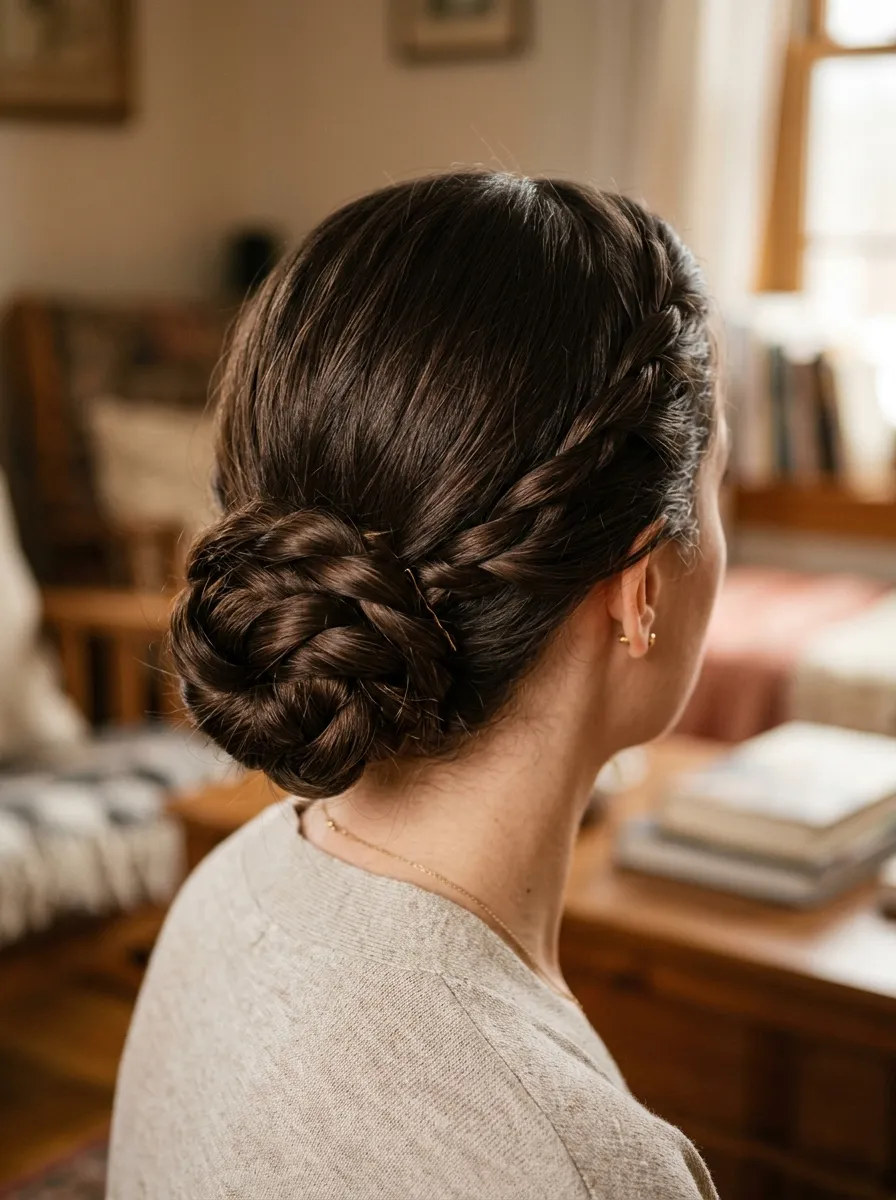
Combine two easy techniques into one polished look. First, create a rope braid down the length of your hair. Once you reach the ends, coil the braid into a bun shape and pin it in place. This style feels more finished than a plain braid but takes barely any extra time. It works well for formal events, job interviews, or anytime you want a neat, professional appearance. If your hair is layered or has shorter pieces near your face, smooth them down with a bit of gel before you start. This keeps flyaways from ruining the clean shape. For a fuller looking bun, gently pull apart the rope braid before coiling it. Loosening the twist adds volume without adding extra product. This combo style proves that a small twist can completely change how formal or casual your hair appears, all without spending a cent on styling tools.
6. Boho Rope Braid With Loose Pieces

For a relaxed, festival ready look, keep your rope braid loose instead of tight. Twist the sections gently and do not pull them taut. Once finished, tug at the edges of the braid to create a soft, textured shape. Pull a few strands loose around your face and temples for extra movement. This style pairs perfectly with sundresses, denim, and outdoor gatherings. It also hides second day hair really well since the loose twist camouflages any oiliness at the roots. If you want a bit more texture, run a small amount of sea salt spray through your hair before styling. This gives the braid a beachy, undone feel that looks effortless. Because this style does not require precision, it is one of the most forgiving options for beginners. Even if your twist is a little uneven, the loose and relaxed nature of this look hides small mistakes completely.
7. Rope Braid Crown
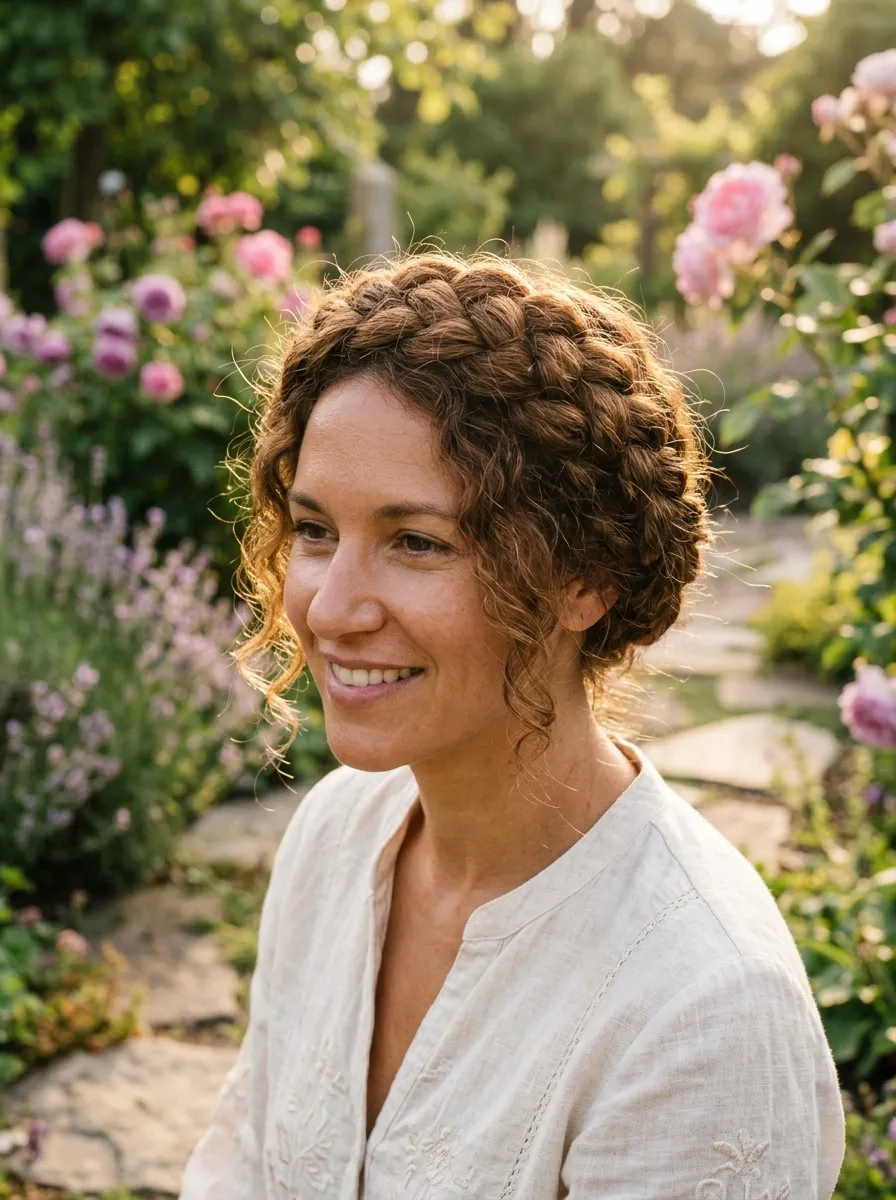
This romantic style wraps a rope braid around the top of your head like a soft halo. Take a section from one side, rope braid it, and pin it across your head toward the opposite ear. You can use one long braid or two shorter ones that meet in the middle. This look is popular for spring and summer events, especially outdoor parties or garden weddings. It also works well for keeping hair off your face during hot weather without needing a full updo. Bobby pins hidden underneath the braid keep everything secure without showing. If you want a more decorated version, tuck a few small flowers or a thin ribbon into the twist. This adds a personal touch without any extra cost. The crown braid looks complicated but only requires basic rope braiding skills, making it a great next step once you have mastered the classic twist.
8. Short Hair Rope Braid
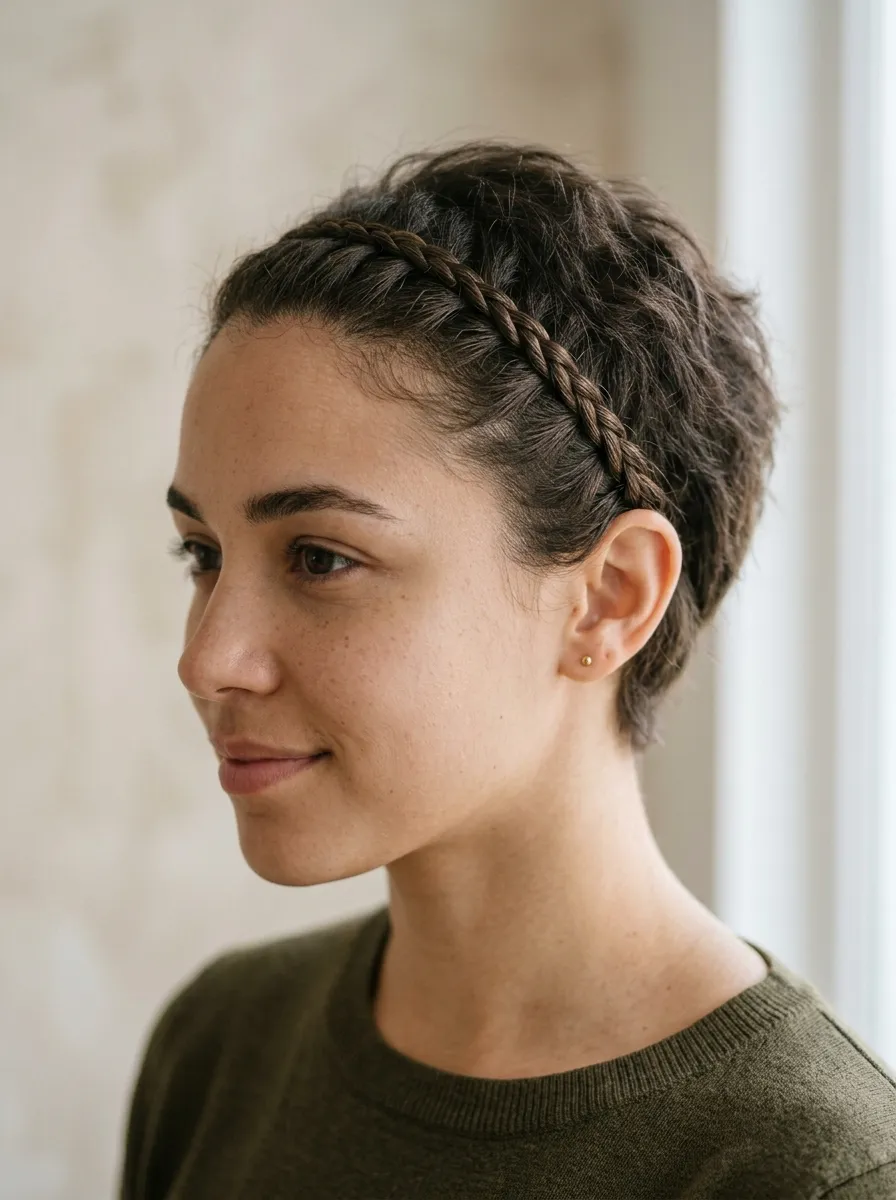
Short hair can still rock a rope braid, even a small one. Grab two thin sections near your hairline, twist them together, and secure with a tiny clip or bobby pin. This mini braid adds detail without needing length. It works great for pushing hair away from your face during workouts or humid days. If your hair is too short to twist easily, use a bit of styling wax first. This gives your strands more grip so the twist holds. You can add one small rope braid on each side for a symmetrical look, or just one for something simple and quick. This style proves that rope braids are not only for long hair. Even a two inch twist can add personality to a short haircut. It is also a great way to experiment with braiding techniques before committing to longer hair, since the smaller scale makes mistakes easy to redo.
9. Rope Braid Ponytail
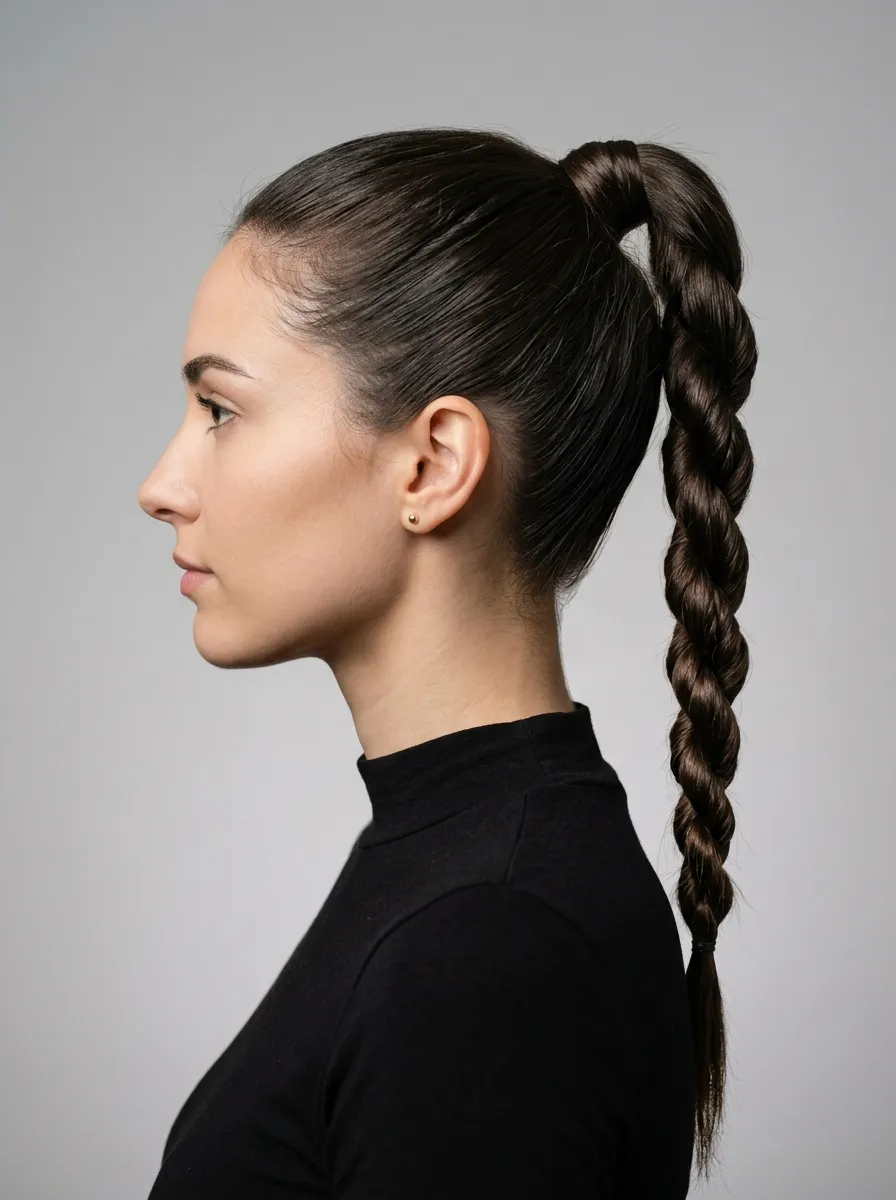
Turn a regular ponytail into something special by rope braiding the tail itself. Gather your hair into a ponytail at your preferred height, then split the tail into two sections and twist them together. Secure the end with a small elastic. This style takes a basic everyday hairstyle and gives it more character without much extra effort. It works for school, work, or errands when you want something slightly dressed up but still practical. If you want a sleeker finish, smooth your ponytail base with a fine tooth comb before braiding. For more texture, backcomb the ponytail first. Either way, this style takes less than five minutes total. It is one of the best options for people who already wear ponytails daily and want a small upgrade that still feels familiar and simple to recreate every morning.
10. Fishtail Style Rope Braid Mix
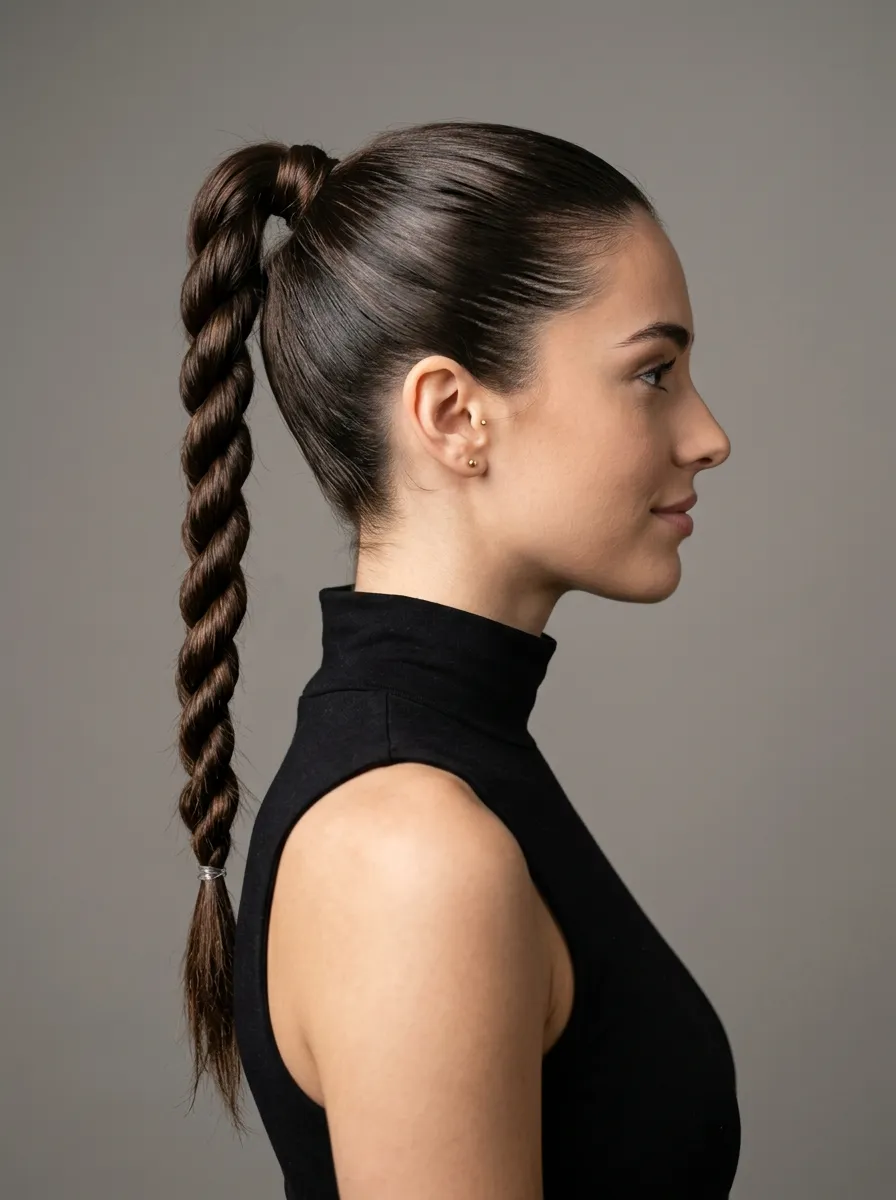
Mixing braid styles can create a unique textured look. Start your hair with a rope braid at the crown, then switch to a fishtail pattern halfway down. This combination gives you variety in one style without needing two separate techniques throughout your whole head. It works well for those who want something a little different from a standard braid but still simple enough to do solo. Use a mirror behind you to check your progress if you are working on the back of your head. If the switch between styles feels tricky at first, practice each section separately before combining them. This style is a great weekend project since it takes a bit more patience than a single technique. Once you get comfortable, this combo braid becomes a fast favorite for adding texture and detail to plain hairstyles without needing any extra tools or products.
11. Rope Braid Space Buns
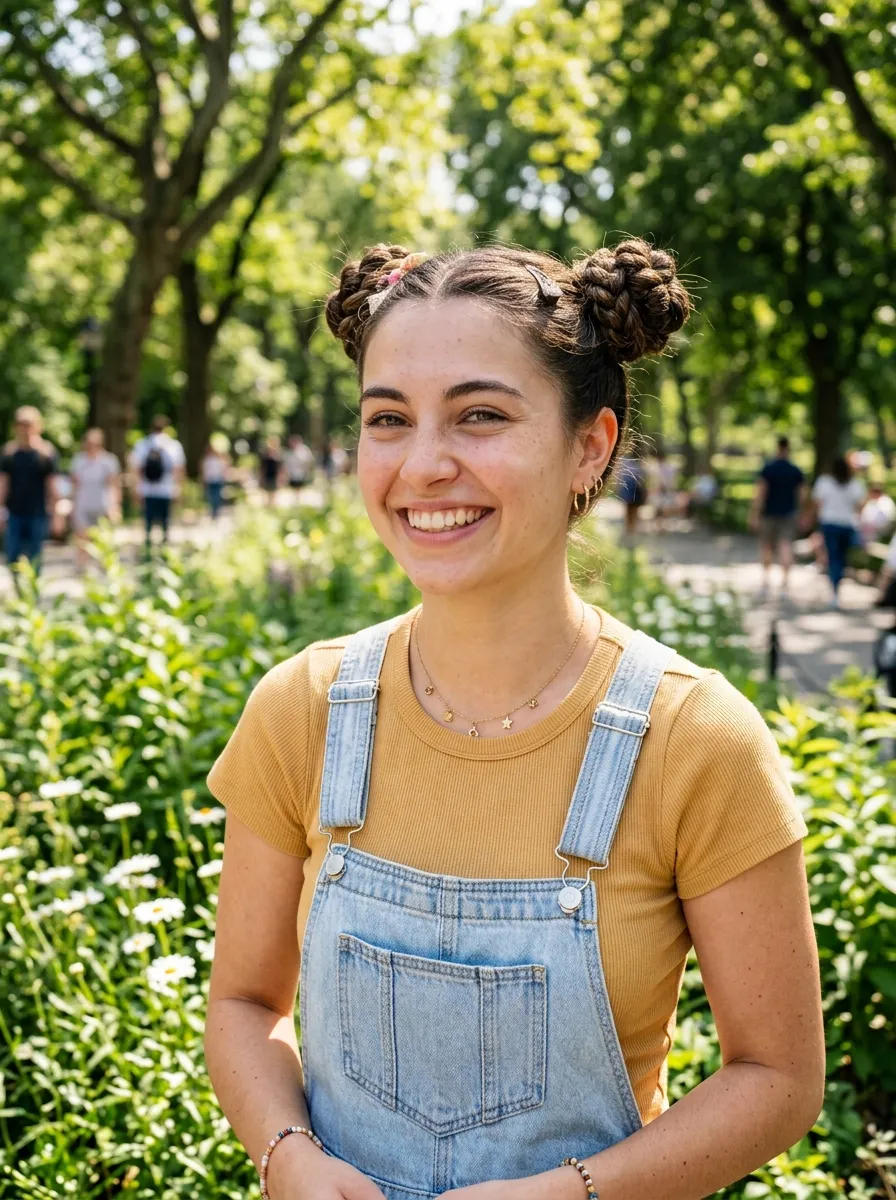
Space buns get an upgrade when you rope braid each section before twisting it into a bun. Split your hair into two even parts, rope braid each one, then coil each braid into a small bun on either side of your head. Secure with bobby pins or small clips. This playful style works for festivals, casual weekends, or anytime you want a fun, youthful look. It also keeps hair completely off your neck, which is helpful during warmer months. If your hair is fine, add a bit of texturizing spray before braiding so the buns hold their shape longer. This style is easy to adjust in size, so you can make the buns tight and small or loose and full depending on your mood. Because both sides are identical, it is also a forgiving style if your parting is not perfectly centered, since slight unevenness adds to the charm.
12. Rope Braid With Curly Hair
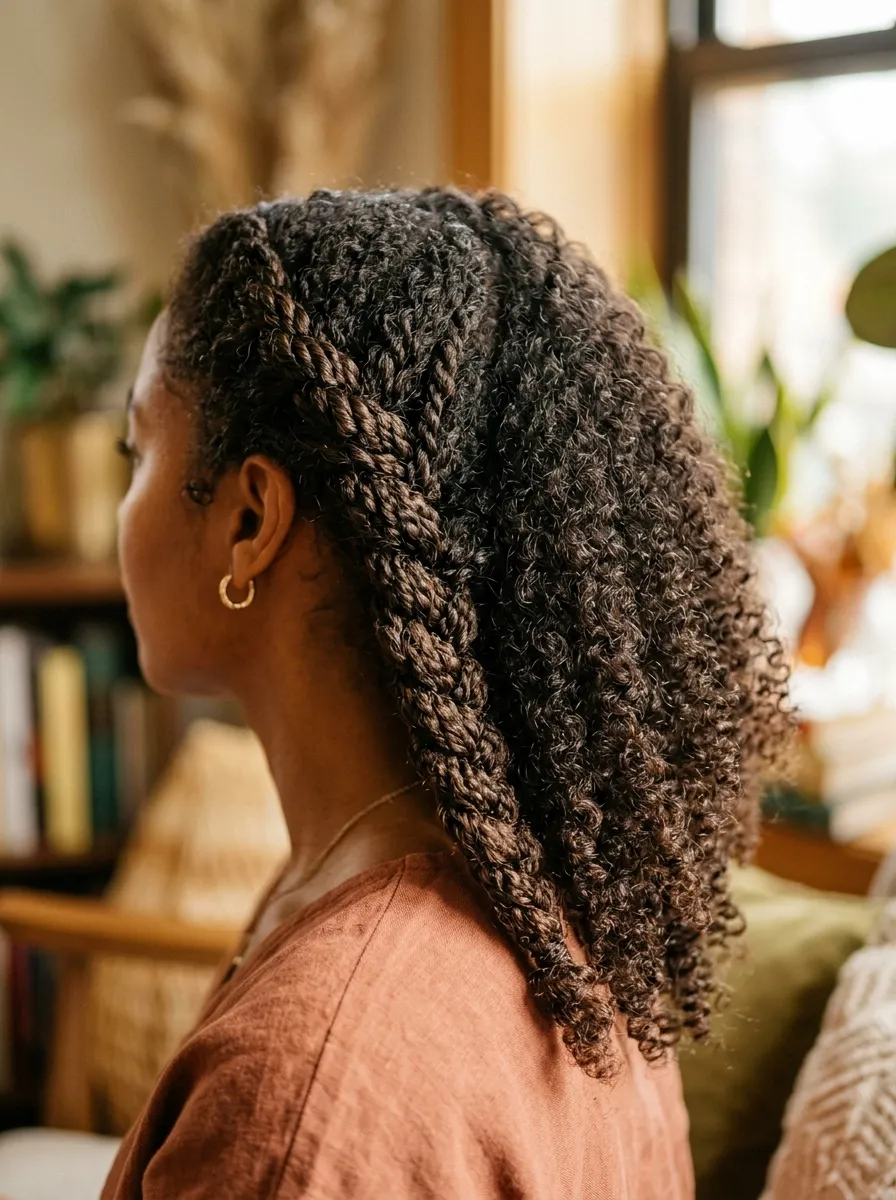
Curly hair adds beautiful texture to a rope braid. The natural volume makes the twist look fuller without any extra product. Start by detangling gently with your fingers or a wide tooth comb, then split your hair into two sections and twist as usual. Curly hair tends to hold its shape well once braided, so this style can last through a full day of activities. If you want more definition, apply a small amount of curl cream before you start. This helps reduce frizz while keeping your natural curl pattern intact. For an even bigger looking braid, pull gently on the twist once finished to fluff it out. This style celebrates natural texture instead of fighting against it, making it one of the most low maintenance options for curly haired readers who want a cute look without heat tools or straightening.
13. Rope Braid Updo For Formal Events
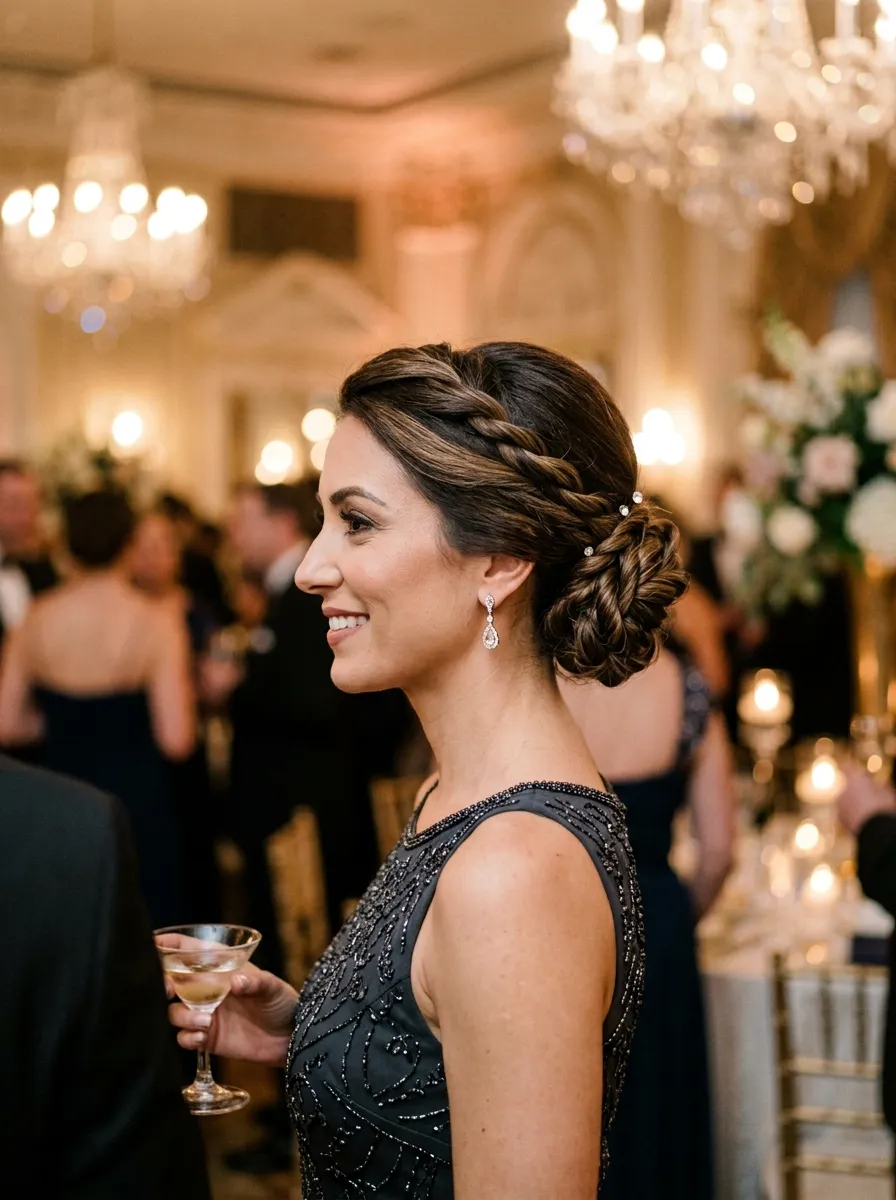
For weddings, parties, or formal dinners, a rope braid updo brings elegance without needing a professional stylist. Rope braid your entire length, then wrap the braid around the base of your head or into a twisted bun shape. Pin generously to keep everything secure for the whole event. This look works beautifully with strapless dresses since it keeps the neck and shoulders visible. To make it last longer, use a strong hold hairspray before you begin styling. If you want a decorative touch, add small hairpins with pearls or crystals along the twist. This turns a simple technique into something that looks salon made. Practice this style a few days before your event so you feel confident on the actual day. Because it only requires basic rope braiding and pinning skills, this updo saves money compared to booking a professional appointment.
14. Rope Braid Headband Look

This style uses a thin rope braid as a natural headband. Take a small section of hair from one side, rope braid it, and pin it across the top of your head to the other side. The rest of your hair stays down and loose. This is a great option for keeping bangs or shorter layers out of your face without needing an actual headband. It works well for both casual and slightly dressed up occasions. If you want a more secure hold, use two bobby pins in a small X shape underneath the braid. This hides the pins while keeping everything locked in place. Because only a small section is braided, this style takes under two minutes, making it one of the fastest looks on this list. It is perfect for busy mornings when you want a small styling detail without committing to a full braid.
15. Rope Braid Pigtail Buns
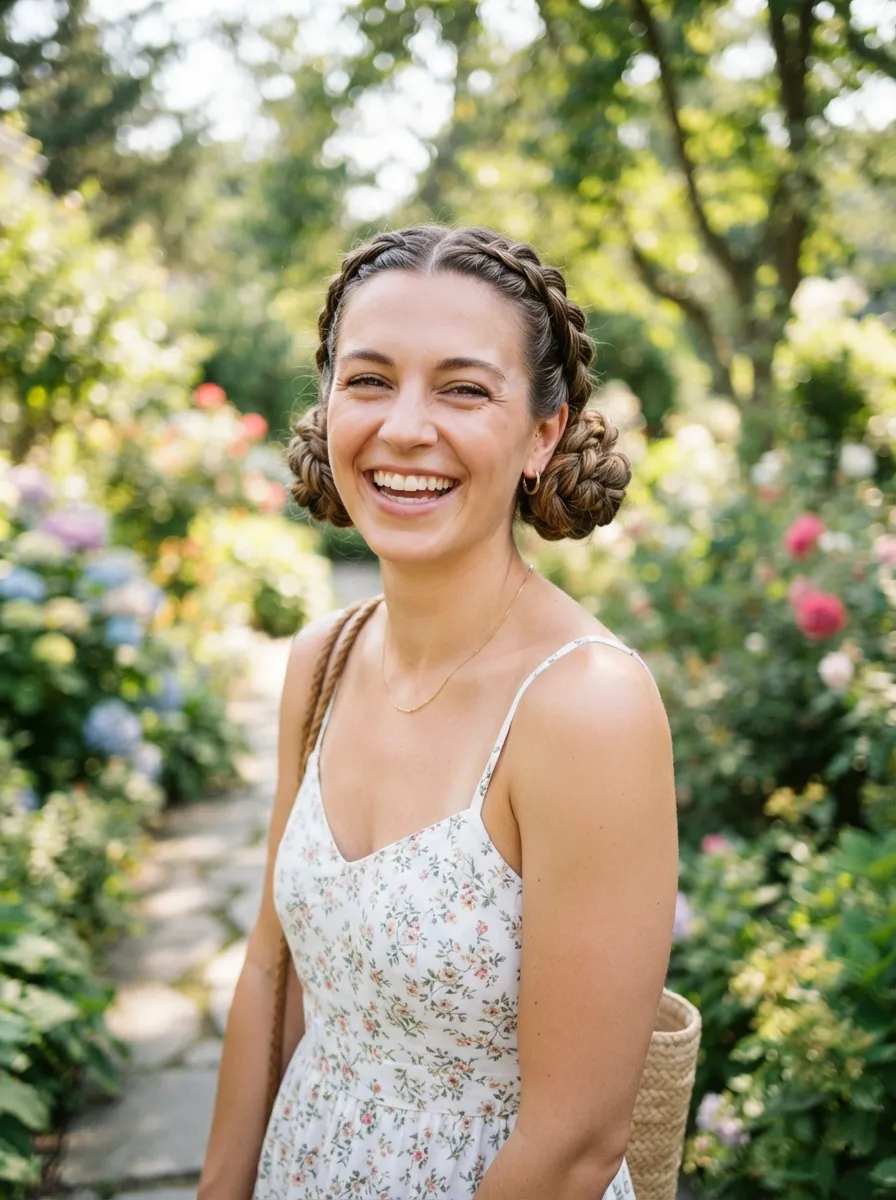
Combine pigtails and buns for a cute, symmetrical style. Rope braid each side of your hair separately, then coil each braid into a small bun near the crown or slightly lower near the ears. This style works for casual days, workouts, or anytime you want hair completely secured. Kids and adults both enjoy this look because it feels playful without being overly complicated. If your hair is thick, you may need extra bobby pins to keep the buns tight throughout the day. For thinner hair, a little dry shampoo at the roots beforehand adds grip so the buns stay neat longer. This style also works well under helmets or hats since the buns sit close to the head. Because both sides mirror each other, small imperfections are less noticeable, making this a forgiving choice for anyone still building confidence with braiding techniques.
16. Rope Braid Ponytail With Wrap
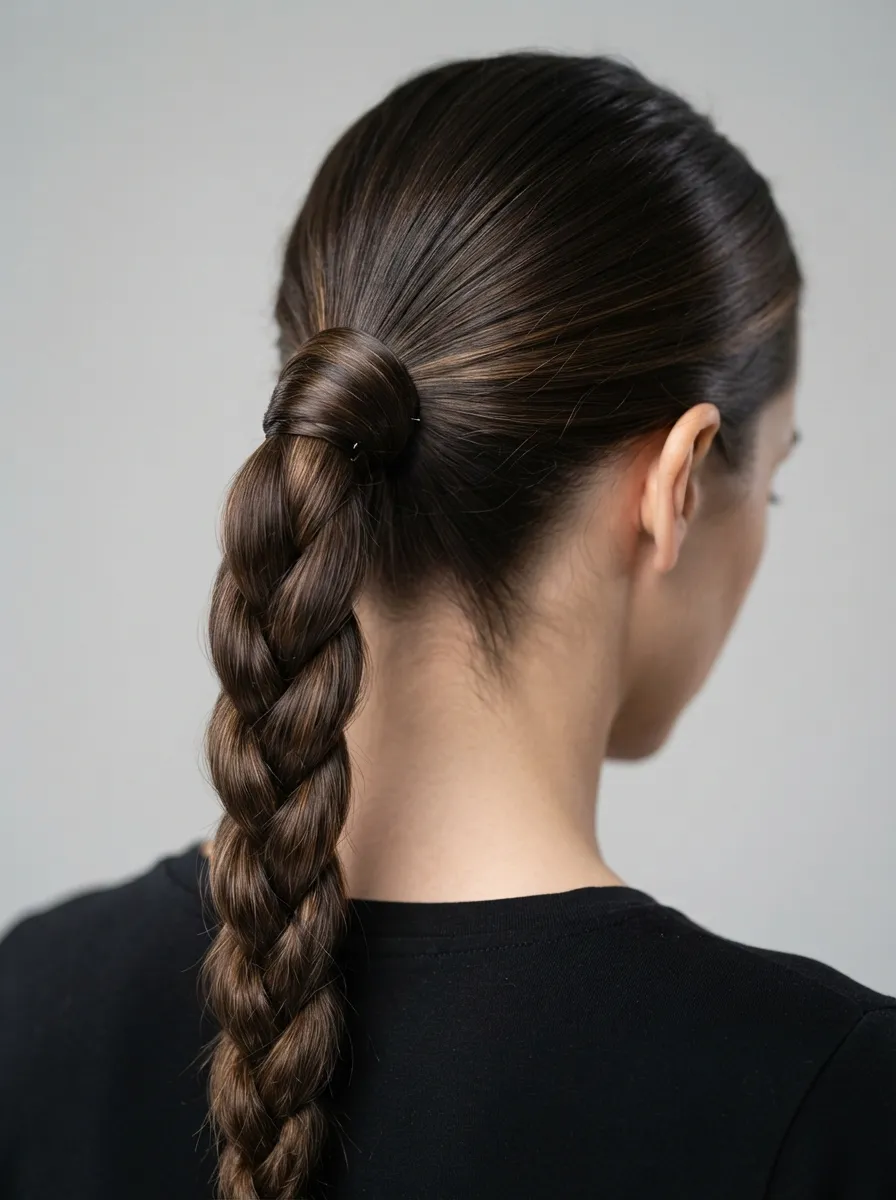
Add a polished touch to a rope braid ponytail by wrapping a small section of hair around the elastic first. Take a thin piece from the ponytail base, wrap it around the hair tie, and pin the end underneath. Then rope braid the remaining ponytail as usual. This hides the elastic completely and gives the style a more finished, salon quality look. It works well for professional settings or any event where you want extra polish. This small step only adds about one extra minute to your routine but makes a noticeable difference in how refined the style looks. If your hair is very fine, secure the wrapped section with a small clear pin so it does not slip loose during the day. This technique is simple, low cost, and instantly upgrades a basic braided ponytail into something that looks much more intentional.
17. Rope Braid Pulled Back Low Bun
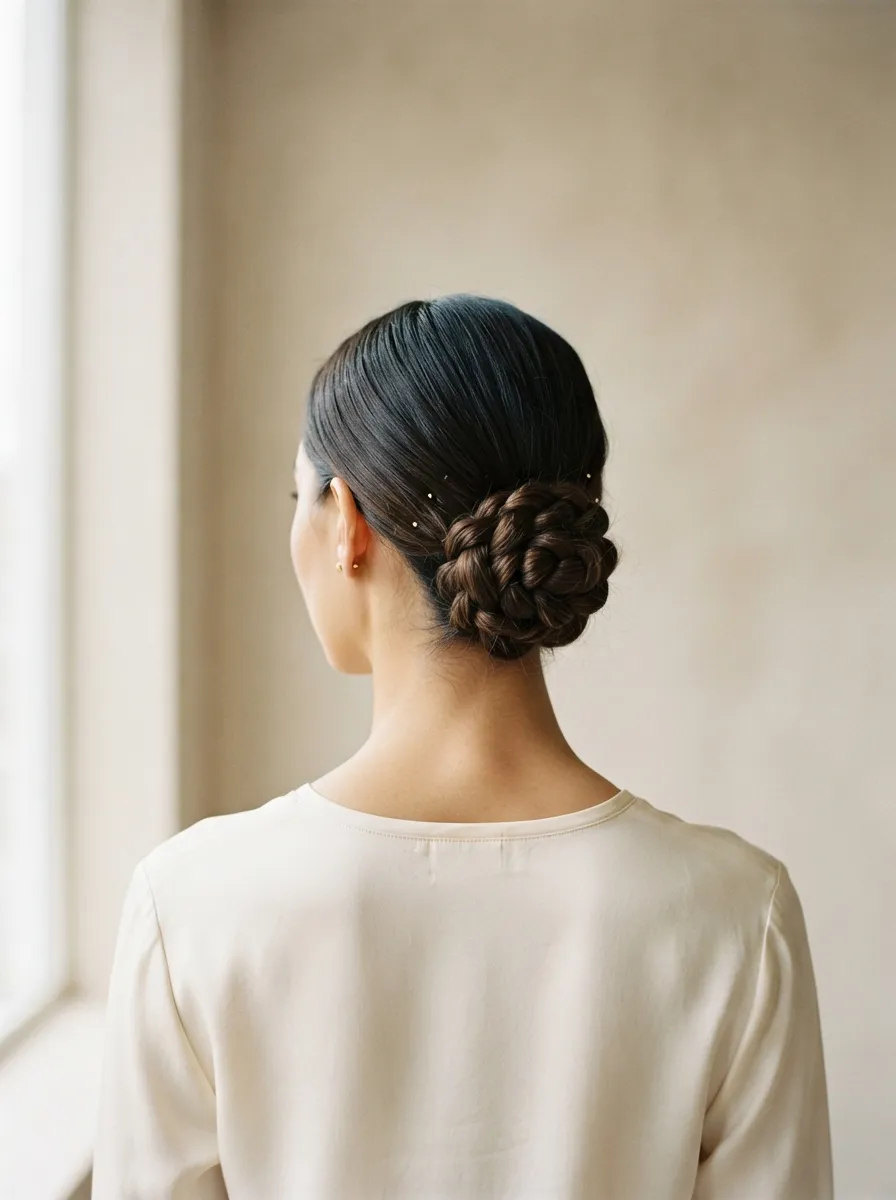
For a clean, minimal look, pull all your hair back into a low ponytail before rope braiding it into a bun. This style sits at the nape of the neck and works well for office settings, interviews, or any occasion where you want a neat and professional appearance. Smooth your hair first with a comb to reduce flyaways, then twist and coil the braid into place. Secure with several bobby pins hidden underneath the bun. If you want a softer version, leave a few loose strands near your face before pulling everything back. This adds a bit of relaxed detail to an otherwise polished style. Because this look sits low and close to the head, it also works well under blazers or collared shirts without the hair getting in the way. It is one of the most practical styles for everyday wear.
18. Rope Braid With Extensions For Extra Length
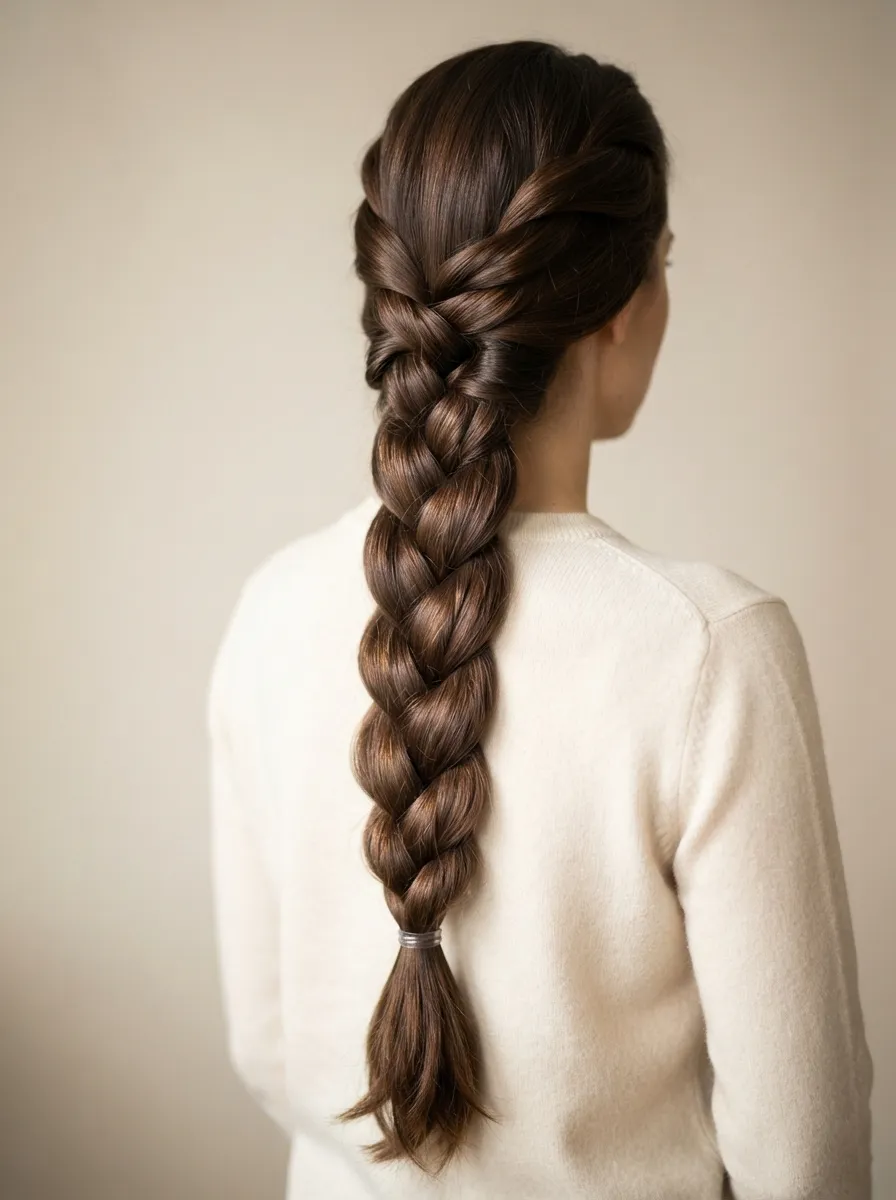
If your hair is shorter or thinner, clip in extensions can help create a fuller, longer rope braid without waiting for natural growth. Clip the extensions in evenly before splitting your hair into two sections for braiding. This creates a thicker, more dramatic twist that photographs beautifully for special occasions. Make sure the extensions match your natural hair color and texture closely so the braid looks seamless. Smooth the clip in wefts by brushing gently before you start twisting. This style is a smart, affordable option for events like proms or weddings where you want extra volume without a permanent change. Store bought clip in extensions are reusable, which makes this a one time cost that can be used again for future events. This is a great trick for anyone who wants dramatic braid results without committing to hair growth treatments or extensions that are semi permanent.
19. Rope Braid Pigtail With Bandana
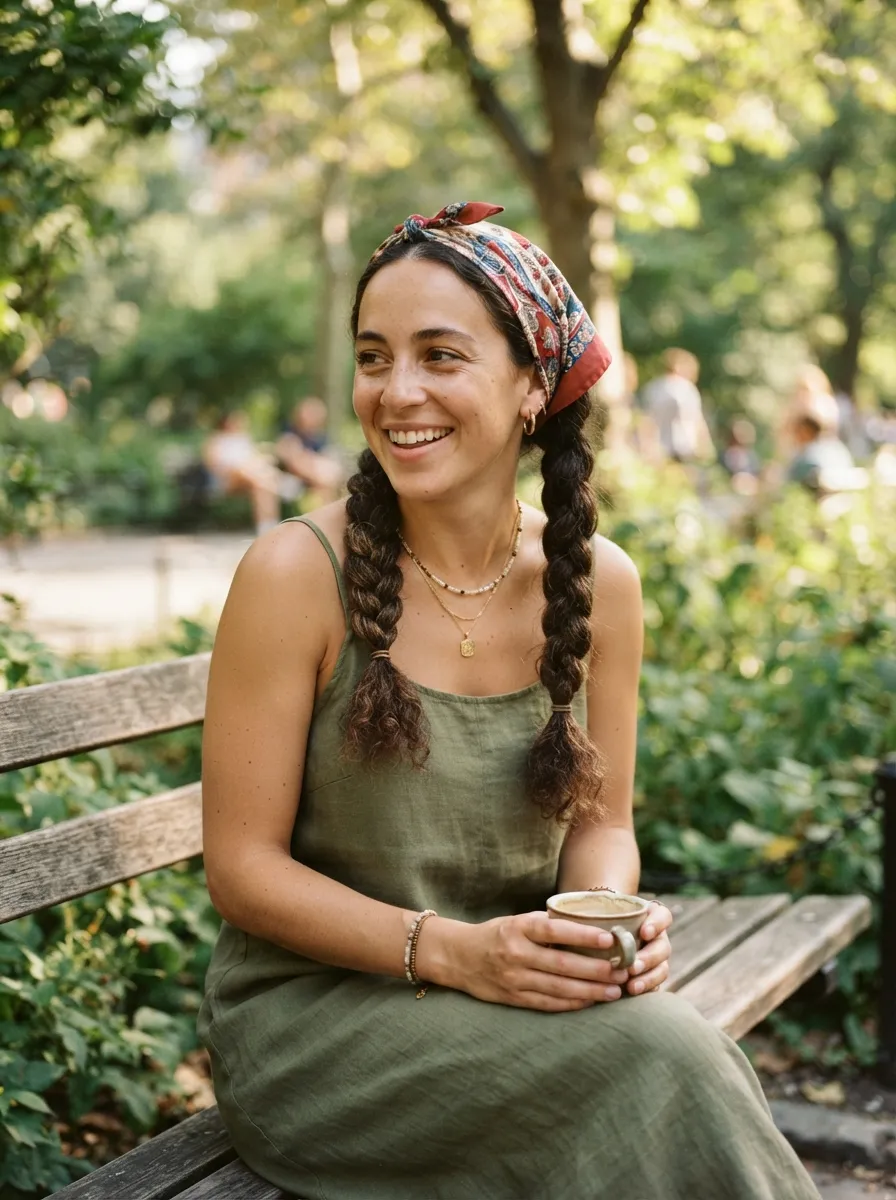
Add a pop of pattern by pairing rope braided pigtails with a bandana tied at the front or back of your head. Rope braid each pigtail as usual, then fold a bandana into a strip and tie it around your hairline before or after braiding. This combination works well for outdoor activities, road trips, or casual summer outings. It also keeps shorter face framing pieces controlled without needing extra pins. Choose a bandana color that contrasts with your hair for a bold look, or match tones for something more subtle. This accessory costs very little and instantly changes the entire vibe of a simple braid style. If you do not own a bandana, a thin scarf works just as well. This combo proves that small, inexpensive accessories can transform a basic hairstyle into something that feels intentional and put together.
20. Rope Braid Twist Out For Textured Hair
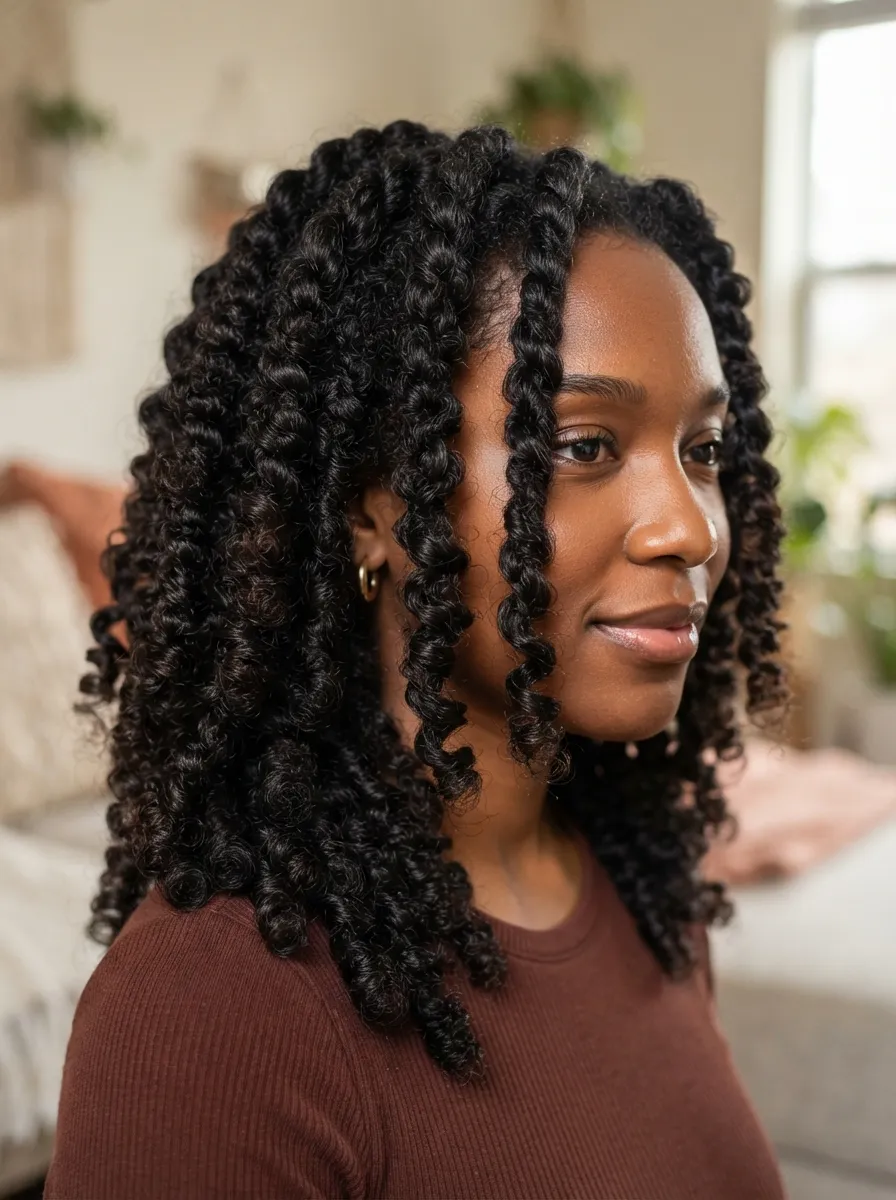
For textured or coily hair, try rope braiding damp hair and letting it air dry before unraveling. Once fully dry, gently separate the twist to reveal a soft, wavy pattern. This heat free method protects your natural texture while adding a defined wave. It works well for those who want a break from heat styling tools. Apply a small amount of leave in conditioner before braiding to keep hair hydrated and reduce frizz as it dries. This process takes longer since you need to wait for your hair to fully dry, but it requires no heat and very little product. It is a great overnight option, since you can rope braid before bed and unravel in the morning for a completely different look. This method is budget friendly since it only uses products you likely already have and skips salon treatments entirely.
21. Rope Braid Accent On A Straight Style
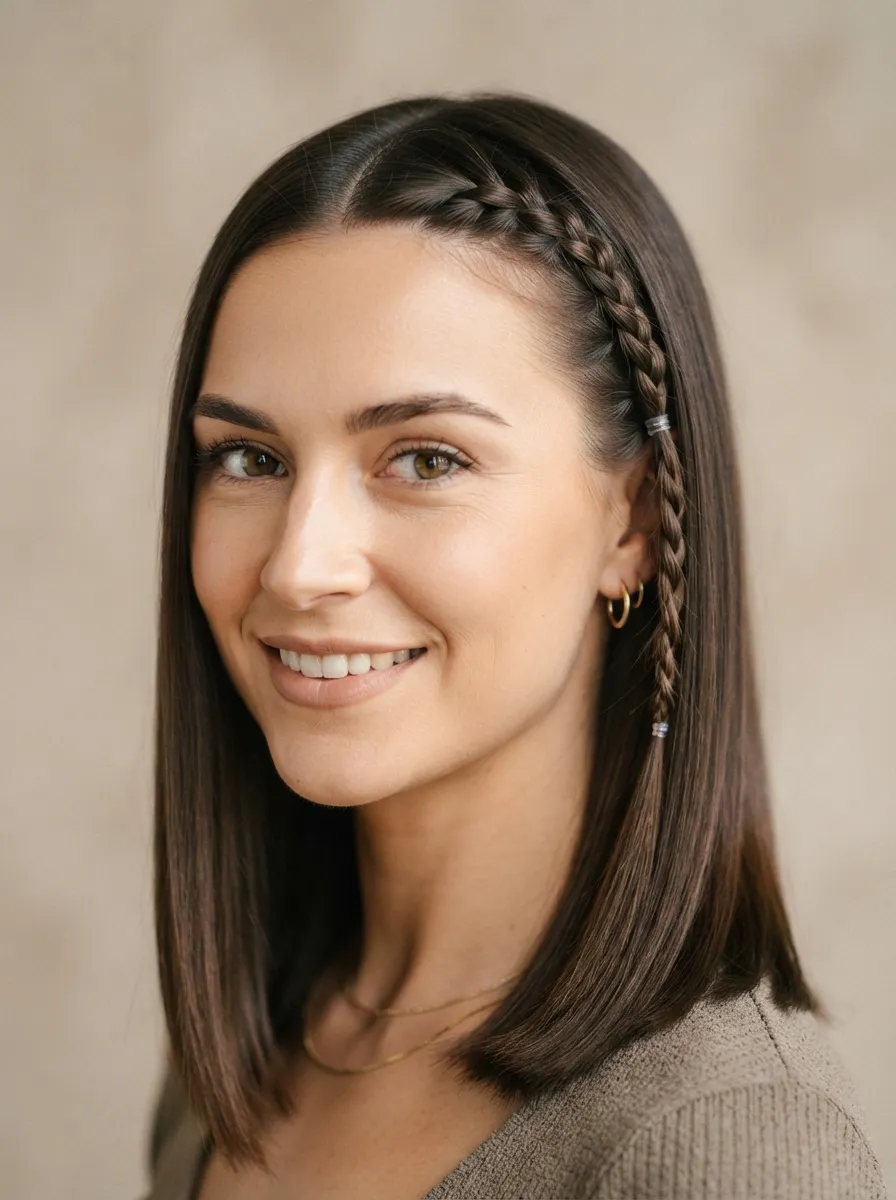
Sometimes a small detail is all you need. Leave most of your hair straight and add just one thin rope braid near your temple or hairline. Pin the small braid back with the rest of your hair or let it settle naturally into your look. This subtle addition works for everyday wear when you want a hint of texture without a full braided style. It is quick, usually taking under two minutes, and pairs well with both casual and dressy outfits. If you want the braid to stand out more, choose a section close to your part so it is visible from the front. This tiny accent proves that rope braids do not need to take over your entire hairstyle to make an impact. It is one of the simplest ways to add personality to straight hair without extra time or product.
22. Rope Braid Low Side Ponytail
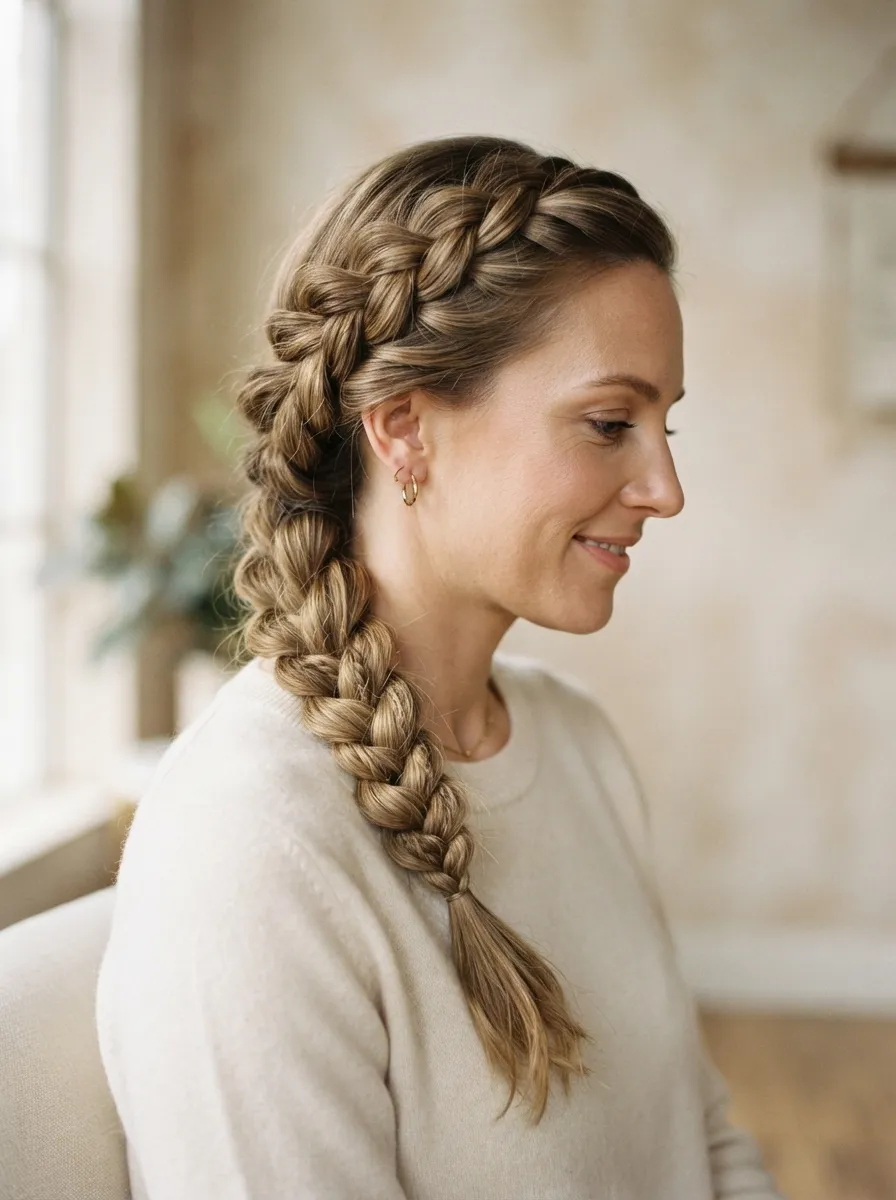
A low side ponytail feels a little more romantic than a centered one, and rope braiding it adds even more charm. Gather your hair low behind one ear, secure with an elastic, then rope braid the tail. Leave a few soft pieces near your face for a relaxed finish. This style works well for dinner dates, casual weekend plans, or any time you want something slightly dressed up without much effort. If your hair tends to frizz, smooth a small amount of hair oil over the twist once finished. This adds shine and helps tame flyaways. You can also curl the ends lightly before braiding for extra texture at the tips. Because the ponytail sits low and to one side, it stays comfortable even if you are wearing it for several hours, making it a practical choice for long days or evening events.
Conclusion
Rope braids prove that a cute hairstyle does not have to take a lot of time, money, or skill. With just two sections of hair and a bit of practice, you can create looks that work for school, work, workouts, and special events alike. Try a few of these styles during a quiet afternoon so your hands get comfortable with the twisting motion, then start mixing and matching based on your mood and schedule. Small accessories like scrunchies, bandanas, or a few bobby pins can change the entire feel of a single technique, which means you get more variety without buying anything new. Whether your hair is short, long, curly, or straight, there is a rope braid style on this list built for you. Pick one idea to try this week and build your styling confidence one simple twist at a time.
Leave a Reply