Pick up a curling wand for the first time and it can feel like you have been handed a magic tool with absolutely no instruction manual. Which way do you wrap the hair? How long do you hold it? Why does one side always come out perfect and the other side look completely different? If any of this sounds familiar, you are in exactly the right place.
The curling wand is honestly one of the most versatile and rewarding styling tools you can own once you understand how it works. From loose beachy waves to tight defined ringlets, it can create almost any look you want in a surprisingly short amount of time. This guide walks you through everything a complete beginner needs to know to start curling with confidence.
Understanding Your Curling Wand Before You Begin
Before you even turn the wand on, take a few minutes to understand the tool you are working with. Not all curling wands are the same and choosing the right one makes a significant difference in your results.
- A barrel size of one inch is the most versatile and creates classic medium curls that work on most hair lengths and types.
- A larger barrel of one and a half inches or more creates soft, loose waves and is ideal for longer hair.
- A smaller barrel under three quarters of an inch creates tight, defined ringlets and works beautifully on short to medium length hair.
- Tapered wands, which are wider at the base and narrower at the tip, create a more natural, undone wave that varies in size from root to end.
- Ceramic and tourmaline barrels distribute heat more evenly and are gentler on the hair than basic metal barrels.
Invest in a wand with adjustable heat settings so you can control the temperature based on your hair type and thickness.
Always Prep Your Hair Before Curling
Curling unwashed, unprotected, or tangled hair is one of the most common beginner mistakes and it leads to poor curl results and unnecessary damage. Preparation takes only a few minutes and makes an enormous difference.
- Start with clean, completely dry hair. Curling damp or wet hair with a hot wand can cause serious heat damage and the curls will not hold properly.
- Detangle your hair thoroughly from root to tip using a wide tooth comb or a paddle brush so there are no knots or snags before you begin.
- Apply a generous amount of heat protectant spray evenly throughout all of your hair, not just the ends, before touching any hot tool to it.
- If your hair is naturally frizzy or lacks smoothness, apply a small amount of smoothing serum or cream before the heat protectant for an extra layer of protection and polish.
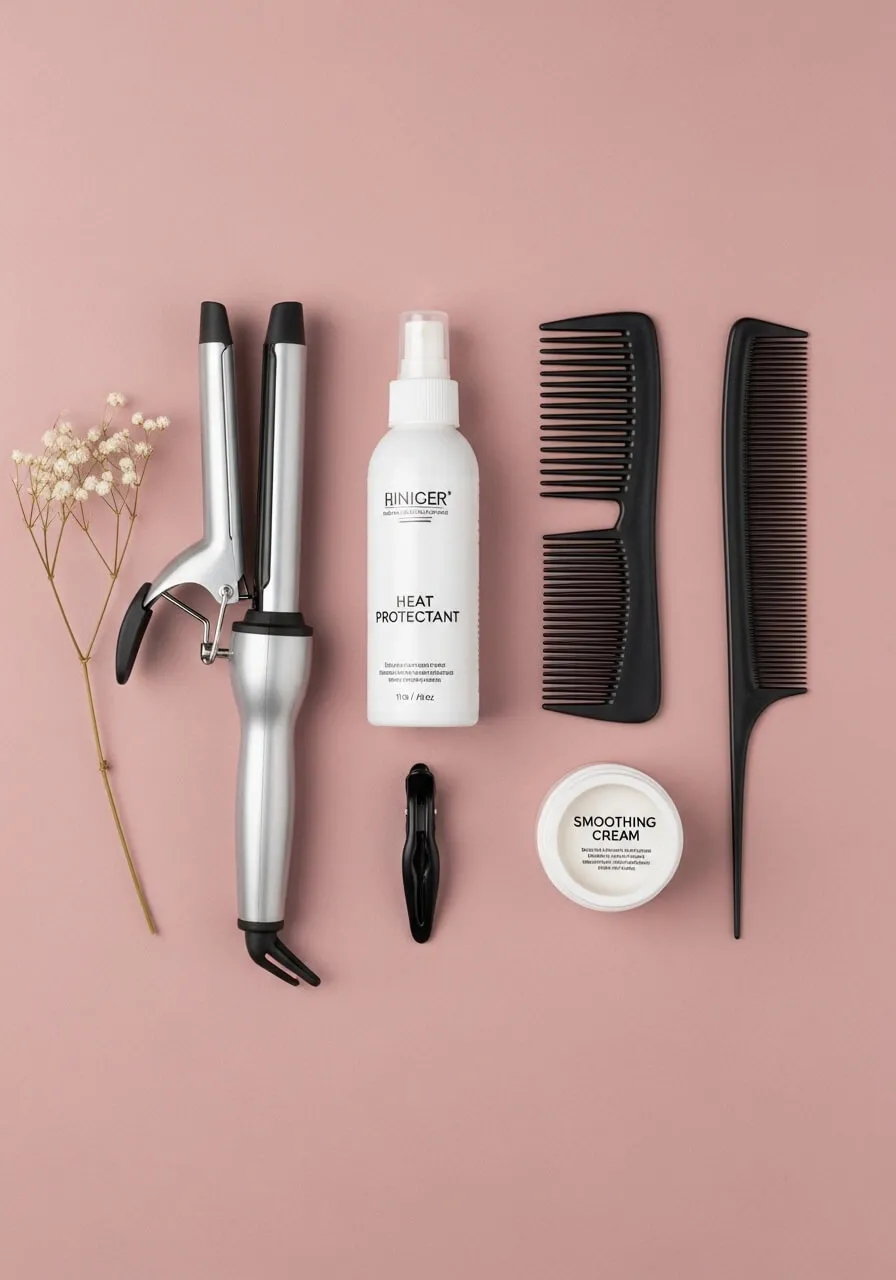
Never skip heat protectant. It is the single most important step between beautiful curls and heat damaged hair.
Setting the Right Temperature for Your Hair Type
One of the biggest mistakes beginners make with a curling wand is using too much heat thinking it will make the curls last longer. In reality, excessive heat causes damage without improving results.
- Fine or color treated hair should be curled at a lower temperature between 250 and 300 degrees Fahrenheit to prevent breakage and dryness.
- Medium or normal hair works well at temperatures between 300 and 350 degrees Fahrenheit for a good balance of hold and safety.
- Thick, coarse, or resistant hair may need temperatures between 350 and 400 degrees Fahrenheit to create curls that actually hold throughout the day.
- Always start at the lower end of the recommended range for your hair type and only increase if the curls are not forming properly.
More heat does not mean better curls. The right amount of heat for your specific hair type is always the correct choice.
Step by Step: How to Curl Your Hair with a Wand
Now that your hair is prepped and your wand is at the right temperature, it is time to actually start curling. Following these steps carefully will give you the best possible results from your very first attempt.
- Divide your hair into sections using clips before you begin. Work in four to six sections depending on your hair thickness, starting from the bottom layers and working upward.
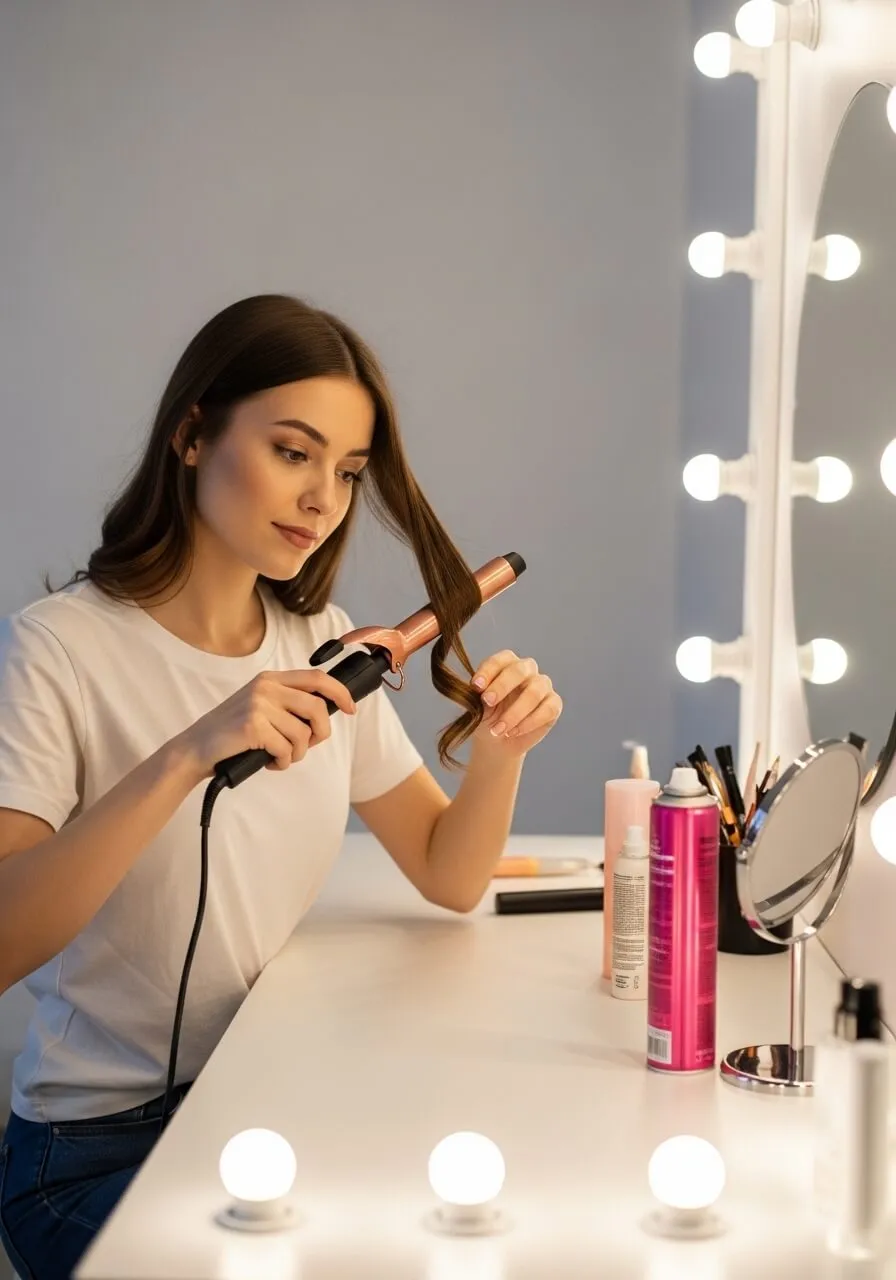
- Take a section of hair no wider than one inch for the cleanest, most defined curl result.
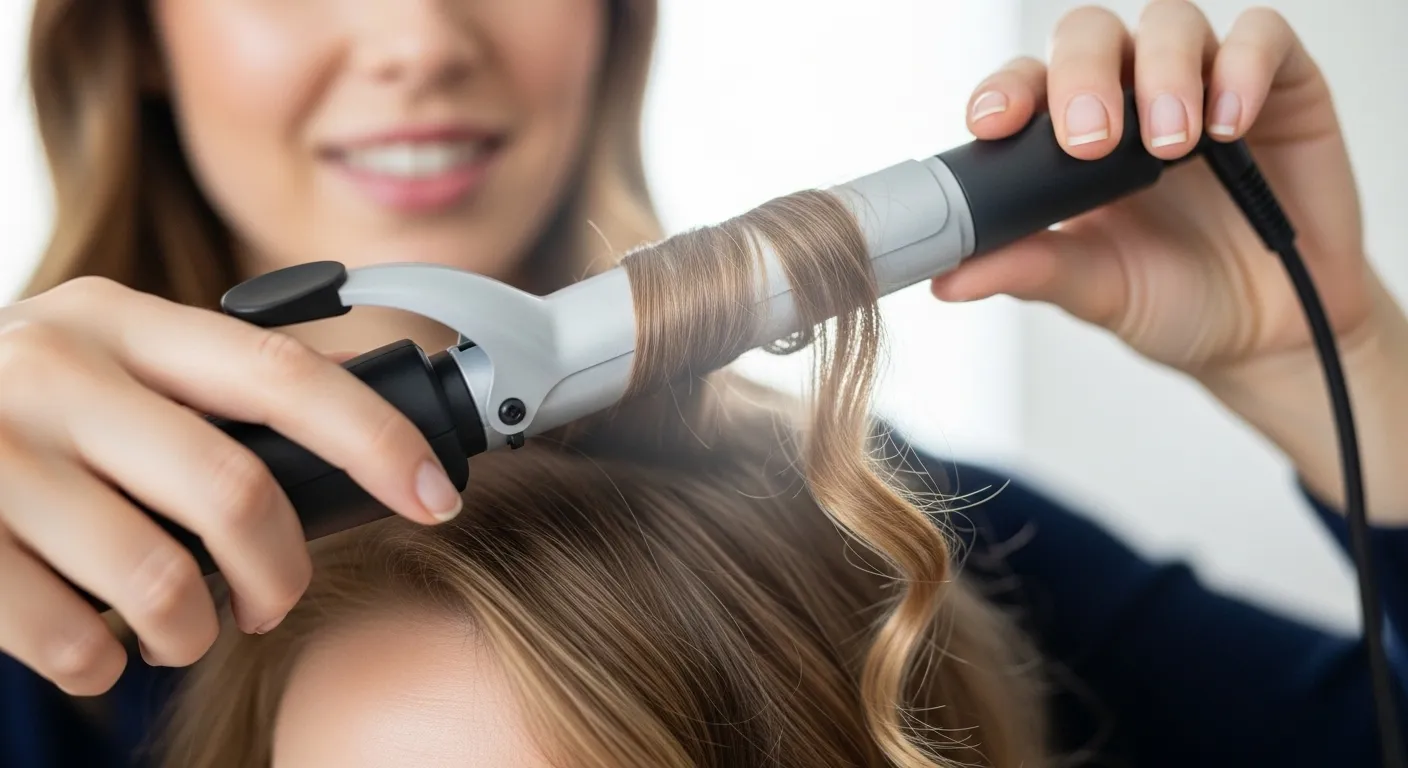
- Hold the wand vertically pointing downward and wrap your section of hair around the barrel starting from the root end and spiraling downward toward the tip.
- Hold the wrapped hair against the barrel for eight to twelve seconds depending on your hair type and the temperature you are using.
- Slowly and carefully unwrap the curl from the wand and immediately cup it in the palm of your hand, holding it gently for a few seconds as it cools. This sets the curl and dramatically improves how long it lasts.
- Release it gently and move on to the next section.

Repeat this process throughout all sections, always working from the bottom layers upward so no section gets missed.
Which Direction Should You Wrap the Hair
The direction you wrap the hair around the wand determines the final look of your curls and this is where many beginners feel confused.
- Wrapping all sections in the same direction creates a more uniform, retro-inspired curl that looks polished and intentional.
- Alternating the direction with each section, wrapping one section toward your face and the next section away from your face, creates a much more natural, modern, and effortlessly tousled wave pattern.
- For the most natural-looking result, always wrap the hair away from your face on both sides of the head, which opens up the curls and frames the face beautifully.
Alternating directions is the technique most professional stylists use when they want curls to look natural rather than done.
How to Finish and Style Your Curls
Once all sections are curled, resist the urge to run your fingers through them immediately. This is the step where most beginners accidentally ruin their curls before they even have a chance to set properly.
- Allow all of your curls to cool completely before touching them. This usually takes about five to ten minutes and it is absolutely worth the wait.
- Once fully cooled, flip your head upside down and gently run your fingers through the curls to loosen and separate them into soft, natural-looking waves.
- Apply a small amount of lightweight hair oil to your palms and smooth it gently over the surface of your curls to add shine and eliminate any remaining frizz.
- Finish with a flexible hold hairspray to keep everything in place without making the curls feel stiff, crunchy, or over-done.
Common Beginner Mistakes and How to Avoid Them
Knowing what not to do is just as valuable as knowing what to do, especially when you are learning a new skill.
- Taking sections that are too large results in loose, undefined curls that fall out quickly. Always keep your sections small and neat.
- Holding the wand on the hair for too long burns and damages the hair without improving curl quality. Stick to eight to twelve seconds maximum.
- Not allowing the curl to cool before releasing it or touching it causes the curl to immediately lose its shape. Patience here pays off enormously.
- Curling the very ends of the hair all the way to the tip creates an overly formal, old fashioned look. Leave the last inch or two uncurled for a more modern, natural finish.
- Using too much product before curling weighs the hair down and prevents the curl from forming properly. Apply products lightly and evenly.
Making Your Curls Last All Day
Beautiful curls deserve to stay beautiful from morning until evening. A few simple habits will help your curls hold throughout the entire day.
- Always curl on completely dry hair as any moisture prevents the curl from setting and holding.
- Use a light-hold mousse applied to damp hair before drying as a base to give your curls something to grip onto when you curl later.
- Avoid touching or playing with your curls throughout the day as the natural oils from your fingers break down the curl pattern over time.
- If curls start to droop by midday, a quick spritz of flexible hold hairspray and a gentle scrunch upward revives them instantly.
Your Best Curl Day Starts Right Now
[Image Prompt] A happy woman laughing with her head tilted back, her perfectly curled hair bouncing and catching warm sunlight outdoors, wearing a simple sage green top, surrounded by soft blurred greenery, looking completely confident and radiant with her freshly curled hair framing her face beautifully.
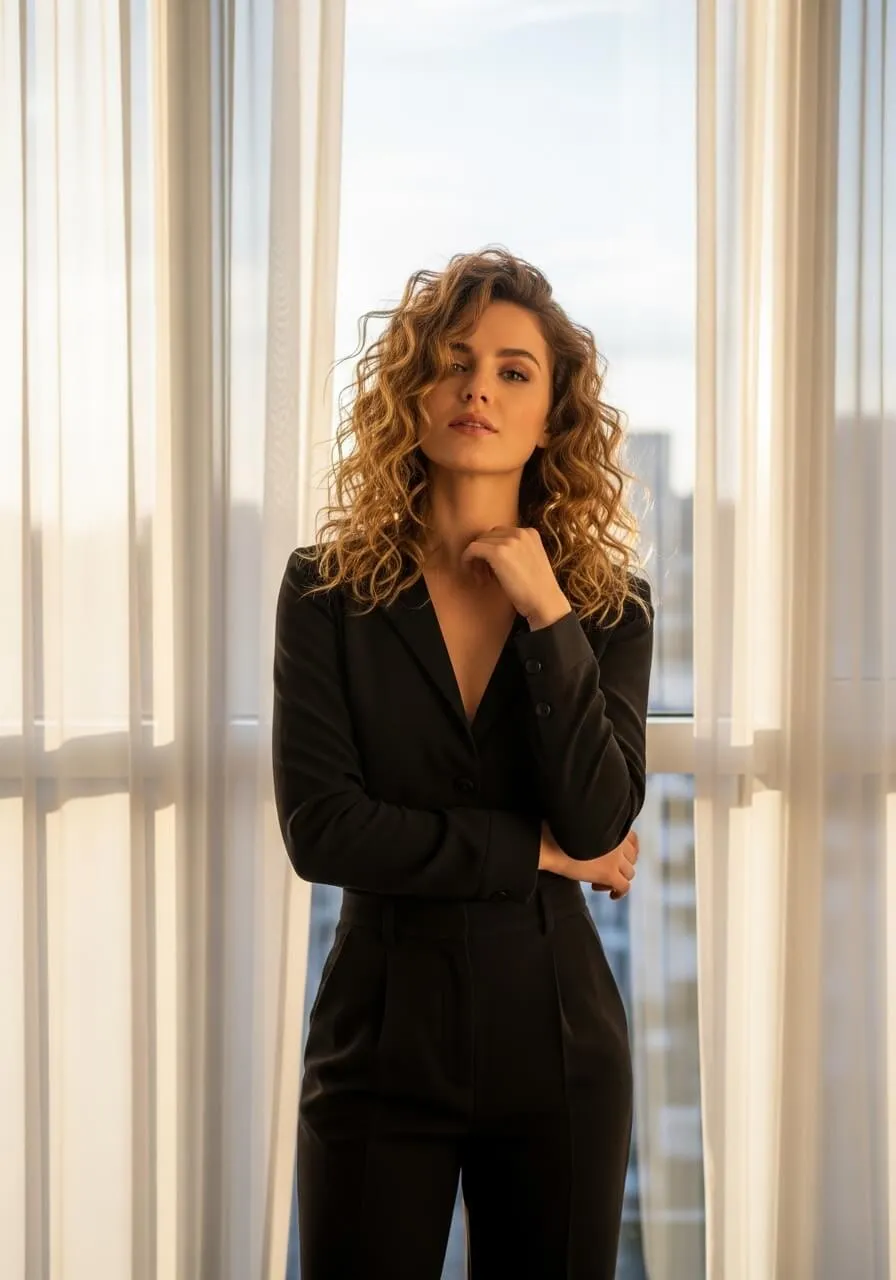
The curling wand feels unfamiliar and a little intimidating in the beginning and that is completely normal. Every person who now curls their hair effortlessly in ten minutes was once exactly where you are right now. Give yourself one proper practice session using this guide, be patient with the learning curve, and you will be amazed at how quickly it starts to feel natural and easy.
Save this guide for your next styling session, try it out this weekend, and share it with a friend who has been wanting to learn how to use their curling wand but never quite knew where to start.
Leave a Reply