Let’s walk through it step by step so you can master it بسهولة.
What You’ll Need Before You Start
Before you begin, keep a few basics ready. This makes the process smoother and quicker.
- A comb or brush to detangle hair
- A few bobby pins
- Hair ties (optional)
- Light hairspray (optional for hold)
Make sure your hair is tangle-free. Slightly wavy or textured hair works best because it holds the braid more easily.
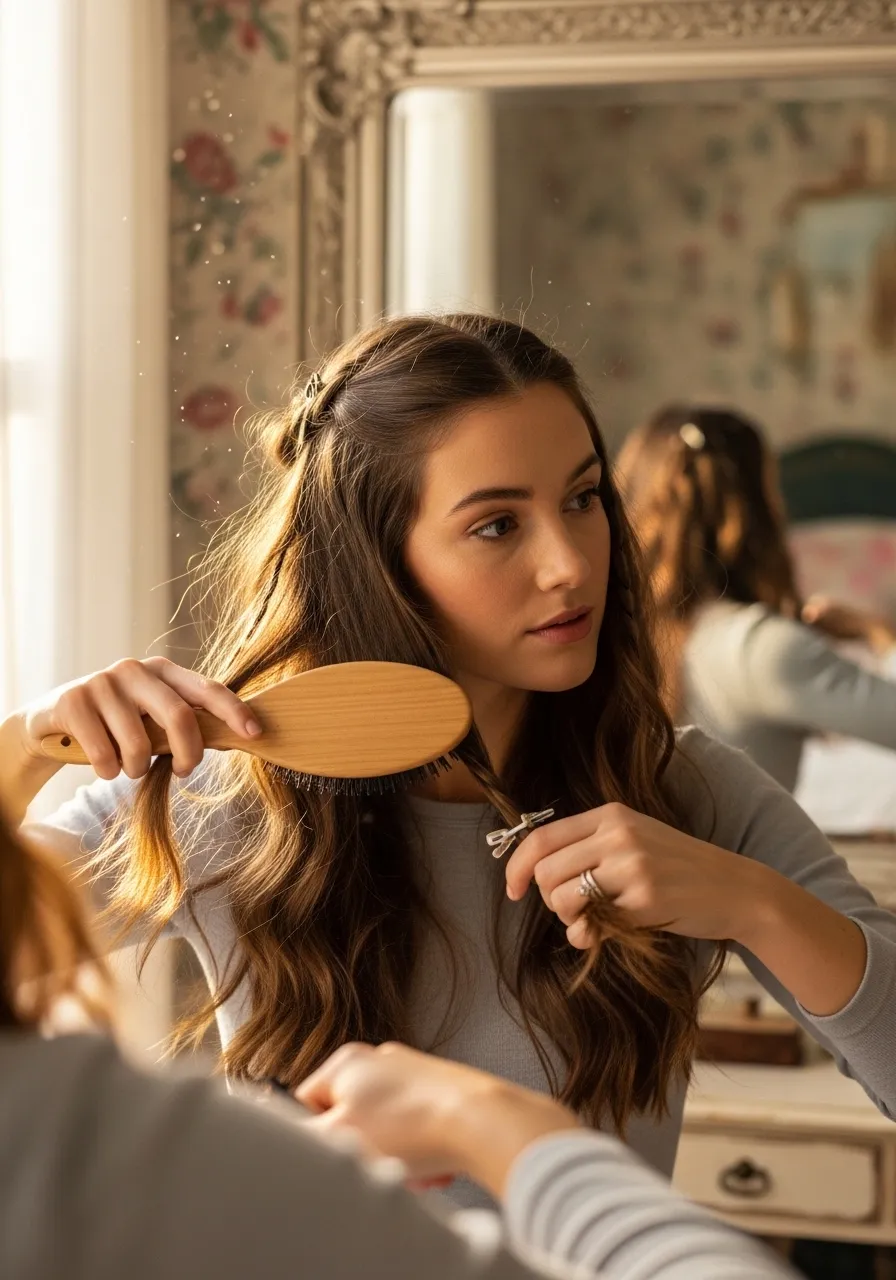
Step 1: Prep Your Hair
Start by brushing your hair properly to remove knots. You can leave your hair straight or add soft curls for a more romantic look.
- Create a side part or middle part
- Keep the front section neat since that’s where the braid will start
 .
.
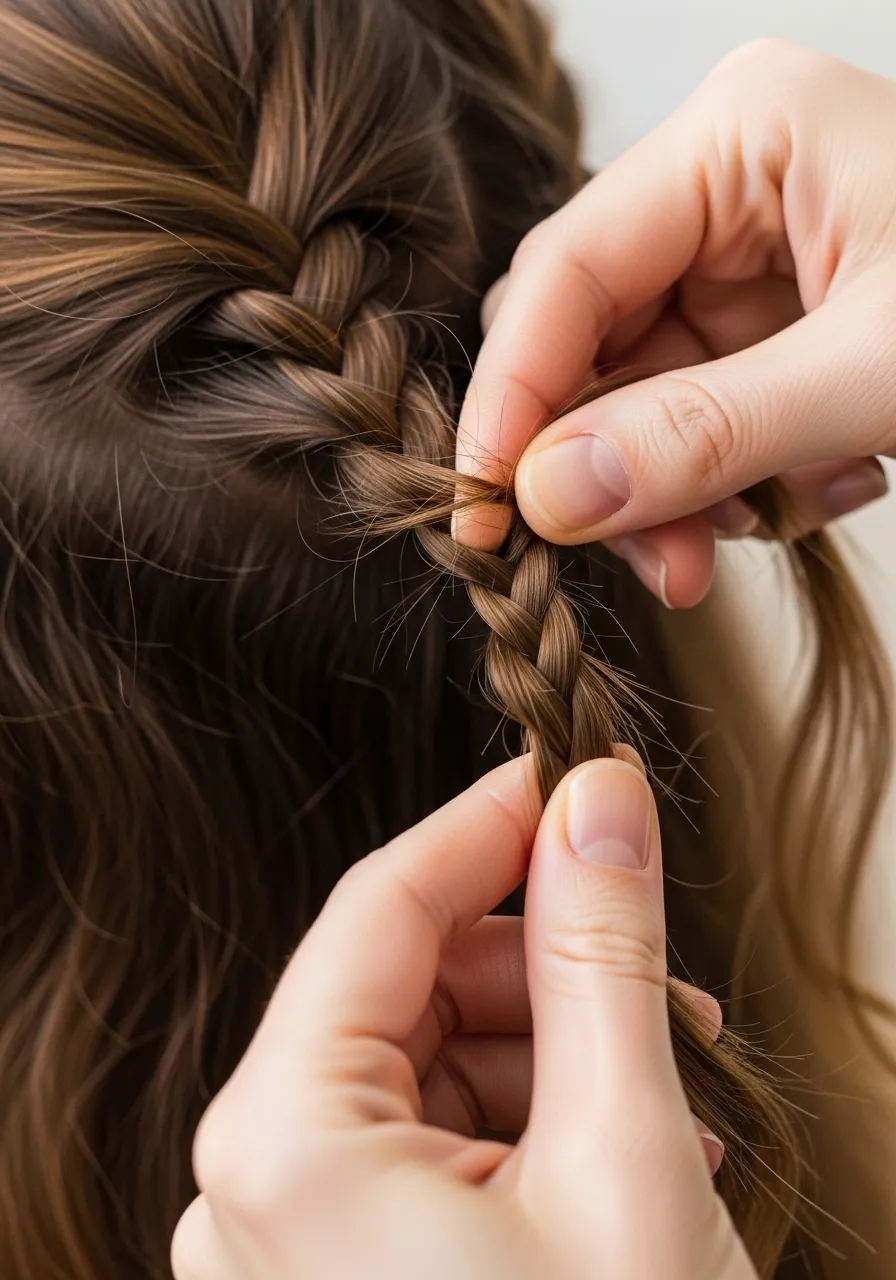
Step 2: Start a Basic Three-Strand Braid
Pick a small section of hair near your front hairline.
- Divide it into three equal strands
- Begin a regular braid by crossing the top strand over the middle, then the bottom over the middle
This is just like starting a normal braid, so keep it simple at this stage.
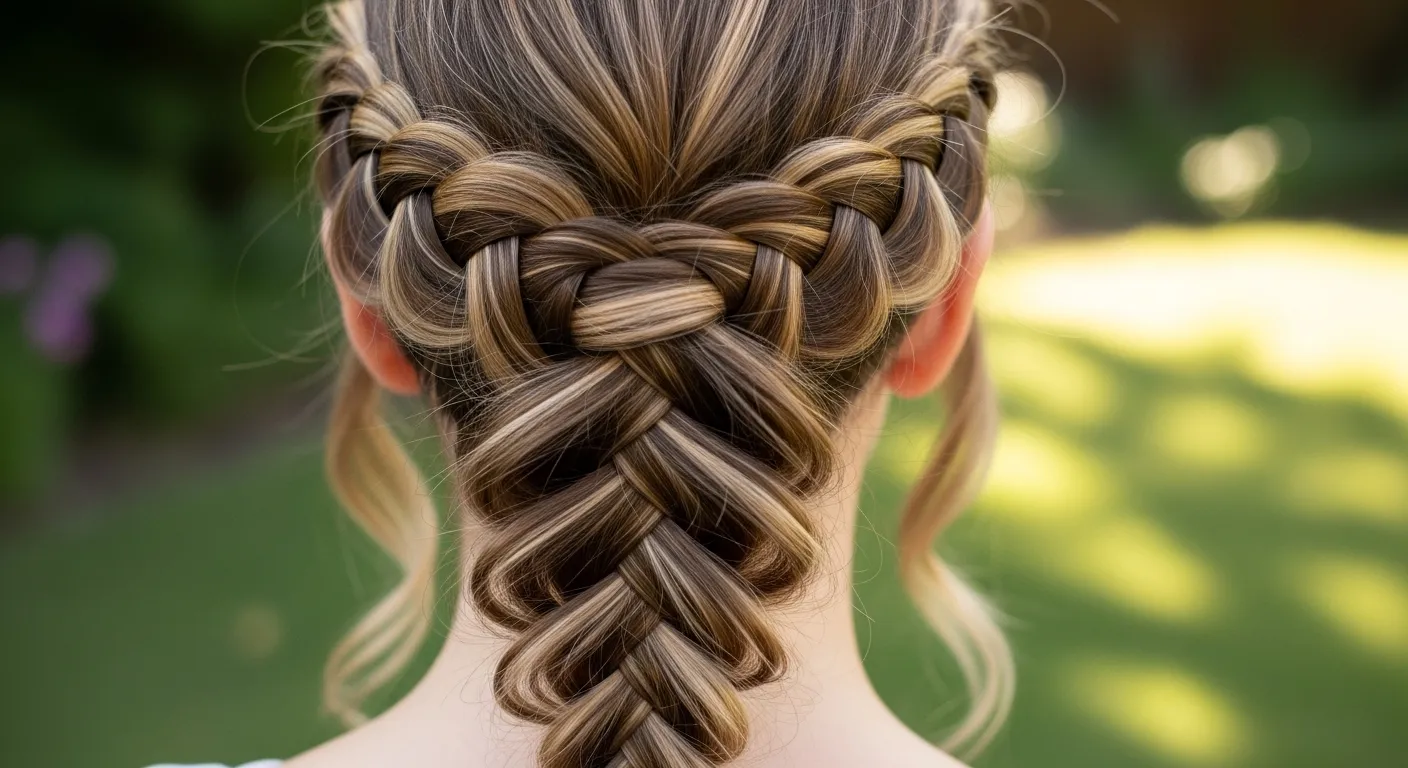
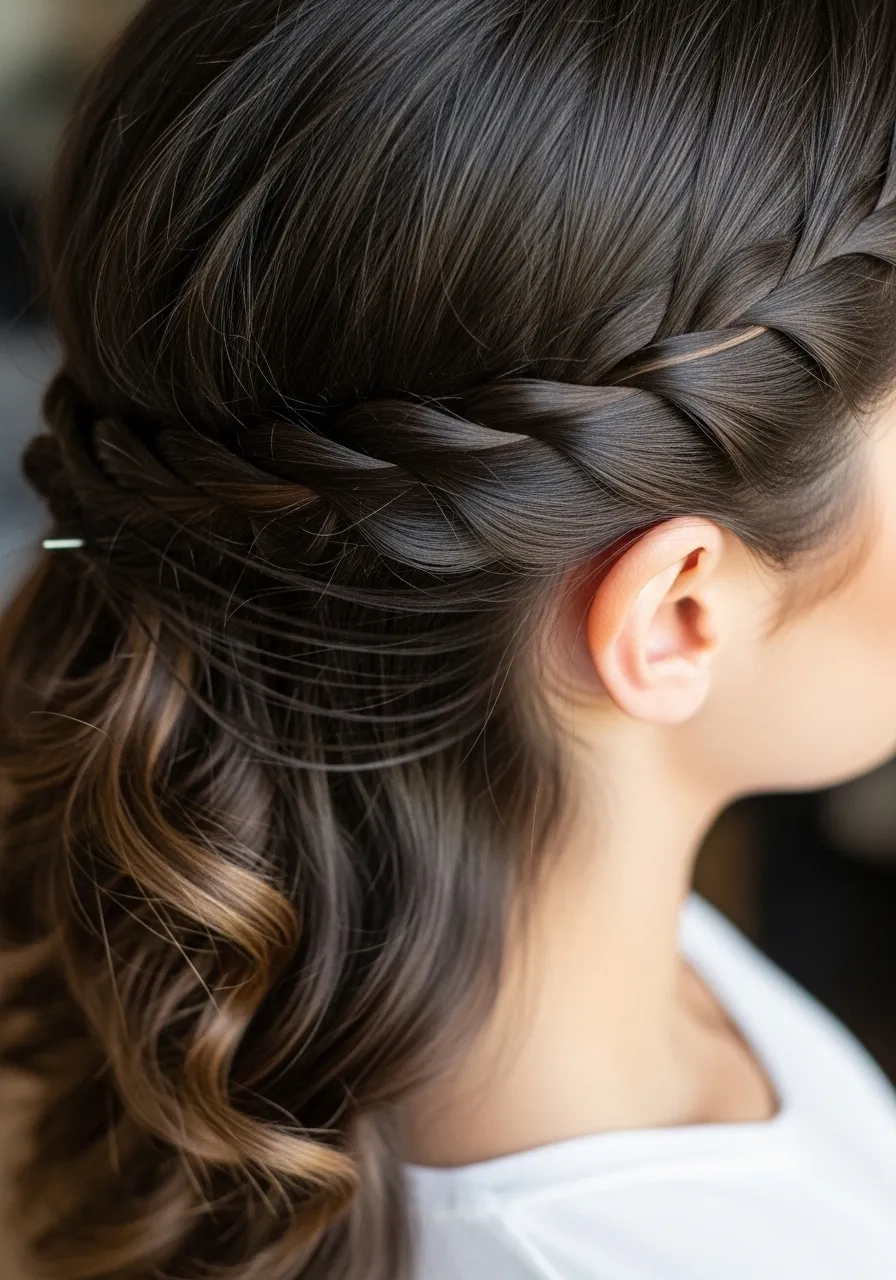
Step 3: Create the “Waterfall” Effect
Here’s where the magic happens.
- After your first braid cross, drop the bottom strand
- Let it hang freely (this becomes your “waterfall” piece)
- Pick up a new section of hair from behind and use it as your new bottom strand
Repeat this pattern:
- Cross top strand over the middle
- Drop the bottom strand
- Replace it with a new section
Step 4: Continue Across the Head
Keep repeating the same technique as you move along your head.
- Work horizontally from one side to the other
- Maintain even tension so the braid looks neat
- Make sure each dropped strand falls naturally
Take your time here. The more consistent your sections, the better the final look.
Step 5: Secure the Braid
Once you reach the other side:
- Finish with a regular braid for a few inches
- Secure it with a small hair tie or bobby pins behind your ear
If you prefer a seamless look, tuck the end under your hair and pin it discreetly.
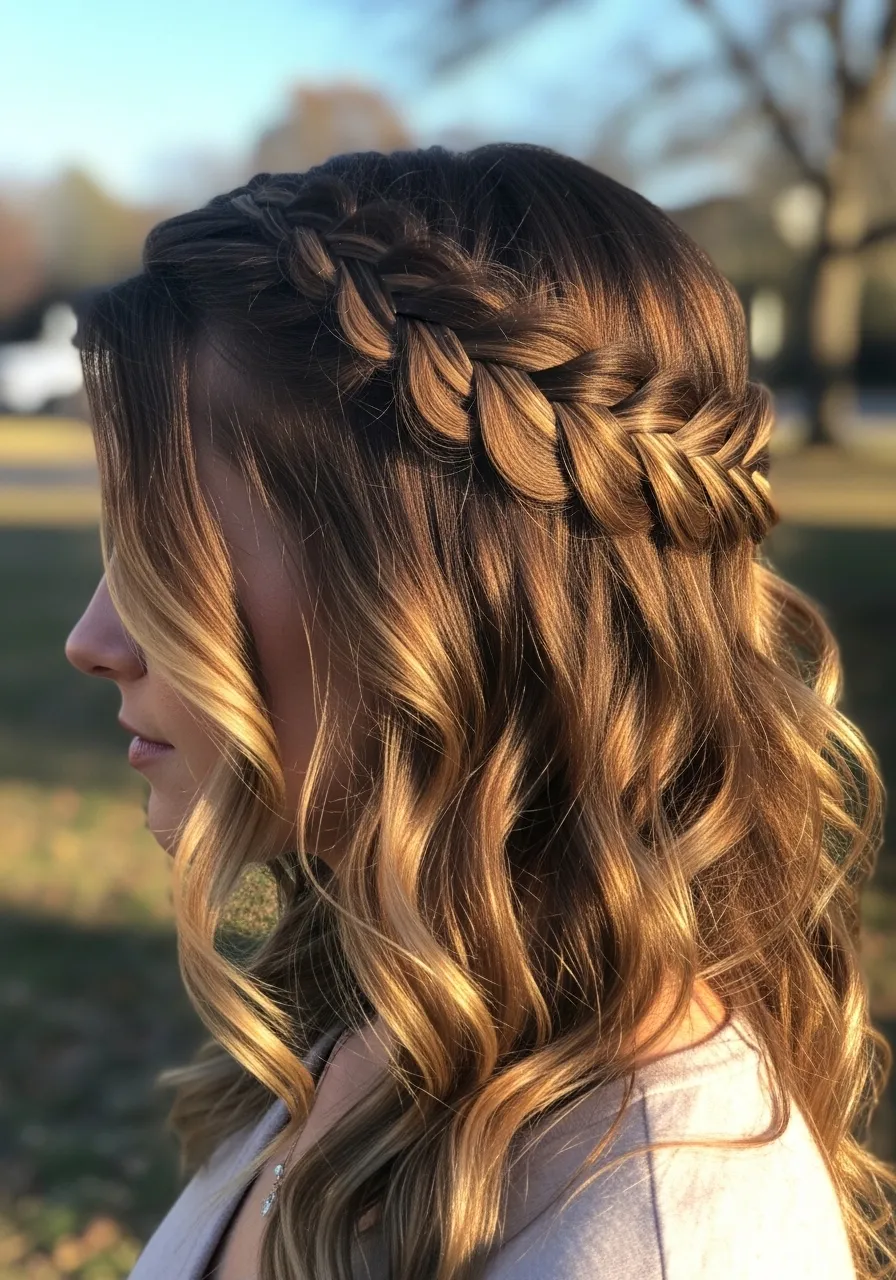
Step 6: Add Final Touches
Now it’s time to make your braid look fuller and softer.
- Gently pull the braid loops slightly for volume
- Curl the loose hair for a dreamy effect
- Use a light hairspray to hold everything in place
This step really enhances the overall style and gives it that Pinterest-worthy finish.
Easy Tips for a Better Waterfall Braid
If you’re trying this for the first time, these tips will help a lot:
- Practice on slightly dirty hair for a better grip
- Use a mirror setup (front + side) for better control
- Don’t worry if it’s messy at first—it actually looks more natural
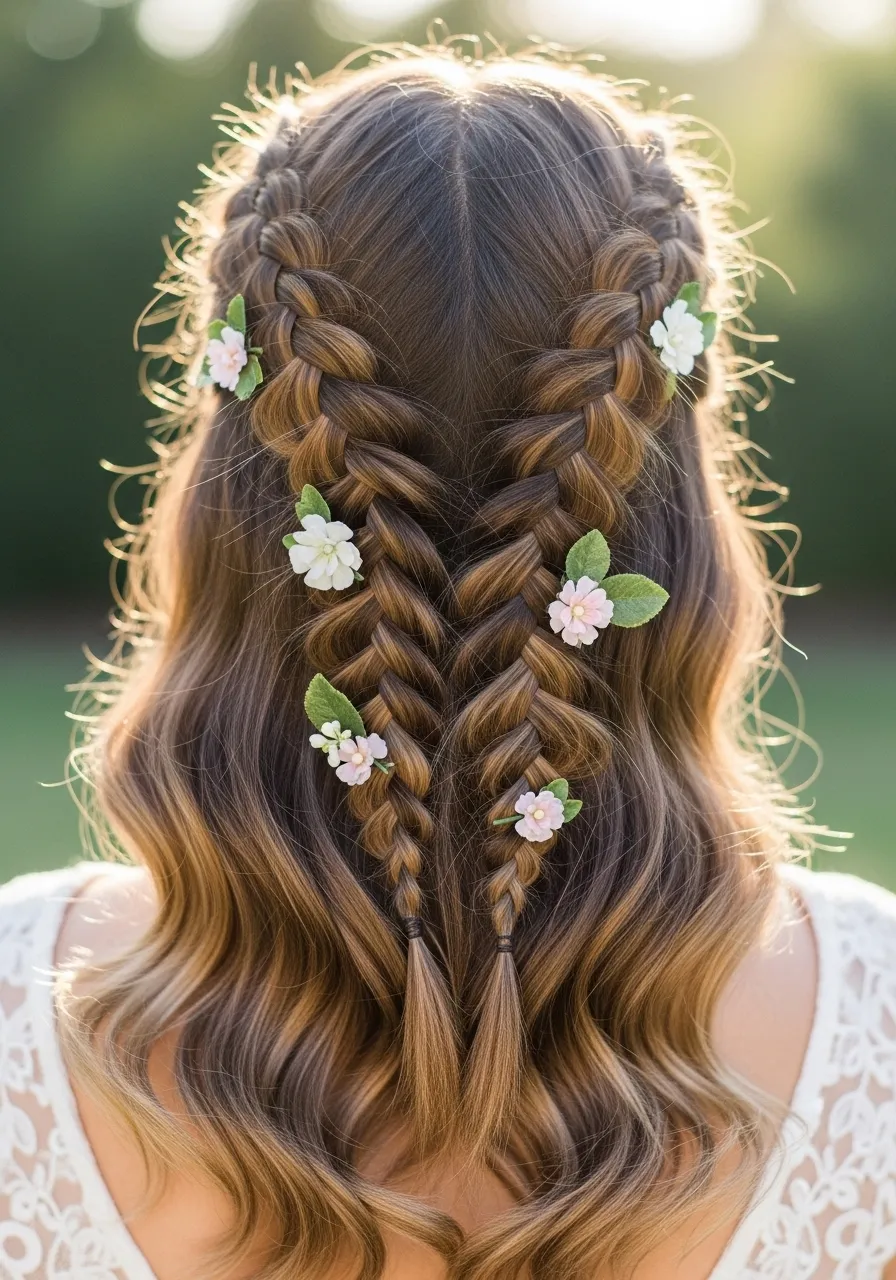
You can also experiment with:
- Double waterfall braids
- Half-up waterfall styles
- Adding accessories like clips or flowers
Final Thoughts
A waterfall braid might look complicated, but it’s really just a simple pattern once you get the hang of dropping and replacing strands. With a little practice, you’ll be able to create this beautiful style in minutes.
Try it once, then experiment with your own variations to match your vibe.
Save this guide for later and practice it only gets easier every time you try.
Leave a Reply