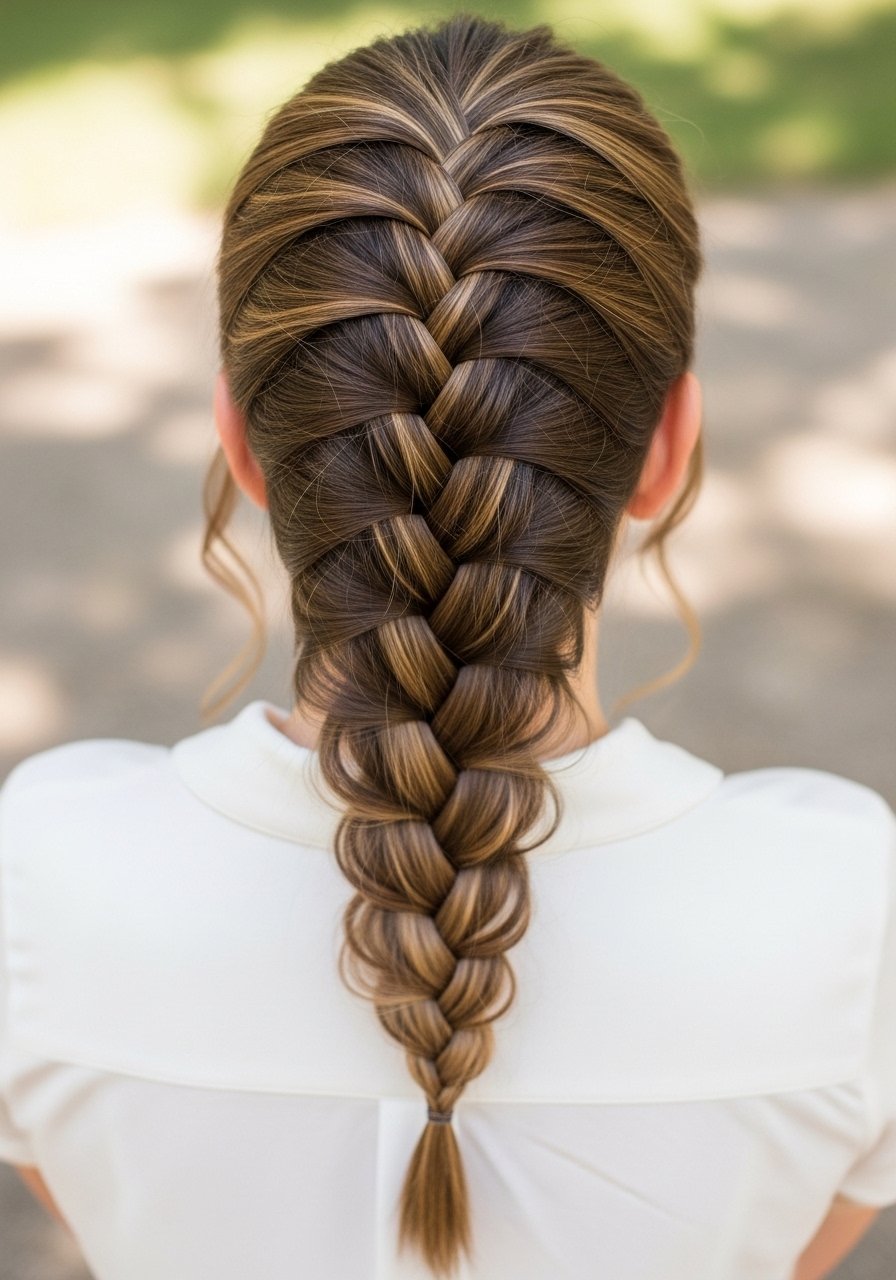
There’s something effortlessly elegant about a French braid. It’s neat, stylish, and works for everything from busy mornings to special occasions. But if you’ve ever tried to do one and ended up with tangled sections or uneven strands, you’re not alone. The good news? Once you understand the technique, it becomes second nature. If you’re learning how to do a crown braid, practicing clean sectioning and consistent tension can help you create a polished, wrap-around braided style that looks elegant and stays in place all day.
Let’s break it down into simple, beginner-friendly steps so you can master the perfect French braid without frustration.
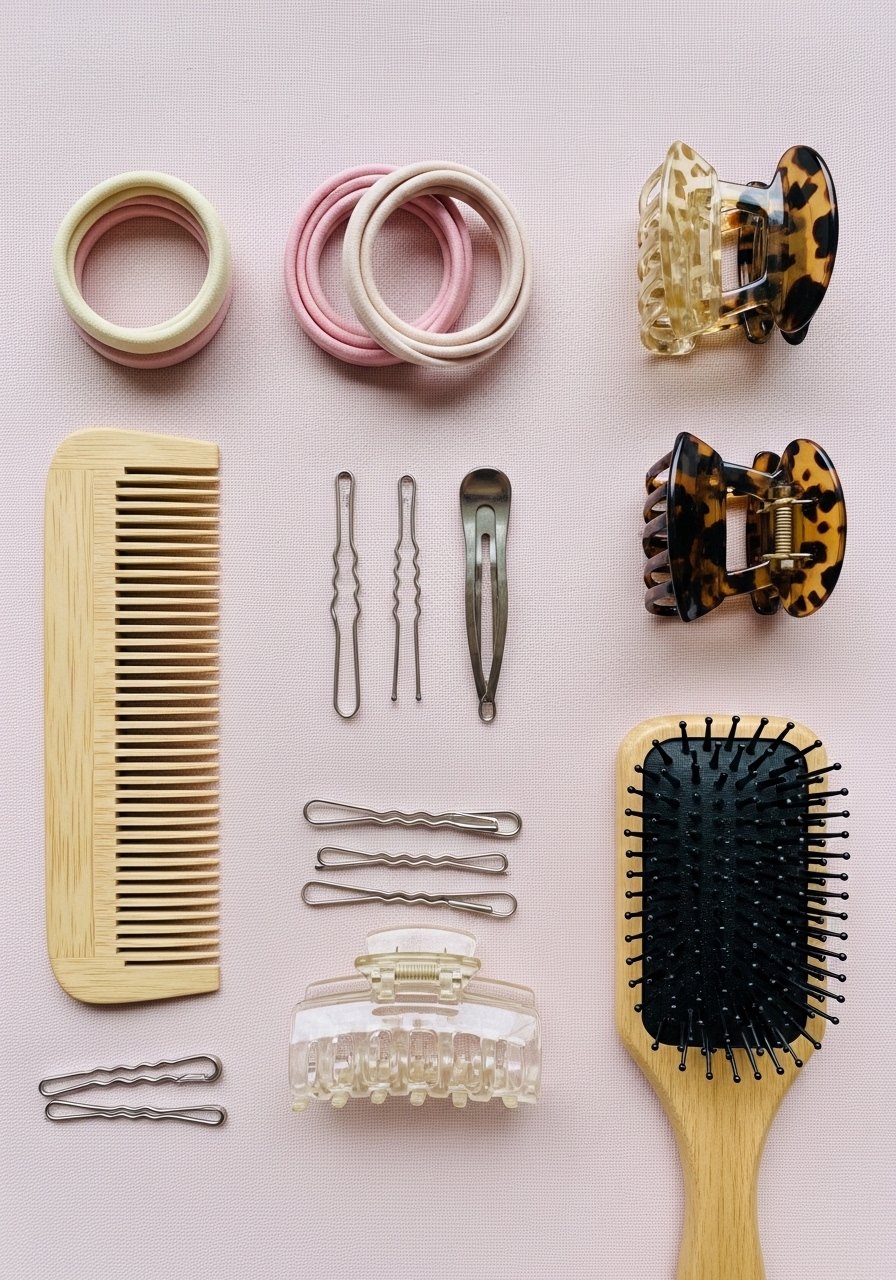
What You’ll Need Before You Start
Before diving in, make sure you’ve got everything ready. This helps make the process smooth and stress-free.
- A brush or comb (for detangling)
- Hair ties (preferably clear or matching your hair color)
- Optional: hair clips (to section hair)
- Optional: hairspray or styling cream (for flyaways)
Pro Tip: Slightly dirty hair (1–2 days after washing) is easier to braid because it has more grip.
Step 1: Brush and Prep Your Hair
Start by brushing your hair thoroughly to remove all knots and tangles. Smooth hair makes braiding much easier and cleaner.
- Brush from ends to roots to avoid breakage
- Apply a small amount of styling cream if your hair is very silky or slippery
- Decide where your braid will start (top center is most common)
Take a moment here—this step sets the foundation for everything else.
Step 2: Section the Top of Your Hair
Now comes the beginning of the braid.
- Take a small section of hair from the crown (top front of your head)
- Divide it into three equal strands
Think of this as the base of a regular braid. You’re just getting started.
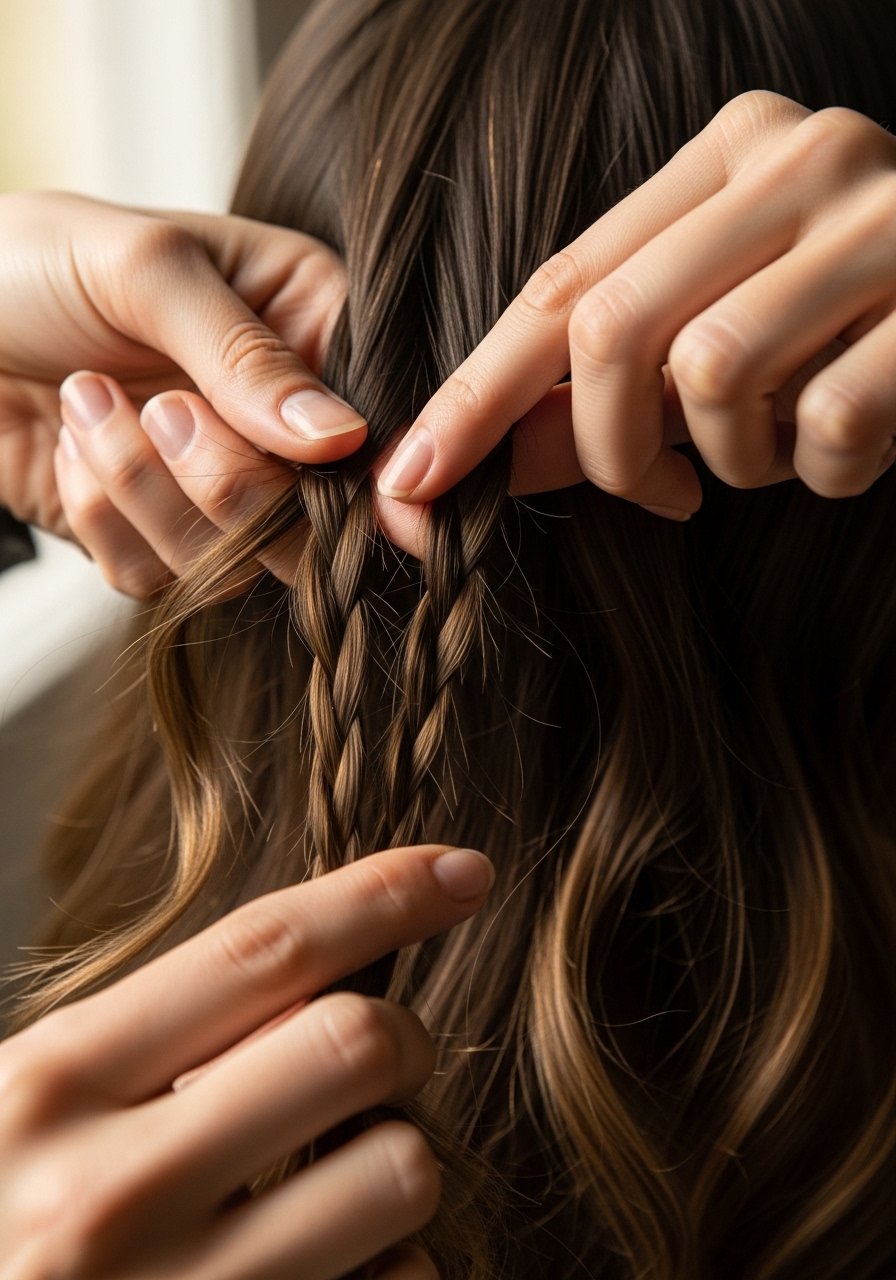
Step 3: Start a Basic Braid
Begin by crossing the strands just like a regular braid:
- Cross the right strand over the middle
- Then cross the left strand over the middle
At this point, you’ve created the starting pattern of your French braid.
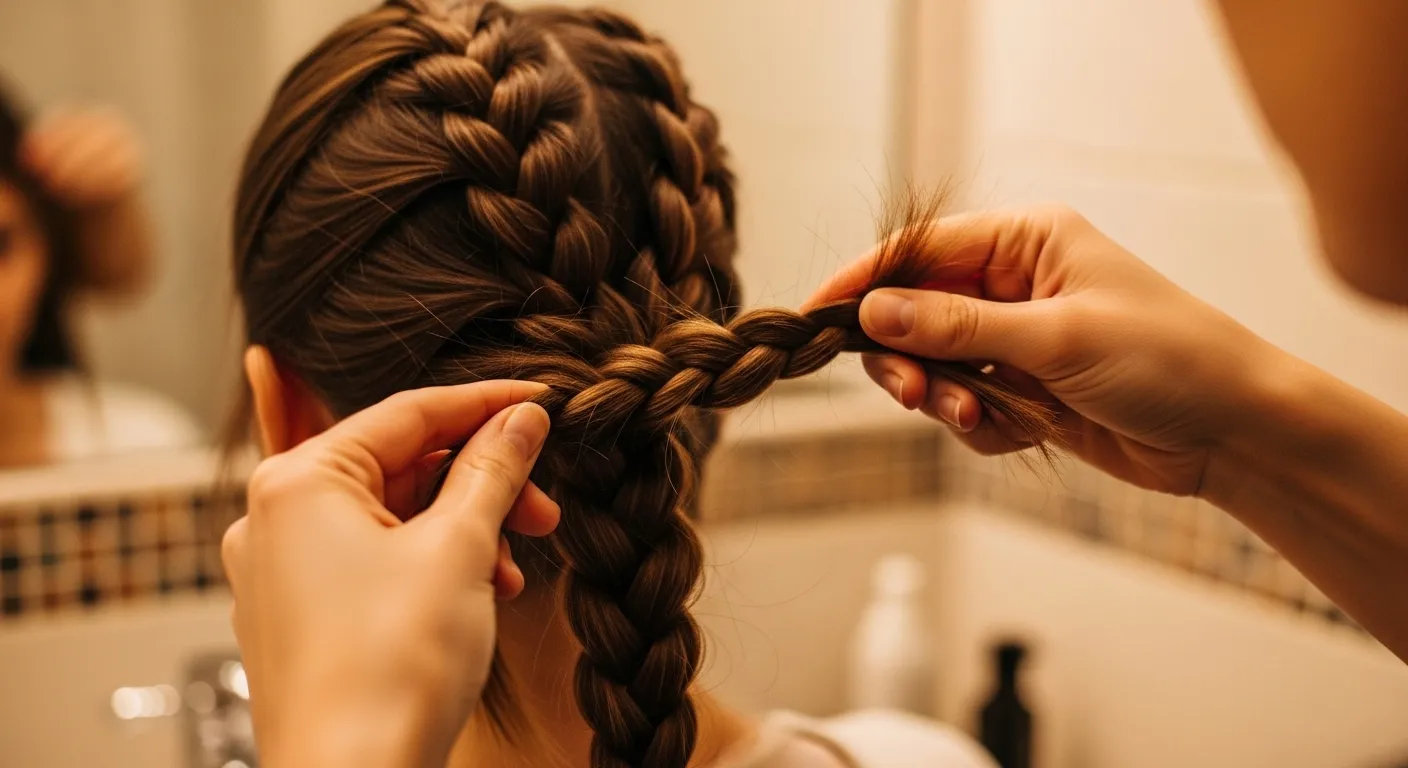
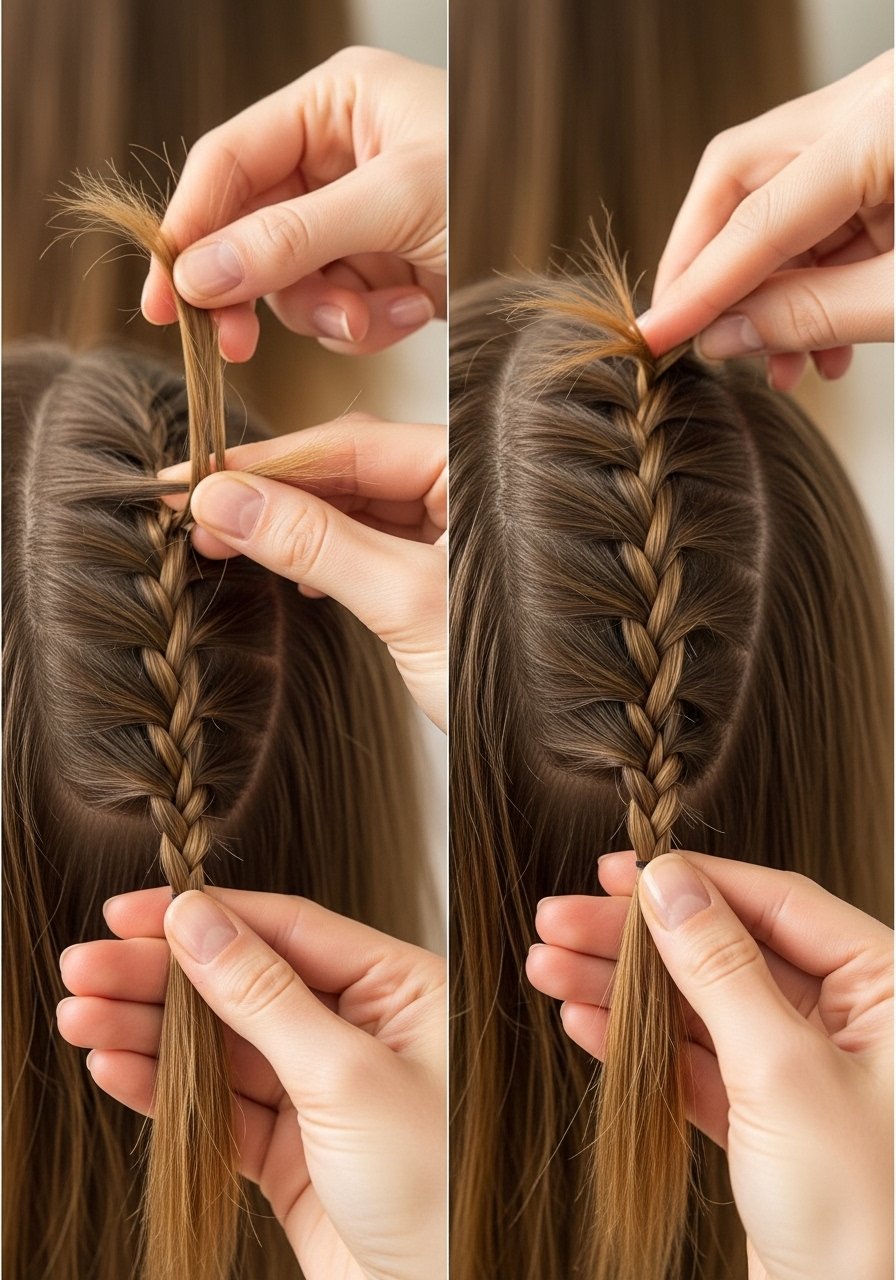
Step 4: Add Hair to Each Section
This is the step that transforms a regular braid into a French braid.
- Before crossing the right strand over the middle, add a small section of loose hair from the right side
- Do the same on the left side before crossing it over
Repeat this process:
- Add hair → cross over → switch sides
Take your time here. It may feel tricky at first, but your hands will quickly learn the rhythm.
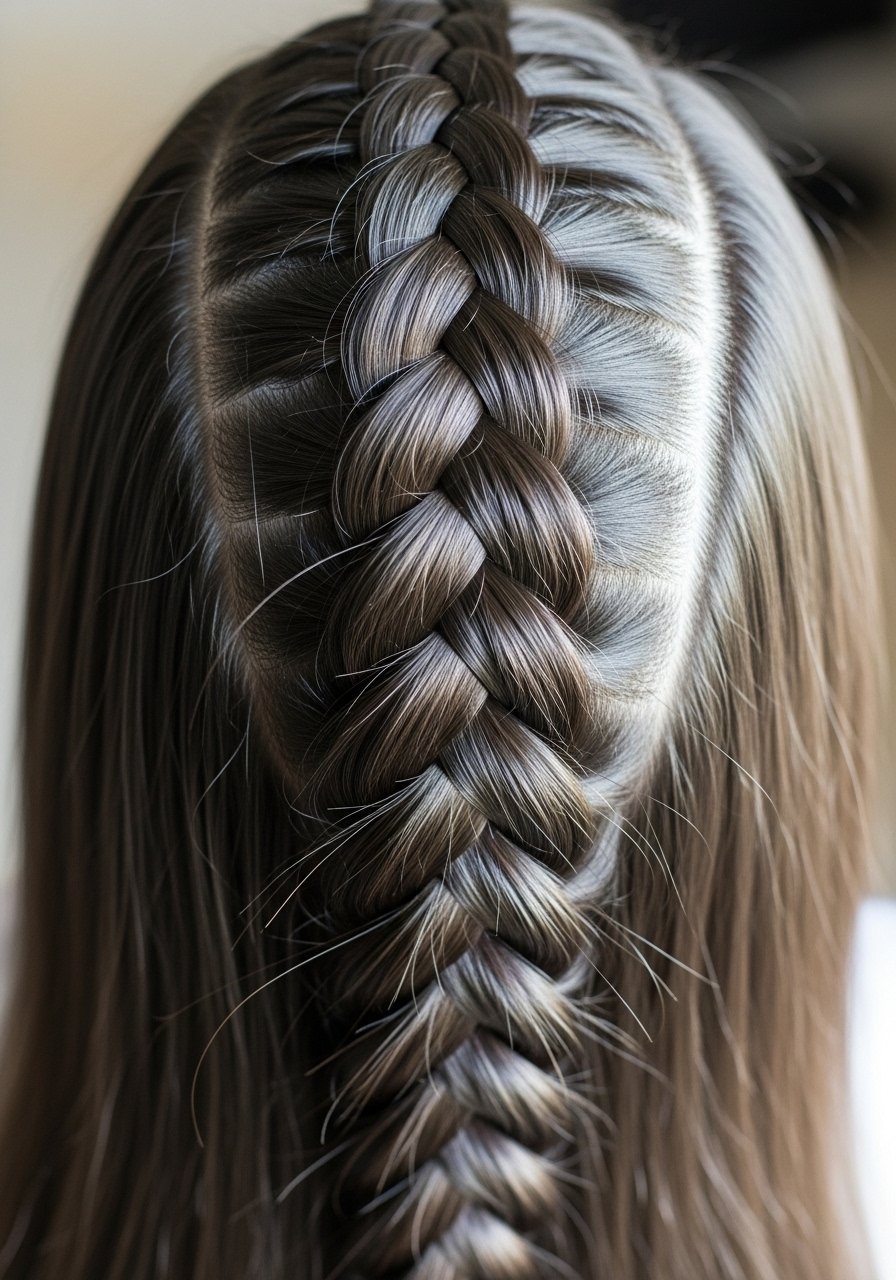
Step 5: Continue Down the Head
Keep adding sections of hair as you move downward.
- Maintain even tension (not too tight, not too loose)
- Try to keep the braid centered
- Smooth each section before adding it in
Once you reach the nape of your neck and there’s no more hair to add, continue with a regular three-strand braid.
Step 6: Secure the Braid
Finish your braid by tying it off with a hair elastic.
- Use a small, discreet hair tie for a polished look
- Gently tug on sections if you want a fuller, more relaxed braid (this is called “pancaking”)
Tips for a Perfect French Braid
If your braid doesn’t look perfect the first time, that’s completely normal. Here are some quick tips to improve:
- Practice on damp hair: It’s easier to control
- Use a mirror setup: Two mirrors help you see the back
- Start loose: You can always tighten later
- Keep sections even: This makes the braid look balanced
Beginner trick: Try practicing on someone else first. It’s often easier than doing your own hair.
Common Mistakes to Avoid
Avoid these pitfalls to get a cleaner, more professional braid:
- Taking uneven sections
- Pulling too tight (can cause bumps)
- Not smoothing hair before adding it
- Losing track of strands (this happens when just resetting and trying again)
Style Variations to Try
Once you’ve mastered the basic French braid, you can experiment with fun variations:
- Double French braids (perfect for sporty looks)
- Side French braid (romantic and soft)
- Messy French braid bun (effortlessly chic)
Each style builds on the same technique, so you’re already halfway there.
Final Thoughts
Learning how to do a French braid might feel tricky at first, but with a little patience and practice, it becomes quick and easy. It’s a timeless hairstyle that’s both practical and beautiful, and now you have the steps to do it yourself.
Give it a try today, experiment with styles, and keep practicing.
Leave a Reply