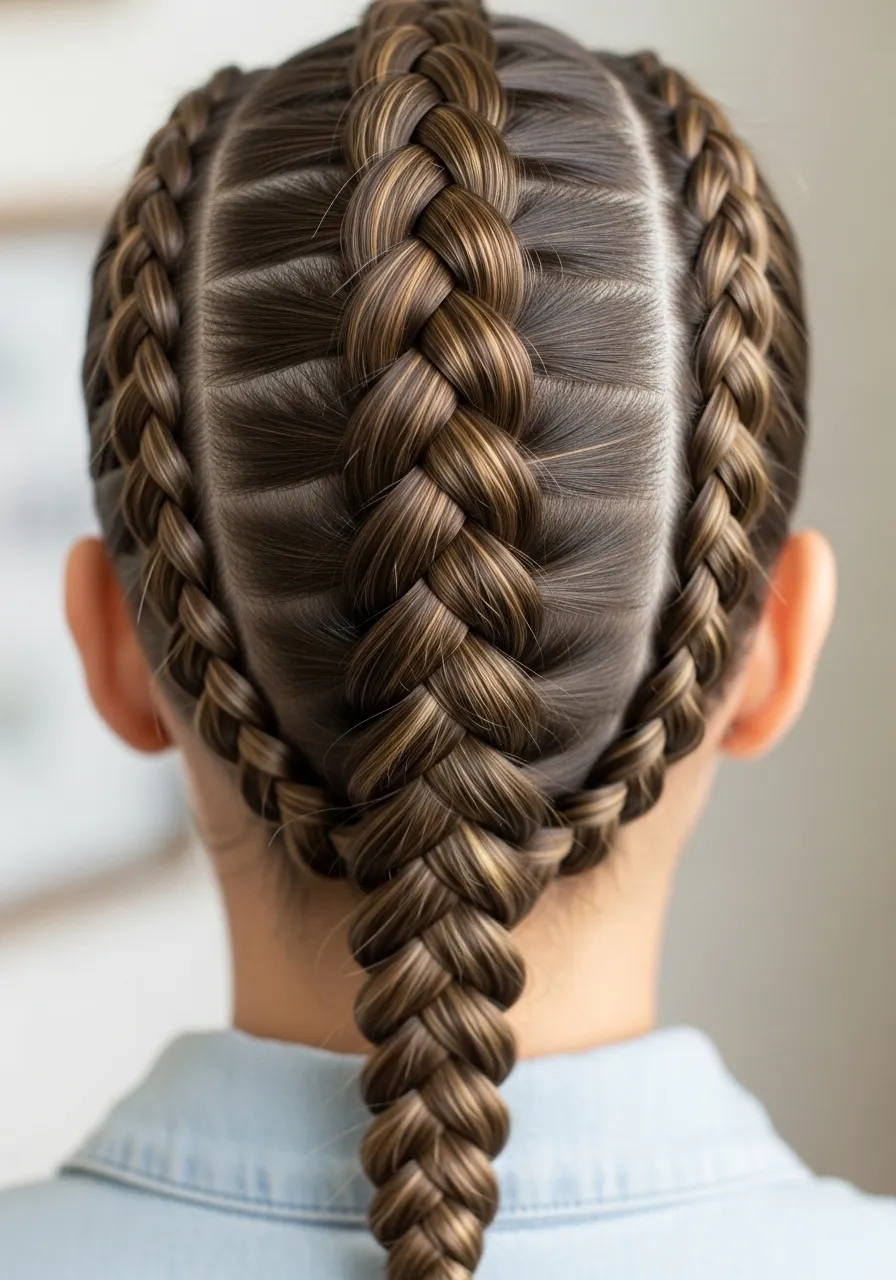
The Dutch braid is one of those hairstyles that looks detailed and impressive but is actually easy once you understand the technique. Often called the “inside out braid,” it stands out because the braid sits on top of the hair instead of blending in. Whether you’re going for a sporty look or something more polished, this braid works for almost any occasion. If you’re learning how to style curly hair naturally, working with your natural texture instead of against it can help you create defined, frizz-free styles that look effortless and healthy every day.
Let’s walk through it step by step so you can confidently create your own.
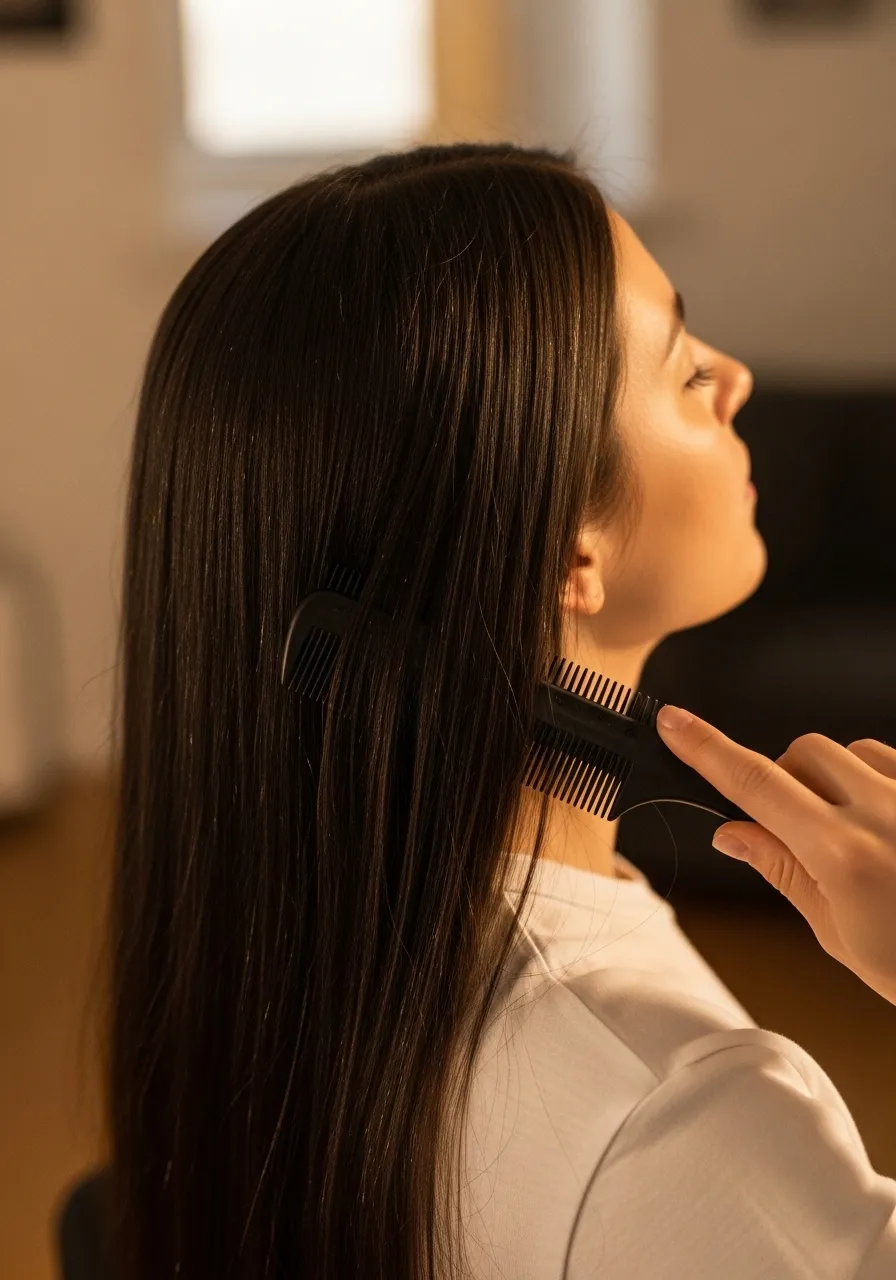
Start with Prepped Hair
Before braiding, make sure your hair is ready to work with. Slightly textured hair works best because it holds the braid more securely.
If your hair is too clean or slippery, you can add a bit of dry shampoo or texturizing spray for grip. Brush your hair well to remove any tangles so the sections stay smooth while braiding.
Section Your Hair Properly
Take a section of hair from the top front part of your head, near the hairline. Divide this section into three equal strands.
This is the foundation of your Dutch braid, so try to keep the sections neat and even. It will make the braid look more clean and structured as you go.
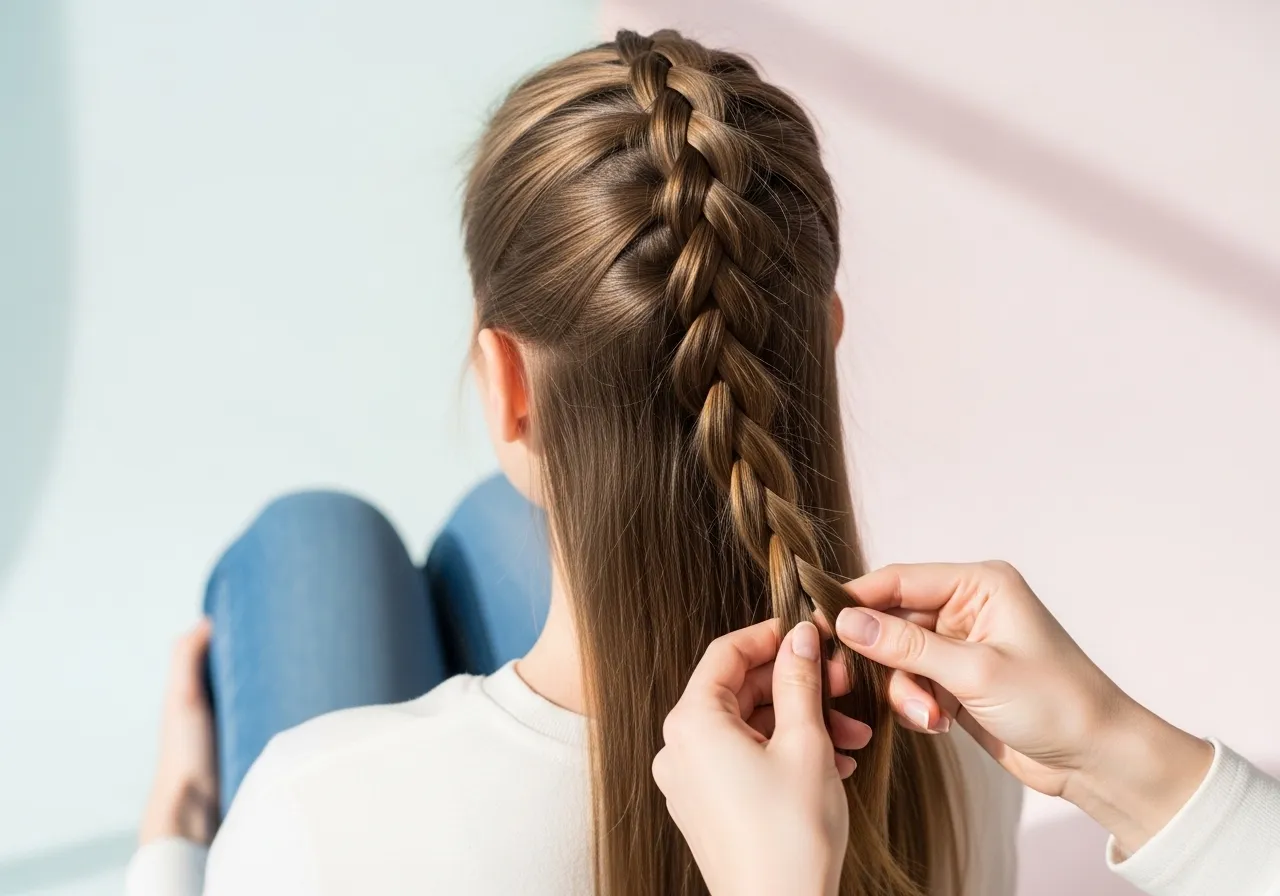
Begin the Dutch Braiding Technique
Here’s the key difference between a Dutch braid and a regular braid. Instead of crossing the strands over each other, you will cross them under.
Follow this pattern
Take the right strand and pass it under the middle strand
Then take the left strand and pass it under the middle strand
This creates that raised braid effect that Dutch braids are known for.
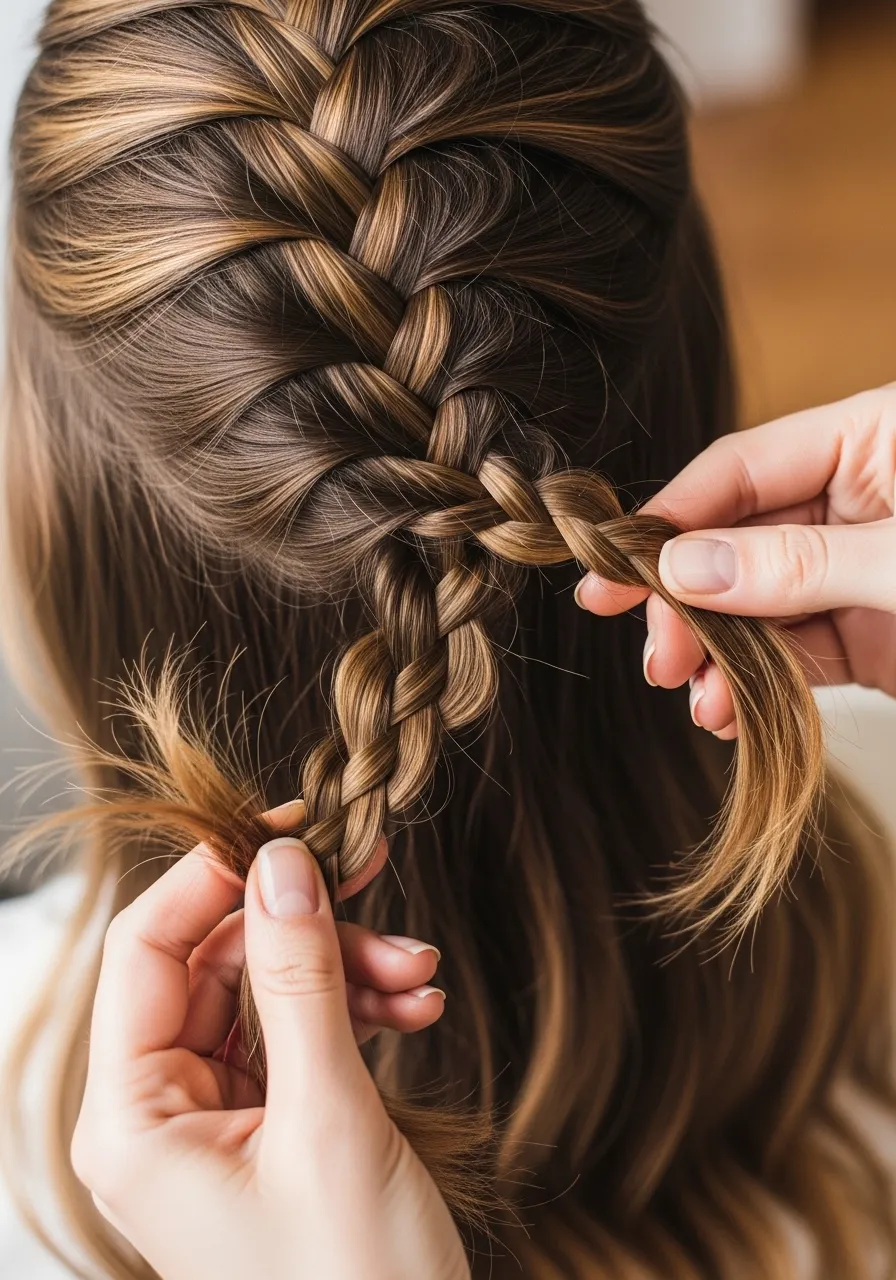
Add Hair as You Go
Now that you’ve started the braid, it’s time to build it.
Each time you cross a strand under, add a small section of hair from the side of your head before crossing it. Keep adding hair from both sides as you move downward.
Try to keep the tension even. Not too tight and not too loose. This helps your braid look neat and balanced.

Continue Braiding Downward
Keep repeating the same process all the way down your head.
As you move lower, make sure you are including all the hair into the braid. Once you reach the nape of your neck and there is no more hair to add, continue with a regular three strand braid using the same under crossing method.
Secure the end with a hair tie.
Adjust and Loosen for Volume
Once your braid is done, you can gently pull on the edges of the braid to make it look fuller. This step is optional but gives a softer, more voluminous appearance.
Be careful not to pull too hard. Just a slight tug on each section is enough to create that trendy, fuller braid look.
Fix Flyaways and Final Touches
To complete the look, smooth any flyaways with a bit of hairspray or light gel.
You can also style the front pieces of your hair or leave a few strands out for a relaxed vibe. Whether you keep it neat or slightly messy, the Dutch braid always looks stylish.
Final Thoughts
Learning how to do a Dutch braid step by step becomes much easier with practice. Once you get used to the underhand braiding technique, you will be able to create this look quickly and neatly.
It’s a versatile hairstyle that works for school, work, workouts, or even special events.
Save this guide for later and try it on yourself or a friend. With a little practice, you’ll master the Dutch braid in no time.
Leave a Reply