Hairstyle ideas for Wavy hair is one of the most beautiful textures to work with. It sits right between straight and curly, giving you the best of both worlds. You get movement, body, and natural definition without much effort. But a lot of people with wavy hair fight against it instead of working with it. The right hairstyle can completely change how your waves look and feel. Whether your waves are loose and beachy or tight and defined, there is a style that will work perfectly for you. This guide walks you through 24 hairstyle ideas that bring out the best in your natural texture. Each idea is practical, affordable, and easy to try at home. If you’re also exploring Long Hair Updo Ideas, elegant buns, braided twists, and soft pinned styles can help create a polished, versatile look that works beautifully for weddings, parties, and everyday sophistication while keeping long hair secure and stylish.
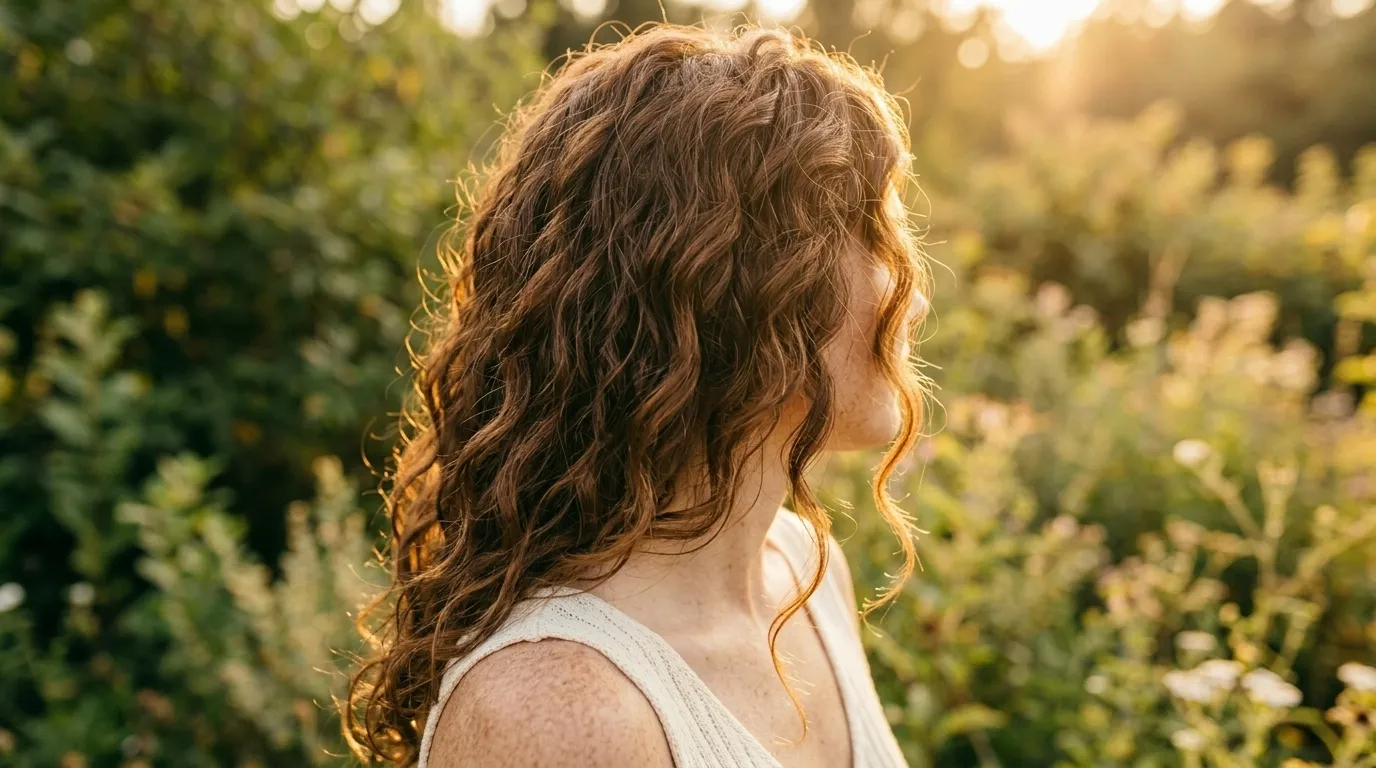
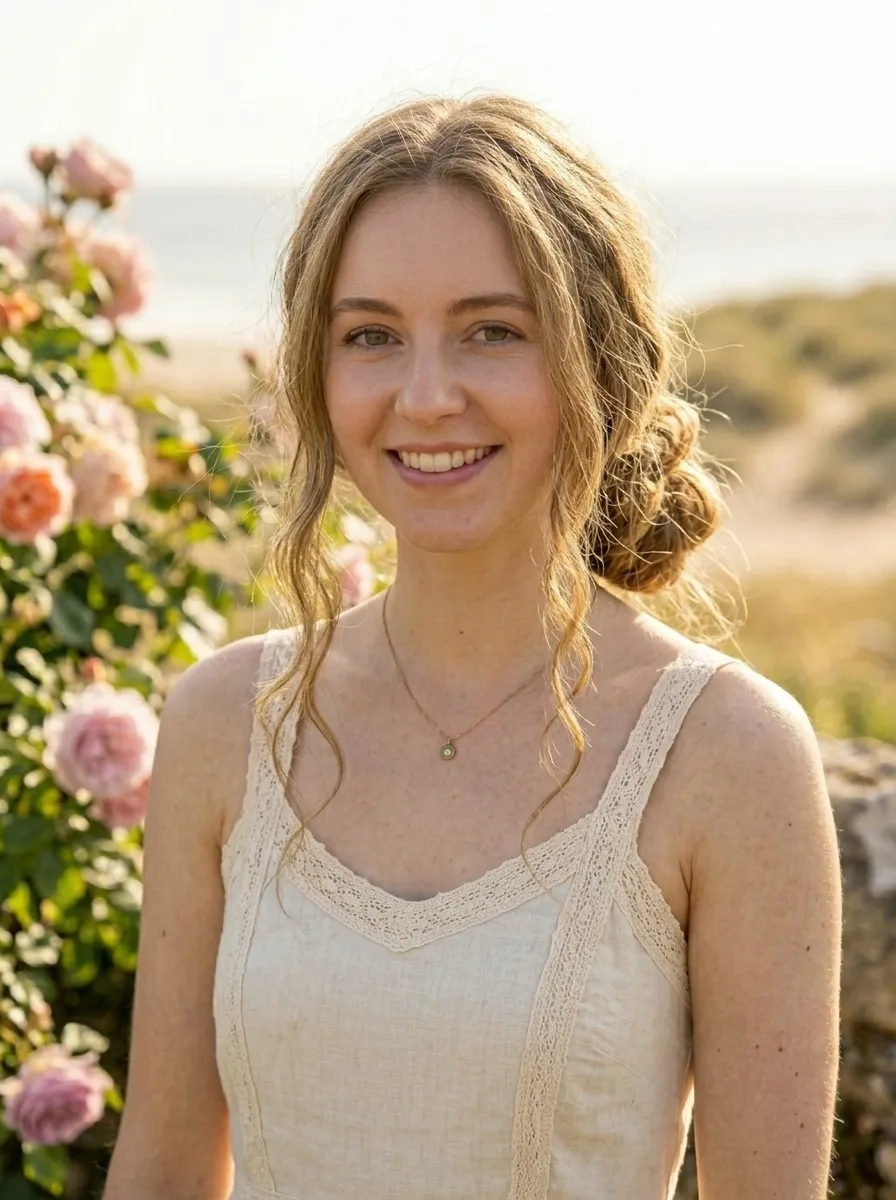
Loose Beachy Waves with a Center Part
The center part with loose beachy waves is one of the easiest styles to pull off with natural wavy hair.
You do not need a lot of products or tools to get this look.
Start with damp hair. Apply a lightweight mousse or curl cream from roots to ends. Then scrunch gently and let your hair air dry completely.
Once dry, flip your hair to one side to break up any stiffness. Then flip it back and part it down the middle with your fingers or a wide-tooth comb.
This is a style that looks effortless but actually takes almost no time at all.
Budget tip: Skip the salon-brand products. A drugstore curl cream like Cantu or Pantene Curl Perfection works just as well for under five dollars.
The center part flatters most face shapes. It opens up the face and lets your waves frame it naturally.
If your waves tend to fall flat by midday, a light mist of water mixed with a small amount of conditioner will revive them in seconds.
This is a go-to look for casual days, errands, or even casual work settings.
Half-Up Bun with Wavy Texture

The half-up bun is one of those styles that looks polished without actually trying hard.
It works beautifully with wavy hair because the waves that fall down add softness and texture around the face.
To do this at home, gather the top half of your hair into a loose bun at the crown of your head. Do not smooth it out. The messier it looks, the better it works with wavy texture.
Secure with a scrunchie or a soft elastic. Avoid tight hair ties as they can create dents and frizz.
DIY tip: Use a claw clip instead of an elastic. It holds the bun in place and adds a chic touch. Claw clips are available at most dollar stores.
Pull out a few face-framing pieces to soften the look even more.
This style is great for days when your waves are not perfectly defined. The bun hides any unevenness at the top while your natural texture does all the work at the bottom.
It takes less than two minutes and works for school, office, or a casual dinner out.
Low Ponytail with Wavy Pieces

A low ponytail with wavy hair looks elegant and put-together without requiring any heat styling.
The key is to keep it loose. A tight ponytail will flatten your waves. A relaxed one lets the texture breathe and stay intact.
Gather your hair at the nape of your neck. Use your fingers instead of a brush so you do not disrupt your wave pattern. Secure with a soft scrunchie.
Then pull out small sections around your hairline. These face-framing pieces make the look feel intentional instead of hasty.
Budget tip: If you want extra wave definition in the ponytail, spray it lightly with a saltwater spray. You can make this at home by mixing a teaspoon of sea salt into a cup of warm water in a spray bottle.
Wrap a thin strand of hair around the scrunchie to hide it if you want a more polished finish. Secure the end with a bobby pin underneath.
This ponytail works especially well for medium to long wavy hair. It keeps hair off your face while still showing off your natural texture.
Braided Crown with Loose Waves
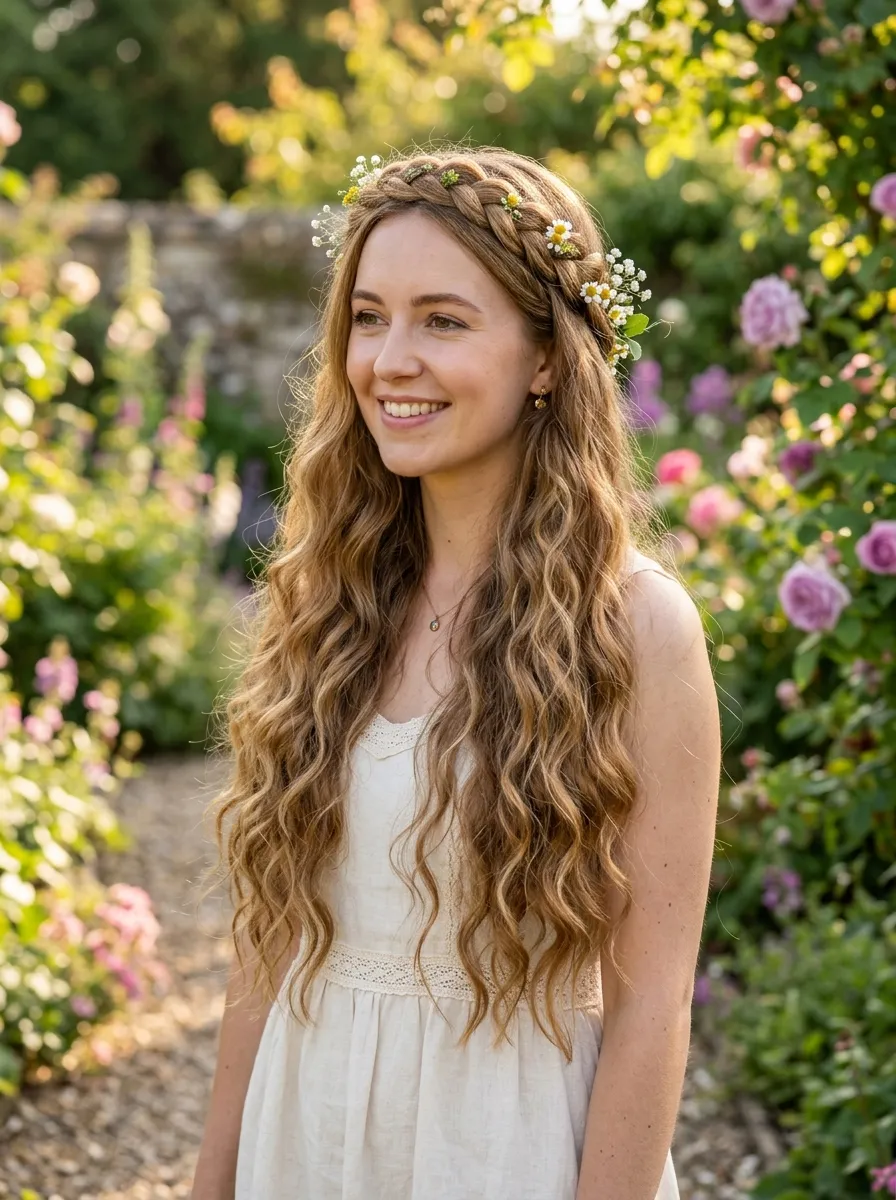
A braided crown is a romantic and effortless style that works perfectly with wavy hair.
You do not need perfectly neat braids for this to look beautiful. In fact, a slightly loose and imperfect braid looks even better with wavy texture.
Start by parting your hair down the middle. Take a section from one side near the front and braid it loosely. Bring the braid across the top of your head and pin it on the opposite side with bobby pins.
Repeat on the other side and pin behind the first braid.
DIY tip: Use bobby pins that match your hair color so they disappear. You can buy a pack of 50 for under two dollars at any pharmacy.
Leave the rest of your waves down and natural. The contrast between the neat braid on top and the flowing waves below is what makes this style look so beautiful.
Gently tug at the braid loops to loosen them and give the crown a softer shape.
This style is perfect for weddings, outdoor events, or any day you want to feel a little dressed up without spending time at a salon.
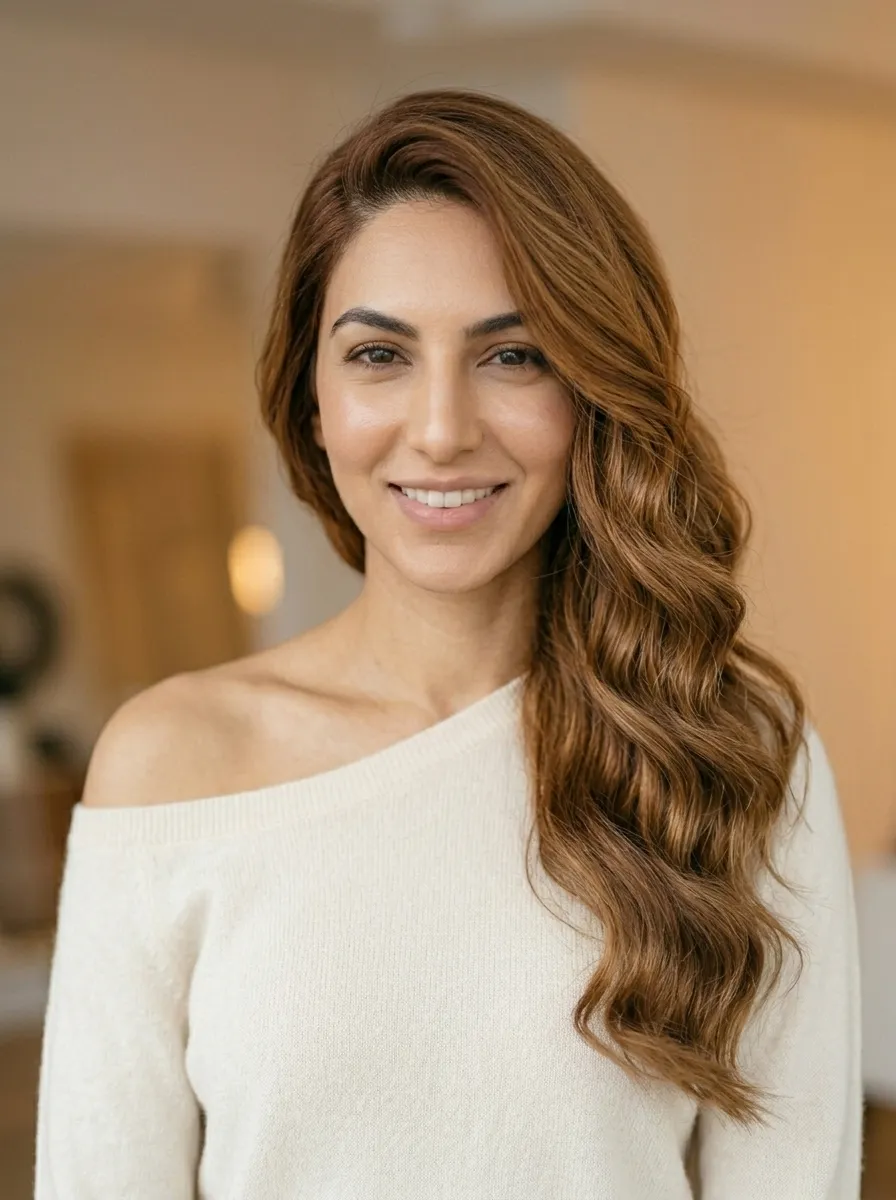
Side-Swept Waves
Sweeping all your waves to one side is one of the simplest ways to make your natural texture look intentional and styled.
All you do is let your hair dry naturally with your usual routine. Once dry, use your fingers to sweep all your waves over one shoulder.
Apply a small amount of hair oil or serum to smooth the top layer slightly and add shine. Then let the waves fall naturally.
Budget tip: Argan oil from the drugstore works just as well as high-end hair serums for a fraction of the price. A small bottle costs around four dollars and lasts for months.
The side sweep works especially well for photos, dates, or events. It frames the face beautifully and draws attention to your wave pattern.
You can also use a single bobby pin on the opposite side to keep the hair swept in place throughout the day.
This style pairs well with off-shoulder tops and necklines that benefit from showing more of the neck and shoulder.
It is one of those looks that seems like you put in effort when really you only spent thirty seconds on it.
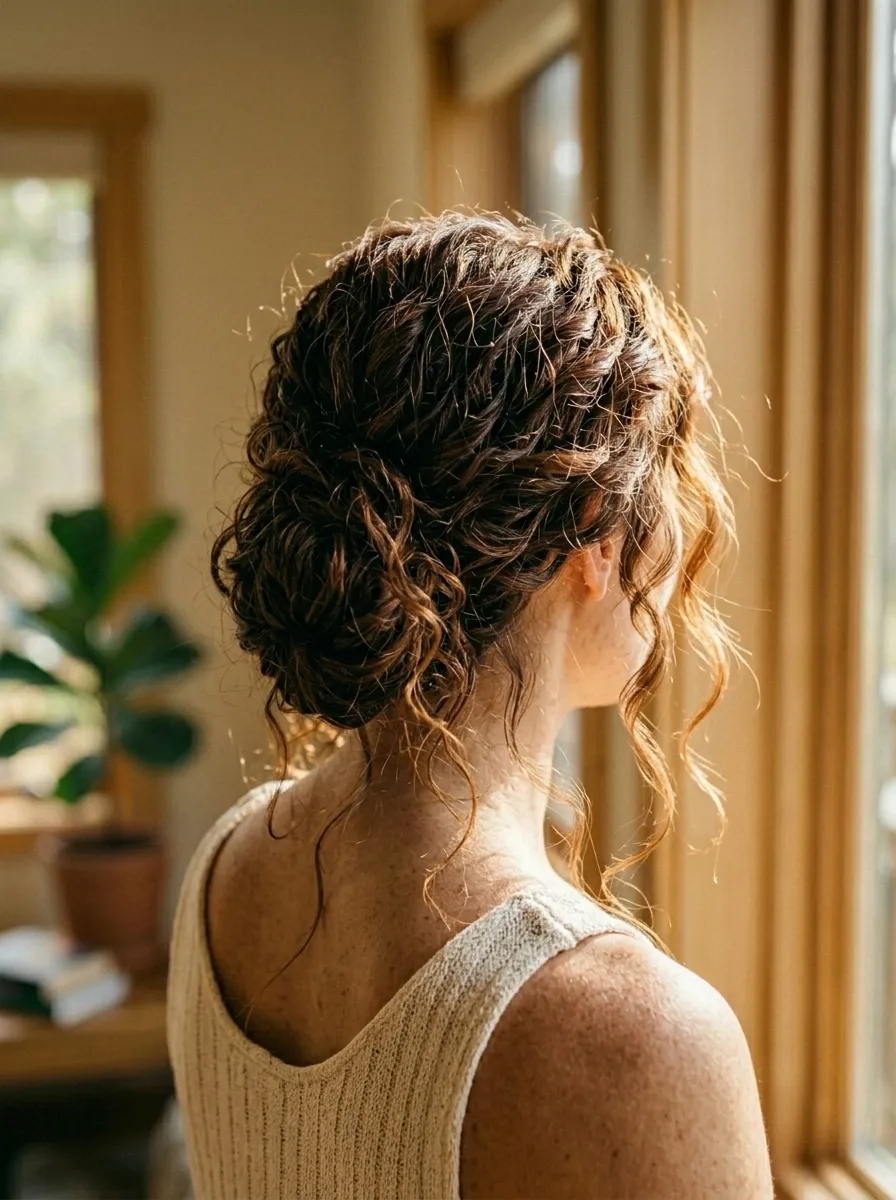
Textured Updo with Wavy Layers
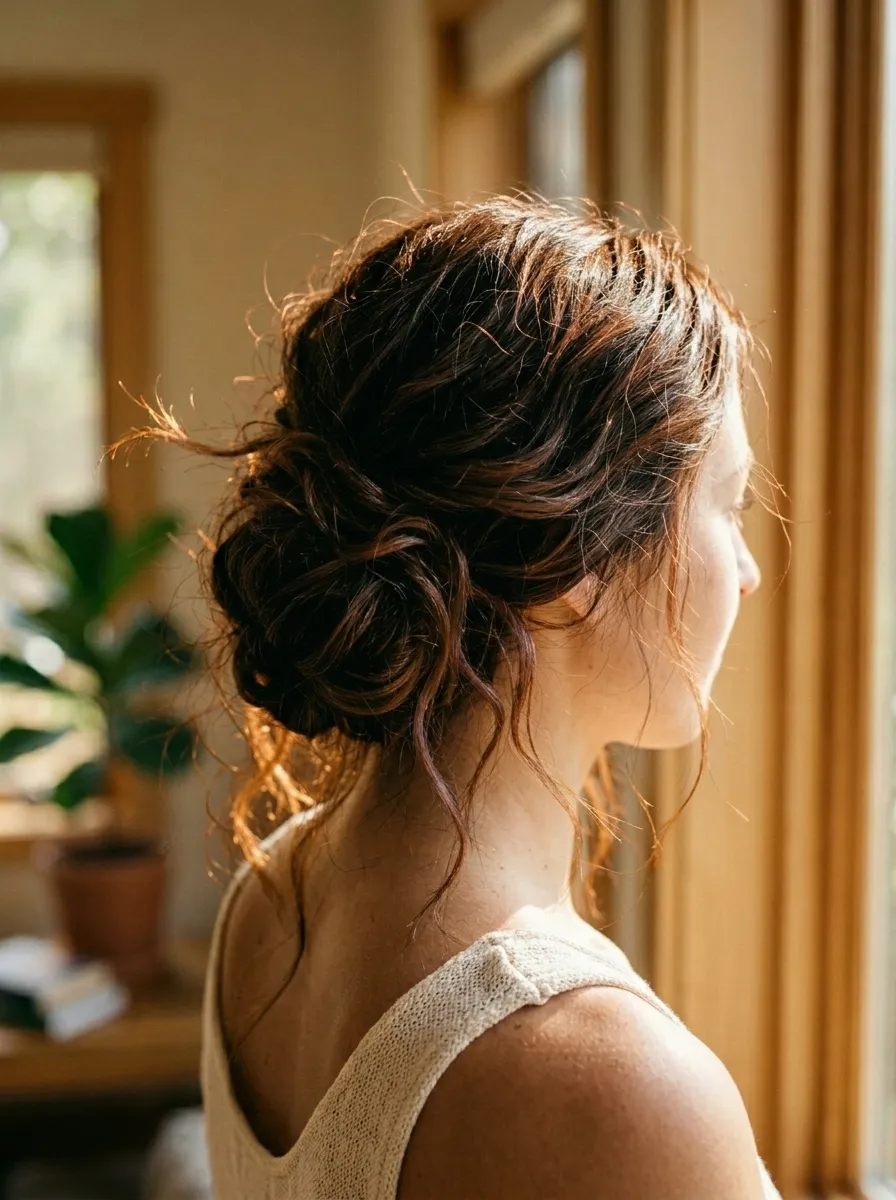
A textured updo is different from a sleek updo. It embraces the natural volume and wave of your hair instead of fighting against it.
To create this look, flip your head upside down and gather your hair into a loose bun or twist at the crown. Do not smooth any flyaways.
Secure with a large elastic or claw clip. Then use your fingers to pull pieces out and around the base of the bun.
The goal is controlled messiness. You want it to look full, lived-in, and relaxed.
DIY tip: Use hairpins to tuck any pieces that fall too far. These are different from bobby pins as they are longer and grip more hair. A pack costs under two dollars.
Spritz with a light-hold hairspray once done to keep everything in place without making it stiff.
This updo works well on second or third-day hair because the natural oils and texture actually help the style hold better.
It suits all wave types and works for both casual and more formal occasions depending on how polished you make the base of the bun.
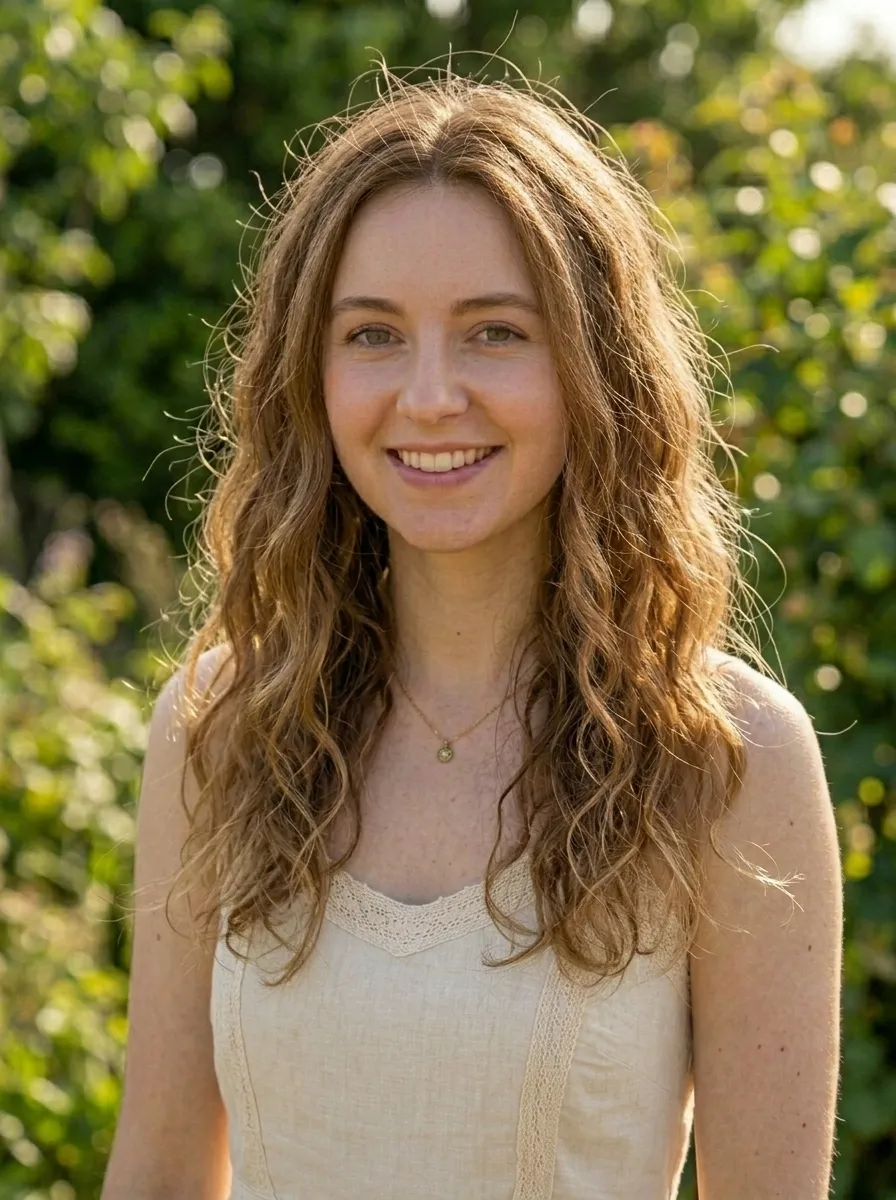
Messy Waves with Face-Framing Layers
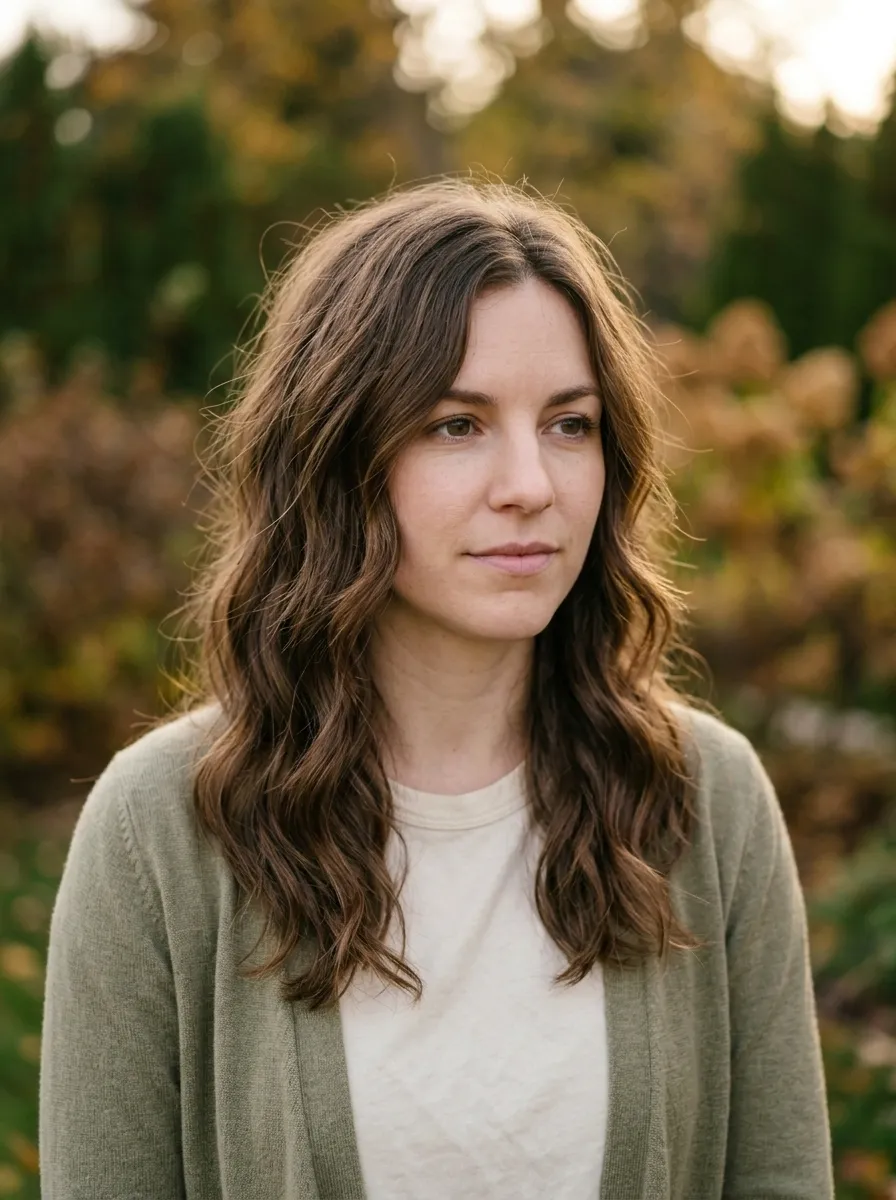
Face-framing layers are one of the most effective ways to enhance natural wavy hair.
If you already have layers, great. If not, even a quick trim at home with sharp scissors to cut a few soft pieces around your face can make a difference.
The key is letting those shorter front layers do their thing. Do not pin them back or clip them away. Let them fall around your face as your waves define them naturally.
Budget tip: Ask for face-framing layers next time you visit a budget salon or student hair school. Most schools charge under ten dollars for a basic cut.
When styling, scrunch the front pieces specifically so they stay wavy instead of going straight and flat against your face.
A dime-sized amount of curl cream worked through those front layers after washing will help them hold their wave longer.
This style works best for oval, round, and heart-shaped faces. The layers draw attention to your features while your waves add fullness around them.
You do not need to do anything special with this style. Just let your waves dry naturally and the layers take care of the rest.
Wavy Pigtails

Pigtails are not just for children. On wavy hair they look incredibly stylish and playful.
The trick is keeping them low and loose. High pigtails can look childish on adults, but low pigtails sitting just below each ear or at the nape create a cool, casual aesthetic.
Part your hair down the middle and bring each side into a low loose ponytail. Secure with small soft elastics or scrunchies.
Let the waves fall naturally without brushing them out. The texture is what makes this style look so good.
DIY tip: Twist each pigtail loosely before tying to add extra definition to the waves inside. Let them air dry in the twist if your hair is damp for even more texture.
You can also braid the pigtails loosely instead of leaving them plain for a different variation.
Pull a few short strands out around your face to soften the part line.
Wavy pigtails work great for gym days, casual outings, or outdoor activities where you need hair off your face but still want to look put-together.
Sea Salt Spray Defined Waves
Sea salt spray gives wavy hair the kind of texture and definition that usually only happens at the beach.
The good news is you do not need to live near an ocean to get this look.
You can buy sea salt spray at a drugstore for around five dollars. Or make your own at home: dissolve one teaspoon of sea salt and half a teaspoon of coconut oil into one cup of warm water. Pour into a spray bottle and shake well.
Apply to damp or dry hair, scrunching as you go. Let air dry or use a diffuser on low heat.
Budget tip: The homemade version costs almost nothing and works just as well as most store-bought sprays.
This spray works best on hair that has some natural wave to it. It enhances the texture already there rather than creating waves from scratch.
Do not overuse it. Too much salt can dry out your hair over time. Use it two to three times a week at most.
Finish with a light touch of hair oil to keep the texture without the dryness.
This is one of the most popular techniques for getting effortless, natural-looking wavy hair at home.
Wavy Hair with Headband

A headband can instantly elevate a simple waves-down style into something that looks thoughtfully put together.
The best headbands for wavy hair are thin fabric ones or simple elastic styles. They hold hair off your face without flattening the wave at the crown.
Place the headband a few inches back from your hairline so some waves fall forward and frame your face. This creates more softness than pushing all your hair back tightly.
Budget tip: Fabric headbands come in multipacks at dollar stores and discount shops. You can get five to ten for under three dollars.
Velvet headbands are especially popular right now and look great with wavy textures. They add a rich look without any effort.
Avoid pushing the headband too far back on your head. That tends to look less intentional and can cause hair to bunch.
If you have shorter layers that fall out of the headband, just leave them. Those loose pieces add charm to the look.
Pair this with any wave style from casual waves-down to a low bun with waves falling around it.
Twist-Out Waves
A twist-out is a technique that creates beautifully uniform waves using nothing but your fingers and a bit of product.
Start with damp hair. Apply curl cream or a light gel throughout. Then twist small sections of your hair into tight coils from roots to ends.
Leave the twists in until your hair is completely dry, either air dried or diffused. This usually takes a few hours.
Once dry, unravel each twist slowly and gently with your fingers. Do not use a brush or comb at this stage.
DIY tip: After unraveling, scrunch your hair lightly to separate the waves without losing definition.
The longer you leave the twists in, the more defined the waves will be.
A twist-out works especially well for people with looser wavy patterns who want more defined and uniform waves without heat.
Budget tip: Any curl-defining cream under five dollars works well for this technique. The brand matters far less than the method.
This is a great option for special occasions when you want polished waves without a curling iron.
Effortless Waves with Diffuser

A diffuser attachment for your hair dryer is one of the best tools you can own for wavy hair.
It dries your hair without blasting direct heat that disrupts the wave pattern. Instead, the air circulates gently around each wave to set it in place.
Dry your hair upside down with the diffuser for the first few minutes to build volume at the roots.
Then flip back up and continue diffusing section by section on a medium heat and low airflow setting.
Budget tip: Basic diffuser attachments that fit most hair dryers are available online for under five dollars. You do not need a salon-grade dryer to get results.
Use a curl cream or mousse before diffusing for better definition and hold.
Do not touch your hair while diffusing. Letting the waves set without disruption gives you better results.
Once dry, flip your hair and scrunch out any crunchiness if you used a stronger product.
The diffuser method significantly reduces frizz compared to air drying in humid conditions and gives you more volume with the same natural wave pattern.
Wavy Bob

A wavy bob is one of the most flattering haircuts for people with natural wave texture.
The length cuts off right at the chin or just below the jaw, which means your waves have the perfect amount of length to curl and move without getting weighed down.
You do not need to do much to style a wavy bob. A little curl cream on damp hair, air dried naturally, gives you a beautiful finished result.
Budget tip: Budget salons and beauty schools can cut a basic bob for under fifteen dollars. Show them a reference photo of a natural, undone wavy bob so they do not over-layer or thin out your waves.
One thing to watch: avoid too much thinning or texturizing in a wavy bob. This can make your waves frizzy and inconsistent. Ask your stylist to use point-cutting instead.
A wavy bob with a deep side part gives you a slightly vintage, glamorous look. A center part gives you something more modern.
This cut works for almost all wave types and is especially good if you are growing out damaged hair and want to keep your healthiest wave texture showing.
Wavy Low Bun
A low bun is one of the most practical everyday styles for wavy hair.
Because your waves are not perfectly smooth, the bun ends up with a beautiful textured, organic quality that smooth hair cannot replicate.
To make the low bun work best, gather your hair at the nape of your neck and twist it into a bun shape without over-smoothing. Pin with a few large bobby pins or a claw clip.
Leave some waves loose around your face and ears for a softer look.
DIY tip: Twist the ponytail before wrapping it into a bun to create more texture in the bun itself and a more interesting shape.
For a more formal look, smooth just the top surface with a light brush and leave the bun part textured. This gives you a polished crown with effortless body below.
Budget tip: Two-packs of large bun clips or claw clips are available at dollar stores and discount shops for under two dollars.
The low bun keeps hair off your face and neck, making it a great option for hot days, work days, or any situation where you need practical but still stylish hair.
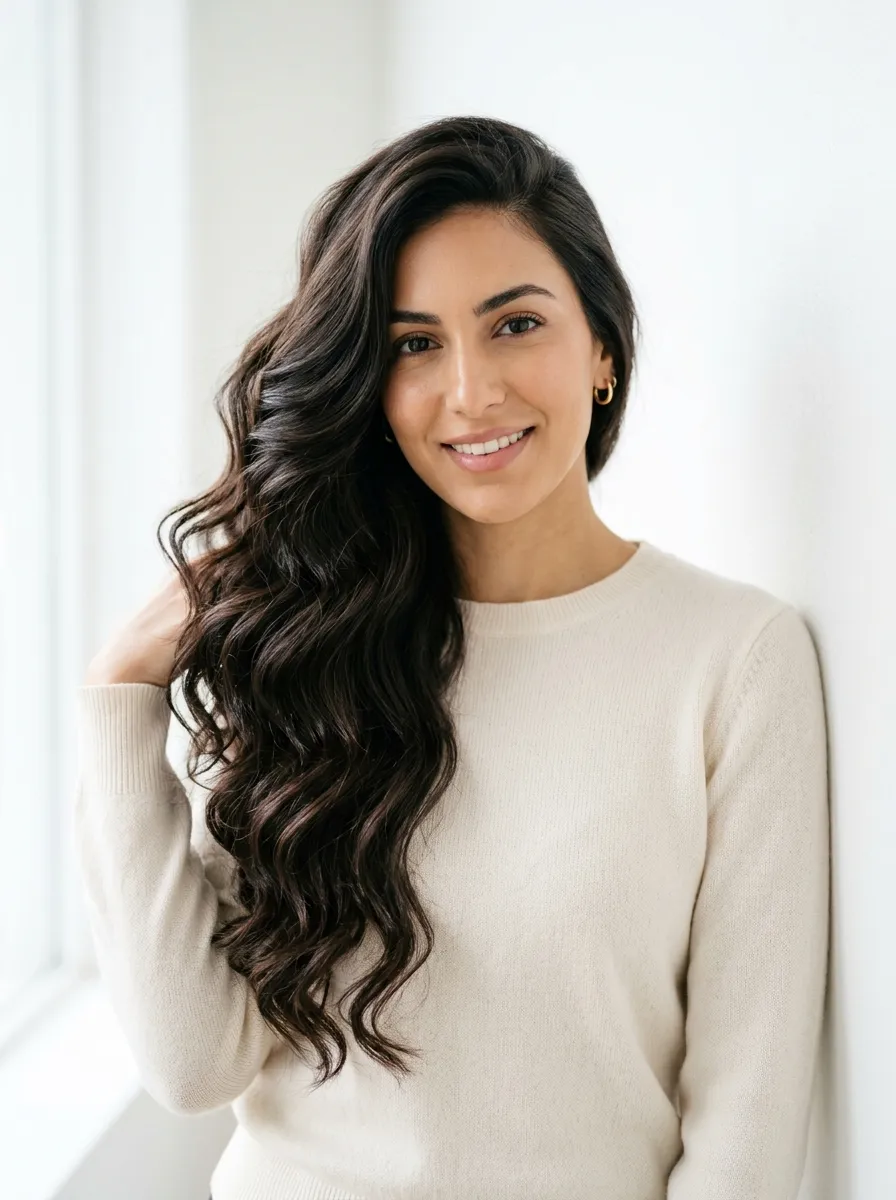
Wavy Hair with Deep Side Part
A deep side part completely changes the shape of your wavy hairstyle.
Instead of waves falling evenly on both sides, a deep side part makes all your waves sweep dramatically in one direction. It creates volume, dimension, and an elegant feel.
To get this look, make the part as close to one ear as possible. Use the end of a fine-tooth comb or just your fingers.
Let your waves fall to the heavier side naturally. You may need to use a bobby pin on the lighter side to hold the part in place early on.
Budget tip: Using a little curl cream or styling product on the lighter side helps it stay swept over instead of popping back to the center.
The deep side part works exceptionally well for longer wavy hair. It shows off the length and the wave pattern at the same time.
This part also creates what people call curtain bangs naturally if you have shorter face-framing layers. Those layers fall forward and frame the face in a very flattering way.
Try this style for photos, events, or any day you want your wavy hair to look intentional and chic without any heat.
Wavy Hair Overnight Braid Waves
Overnight braids are one of the oldest tricks for adding wave definition to hair without any heat.
If you want more uniform or defined waves than your natural texture gives you, this is an easy and completely free method.
Before bed, wash your hair or lightly dampen it. Apply a small amount of curl cream or leave-in conditioner. Then braid your hair into two or three loose braids and secure the ends.
Sleep on the braids overnight and undo them in the morning. The longer and looser the braid, the softer and wavier the result.
Budget tip: This method costs absolutely nothing if you already have a hair elastic.
Scrunching after releasing the braids will loosen them and make the waves look more natural and less uniform.
The tighter and more numerous the braids, the more defined and crimped the waves. Experiment to find what gives you your preferred wave shape.
This technique also protects your hair while you sleep and reduces the friction and frizz that comes from sleeping with hair loose.
It works for all lengths and most hair types. Even people with naturally straight hair can get beautiful waves using this method.
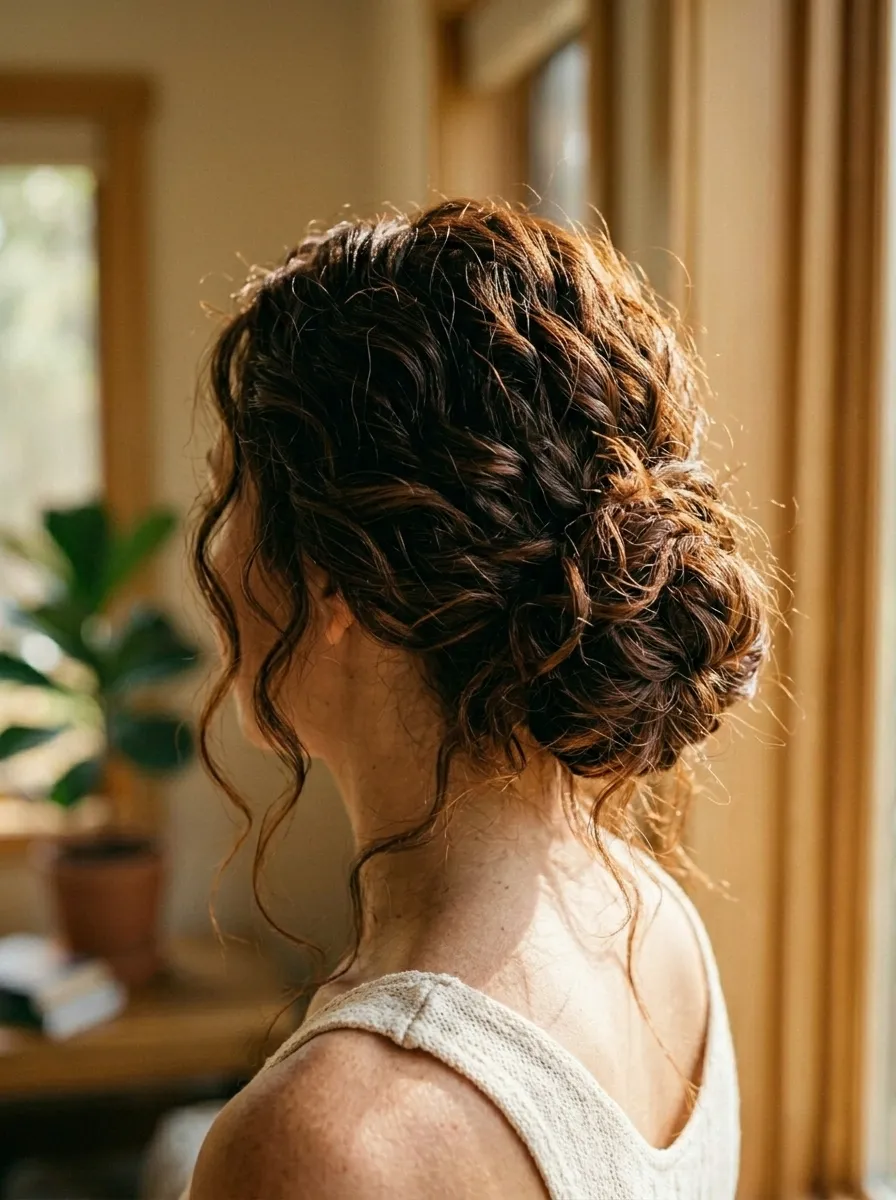
Loose Updo with Wavy Flyaways

A loose updo with intentional flyaways is one of the most romantic styles for wavy hair.
This is different from a polished updo. The beauty here comes from the waves you let fall loose.
Gather most of your hair and pin it loosely at the back of your head. It can be a twist, a bun, or just a gathered section folded and pinned.
Then let several wavy pieces fall around your face, ears, and the back of your neck.
DIY tip: Use your fingers to pull these loose pieces out rather than leaving them in by accident. Intentional loose pieces look very different from hair that simply did not stay in the pin.
A few hairpins and a light mist of flexible-hold hairspray keep the updo in place without stiffening the loose waves.
Budget tip: Any flexible-hold hairspray from a drugstore works perfectly. You do not need a salon brand.
This style suits weddings, garden parties, dates, or any event where you want something soft, romantic, and dressy without looking overdone.
It works especially well with wavy hair because the texture of the loose pieces naturally looks beautiful and intentional.
Wavy Curtain Bangs Style

Curtain bangs are one of the most popular haircut trends for wavy hair right now.
They are long, wispy bangs that part in the middle and frame the face on both sides, like curtains.
What makes curtain bangs especially good for wavy hair is that the natural texture creates a soft, lived-in look that fits perfectly with the style.
If you already have curtain bangs, style them by applying a small amount of curl cream to the damp front sections. Let them air dry or use a round brush very gently to guide them inward toward the face.
Budget tip: You can trim curtain bangs at home using sharp hair scissors and a mirror. Cut small amounts at a time and angle the scissors upward for a softer, wispy edge.
If you want to cut them yourself, start conservatively. You can always cut more but you cannot put length back.
Curtain bangs work with almost all wave types and face shapes. They are especially good for round and wide foreheads because they create a vertical visual line that lengthens the face.
Style the rest of your waves naturally for a cohesive, effortless overall look.
Wavy Hair in a Claw Clip Updo
The claw clip updo has become one of the most popular easy hairstyles for wavy hair, and for good reason.
It takes fifteen seconds, requires no skill, and looks effortlessly stylish.
Gather your hair at the nape of your neck or mid-back and twist it loosely before clipping it with a large claw clip at the back of your head.
The waves that fall out of the top and sides of the clip add a beautiful, carefree quality to the style.
Budget tip: Large claw clips come in multipacks at discount and dollar stores for a couple of dollars. Tortoiseshell and neutral tones look elegant with any hair color.
For a different look, try clipping the hair at a slight diagonal or off-center for an asymmetrical twist.
The claw clip updo works best with medium to long wavy hair. On shorter hair, a smaller clip can be used to achieve a similar half-up effect.
This style is great for hot days, busy mornings, or any moment when you want your hair up but still textured and interesting.
It also causes minimal damage compared to tight elastics and is a gentle option for everyday wear.
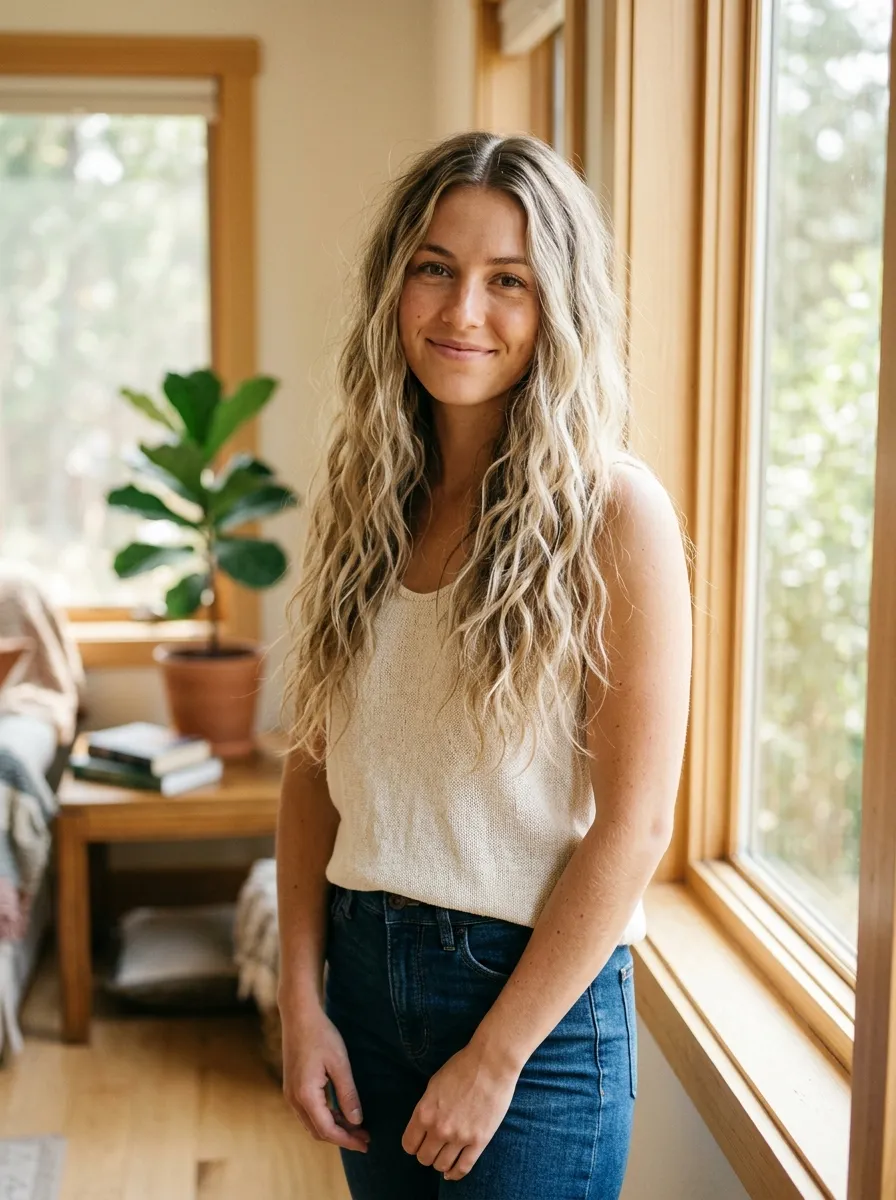
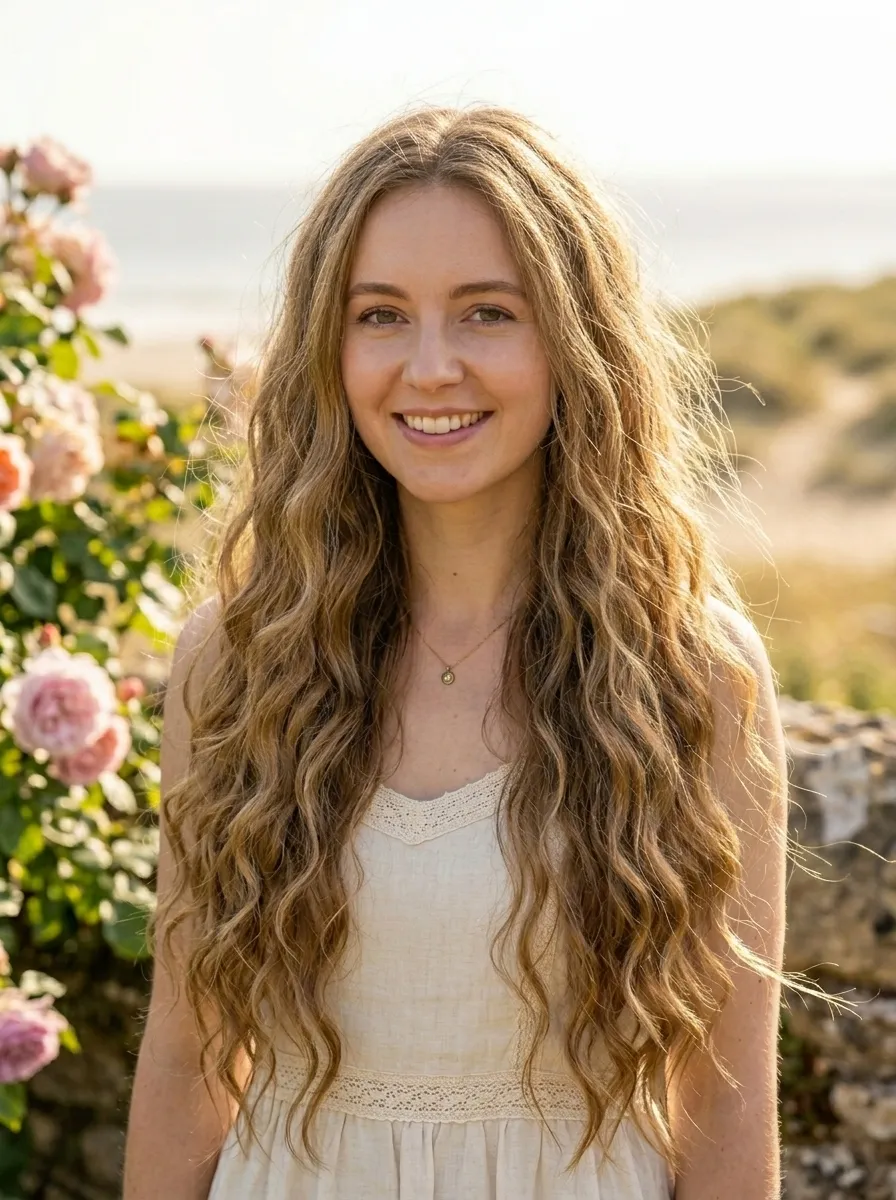
Natural Wash-and-Go Waves

The wash-and-go is the most minimal approach to wavy hair and often gives the most beautiful results.
The concept is simple: wash your hair, apply a small amount of product, and let nature do the rest.
The key is finding the right products for your specific wave type. For loose waves, a light mousse or leave-in conditioner is usually enough. For tighter waves, a curl cream or light gel gives more definition.
Apply product to soaking wet hair. Scrunch upward from ends to roots. Then leave your hair alone until it is completely dry.
Budget tip: Cheaper products often work better than expensive ones for wavy hair. The ingredients that matter most are glycerin, panthenol, and lightweight oils. Check the labels at your local drugstore.
Avoid touching your hair while it dries. Touching creates frizz.
If your hair dries with a crunchy or stiff texture from the product, scrunch it gently after it is fully dry. This breaks the cast and leaves soft, defined waves behind.
The wash-and-go works for all wave types and is the lowest maintenance option available. Once you dial in your product and technique, mornings become much simpler.
Wavy Shag Cut Style
The shag cut is one of the best haircut shapes for natural wavy hair.
It features heavy layering throughout with shorter pieces at the top and longer ones at the bottom. It is often paired with curtain bangs.
The layering in a shag cut removes weight from wavy hair, which allows the waves to spring up and show more definition.
Without layers, heavy wavy hair can look flat and shapeless. The shag solves this completely.
Budget tip: Ask for a basic shag cut at a beauty school or budget salon. Show a reference photo. It usually costs ten to twenty dollars at these locations.
When styling a shag, less is more. Apply curl cream to damp hair, scrunch, and air dry. The layers and your natural waves do all the visual work.
Avoid brushing a shag when it is dry. Use a wide-tooth comb in the shower with conditioner instead, then let the waves dry undisturbed.
The shag cut works across all ages and face shapes, making it one of the most widely flattering choices for wavy-haired people.
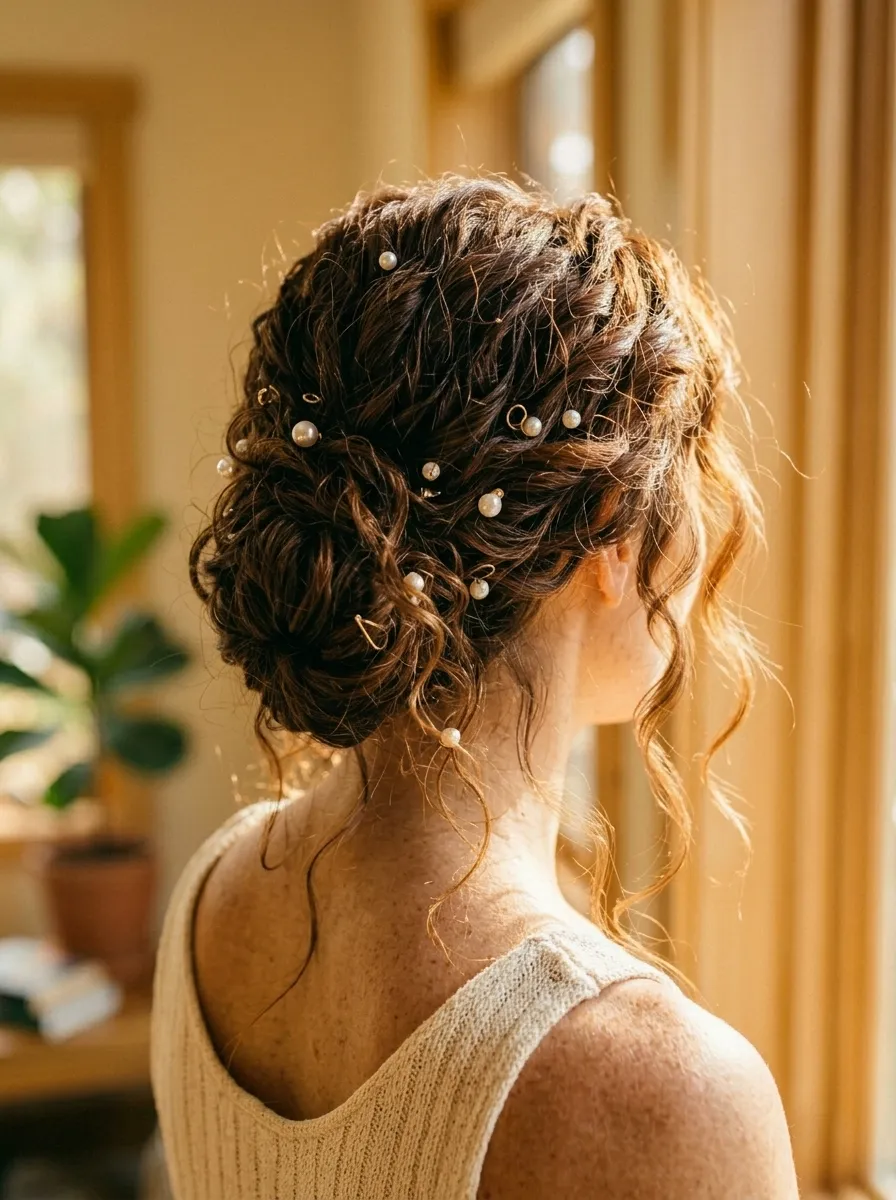
Wavy Hair with Decorative Pins
Decorative hair pins are one of the simplest ways to dress up a basic waves-down hairstyle.
Let your waves dry naturally as usual. Then take small sections of hair at the sides or crown and pin them back with decorative pins.
You can use pearl pins, jeweled pins, minimalist gold bars, or simple rhinestone clips. All of these look beautiful against wavy texture.
Budget tip: Decorative hair pins come in large packs at dollar stores and discount shops. A pack of twelve to twenty pins costs under three dollars. There is no need to spend money on high-end hair accessories.
Place the pins in a way that looks organic rather than overly symmetrical. Wavy hair looks best with a slightly random, natural arrangement of accessories.
You can also use pins to pull back just the front section on one side, creating an asymmetric look that shows off your waves while keeping them out of your face.
This technique works for any occasion. Use simple pins for everyday wear and more decorative or jeweled ones for events, parties, or dinners.
Hair pins also help with problem areas like flyaways or sections that do not wave as nicely as the rest.
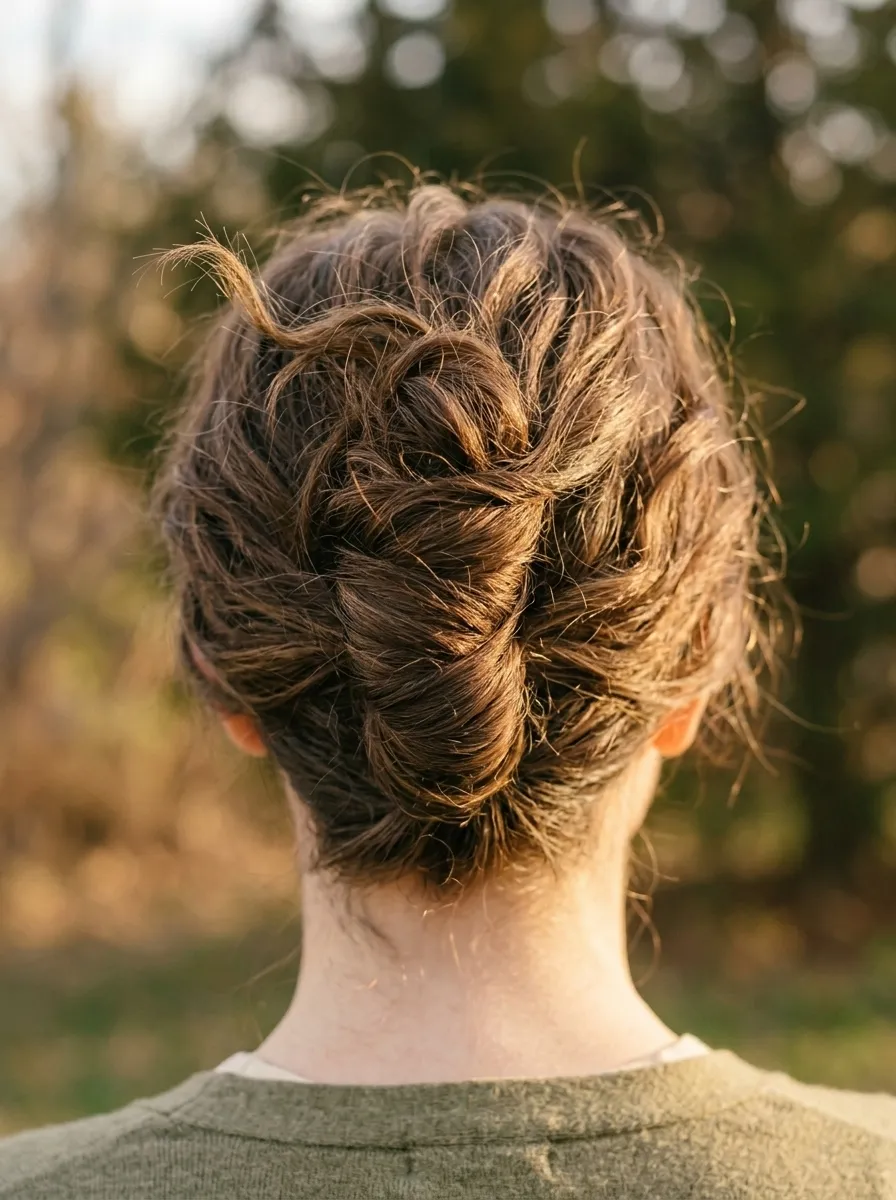
Wavy French Twist

A French twist sounds complicated but is actually one of the easier updos to do at home.
Start by gathering all your hair to the back of your head. Hold it in one hand and twist the bulk of it into a coil, then fold it upward and tuck the end into the twist. Pin along the fold with long hairpins to hold it in place.
The beauty of doing a French twist with wavy hair is that it never looks too stiff or formal. The natural texture softens the style beautifully.
DIY tip: Search for a simple French twist tutorial video and follow along the first time. Once you do it twice, you will have the technique memorized.
Leave a few wavy pieces loose around the hairline for a romantic, undone quality.
Budget tip: Long hairpins that hold the French twist are available at any pharmacy or dollar store for under two dollars.
Finish with a light mist of flexible-hold spray to keep the style intact. You do not need a stiff or heavy spray.
This style suits formal dinners, weddings, professional settings, and any occasion where you want to look elegant without spending much time getting ready.
Wavy High Ponytail

A high ponytail with wavy hair looks full, bouncy, and lively in a way that straight hair simply cannot replicate.
The waves add volume and body to the ponytail so it never looks thin or flat.
To keep your waves intact when pulling up a high ponytail, use your fingers to gather the hair rather than a brush. Brushing will break up the wave pattern and create frizz.
Secure with a soft elastic or scrunchie to avoid dents and breakage.
DIY tip: After putting the ponytail up, pull the elastic down slightly and then push the base of the ponytail upward. This creates a bump at the crown that makes the ponytail look higher and more voluminous.
Wrap a strand of hair around the elastic to hide it for a more polished finish.
Budget tip: Scrunchies are available in large multipacks at discount stores for very little money and are gentler on all hair types than traditional elastics.
Leave face-framing pieces out at the front for a softer overall look.
This is a great style for active days, outdoor events, summer heat, or any time you want hair fully off your face while still showing off your wave texture.
Wavy Space Buns
[Image Prompt: A fun photograph of a young woman with medium-length wavy hair styled into two small space buns on the top sides of her head. Loose wavy pieces fall around her face and ears below the buns. She stands in bright natural outdoor light with a clean background. Shot with a mirrorless camera, candid and relaxed feel. The space buns are slightly messy and imperfect, which adds to the charm of the style.]
Space buns are a playful and fun style that works surprisingly well with wavy hair.
The natural texture of wavy hair adds a beautiful looseness to the buns that perfectly complements the overall casual aesthetic.
To create space buns, part your hair down the center. Gather each side into a small high ponytail. Then twist each ponytail and wrap it into a small bun. Pin with bobby pins.
Do not over-smooth the buns. Leaving them slightly undone and textured is exactly what makes them work with wavy hair.
Budget tip: Bobby pins in bulk packs cost almost nothing and are all you need to hold space buns in place.
Leave some wavy strands loose around your face and at the sides for a relaxed, youthful feel.
For a variation, place the space buns lower on the head, just behind each ear, for a slightly more mature interpretation of the style.
Space buns are great for music festivals, outdoor events, casual weekend outings, or any time you want to have a bit of fun with your hair without spending money or time.
They are also comfortable and keep your hair completely off your face and neck.
Conclusion
Wavy hair is incredibly adaptable. You can wear it up, down, braided, pinned, twisted, or clipped and it looks beautiful in all of them. The most important thing is to stop fighting your natural texture and start working with it. Invest in a good curl cream or leave-in conditioner and learn the wash-and-go technique as your foundation. From there, every style in this guide becomes even easier to achieve. None of these looks require expensive products, professional tools, or hours of preparation. Most can be done in five minutes or less with items you already own. Your natural wavy texture is an asset. These 24 ideas are just the beginning of what you can do with it.
Leave a Reply