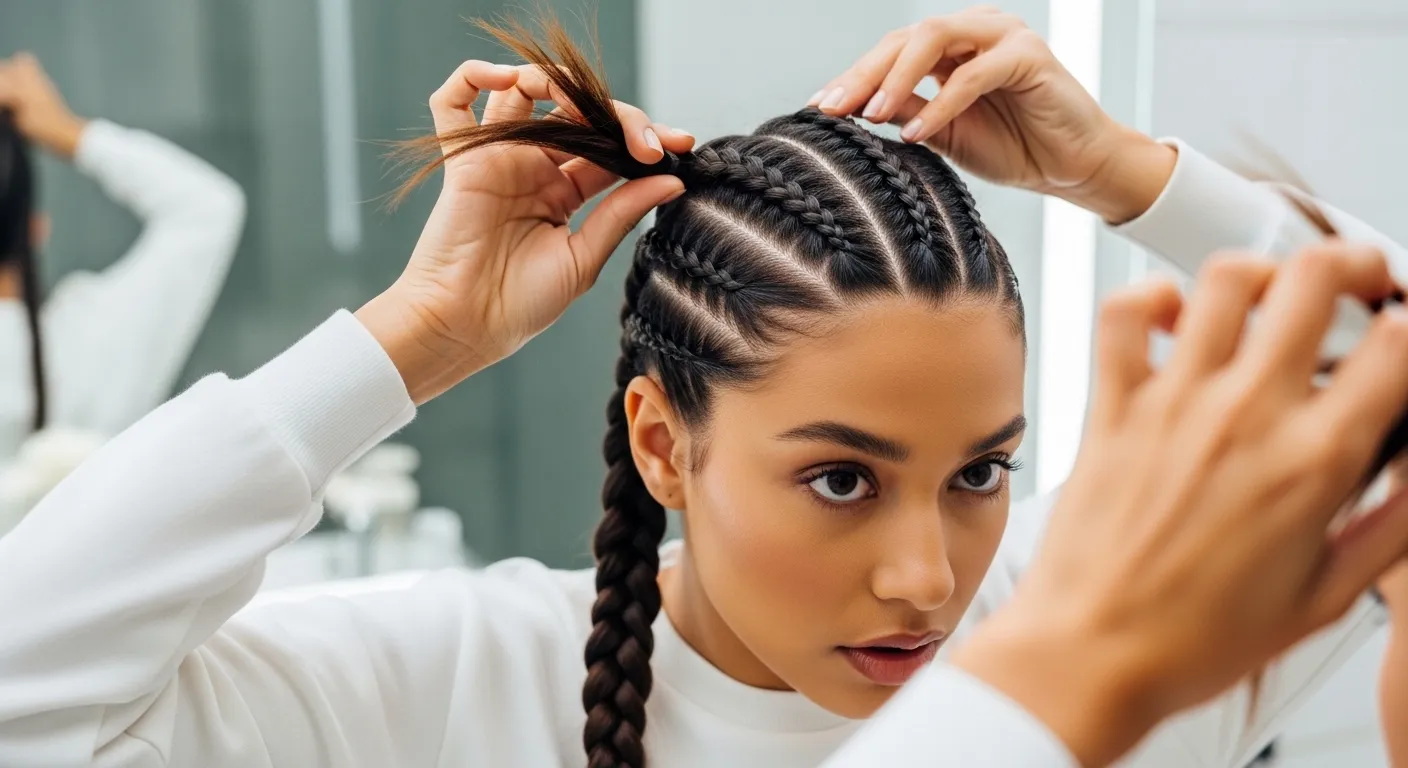
If you have ever seen those sleek, sporty double braids running straight down the back of the head and thought they looked impossibly difficult to recreate at home, think again. Boxer braids are actually one of the most achievable hairstyles you can do on yourself once you understand the basic technique, and the results are so worth the small amount of practice it takes to get them right. If you’re learning how to do a sleek ponytail, mastering smooth sectioning, proper brushing, and securing techniques can help you achieve that clean, polished look with minimal effort.
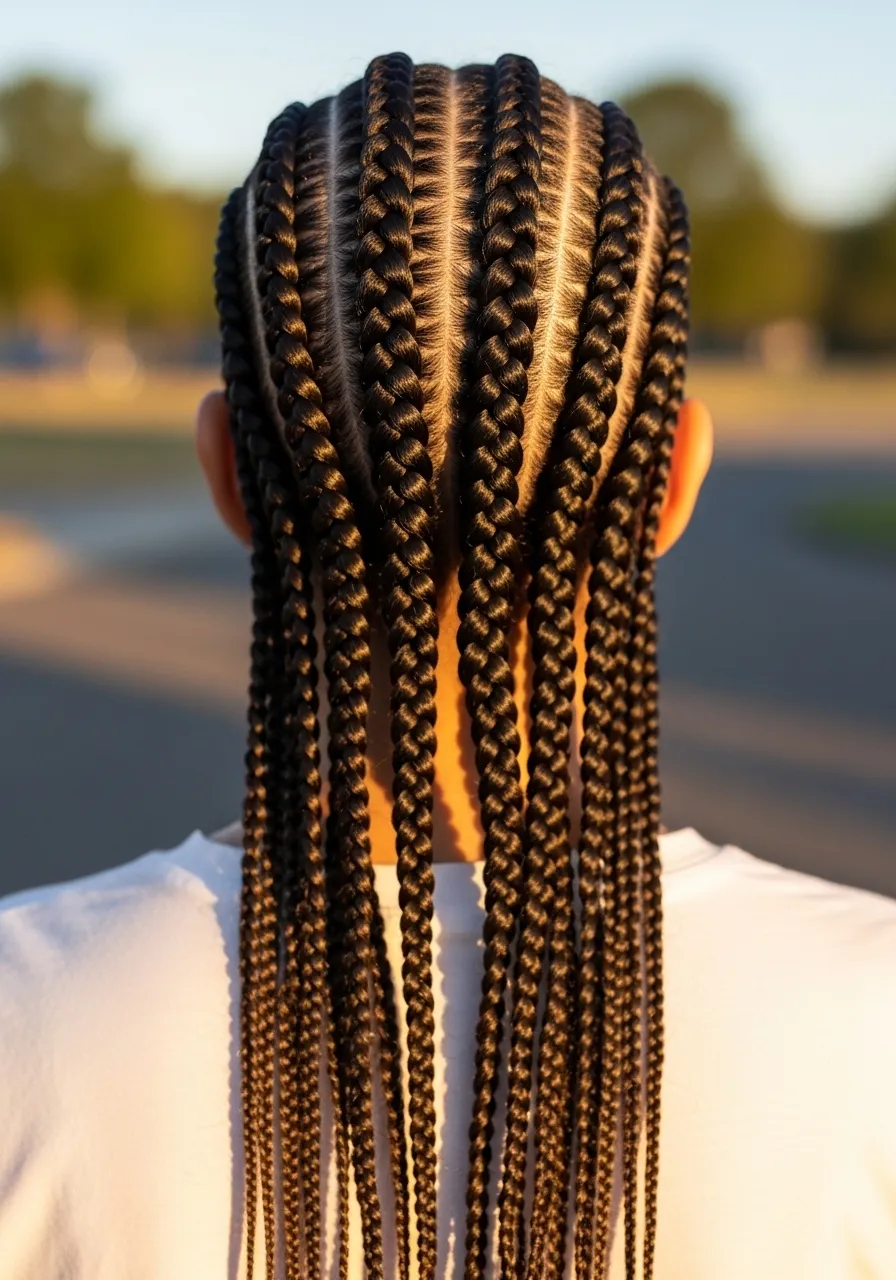
They are protective, practical, incredibly stylish, and work beautifully on almost every hair type and texture. Whether you are heading to the gym, a music festival, a casual day out, or simply want your hair out of your face in the most stylish way possible, boxer braids are always the answer.
What You Need Before You Start
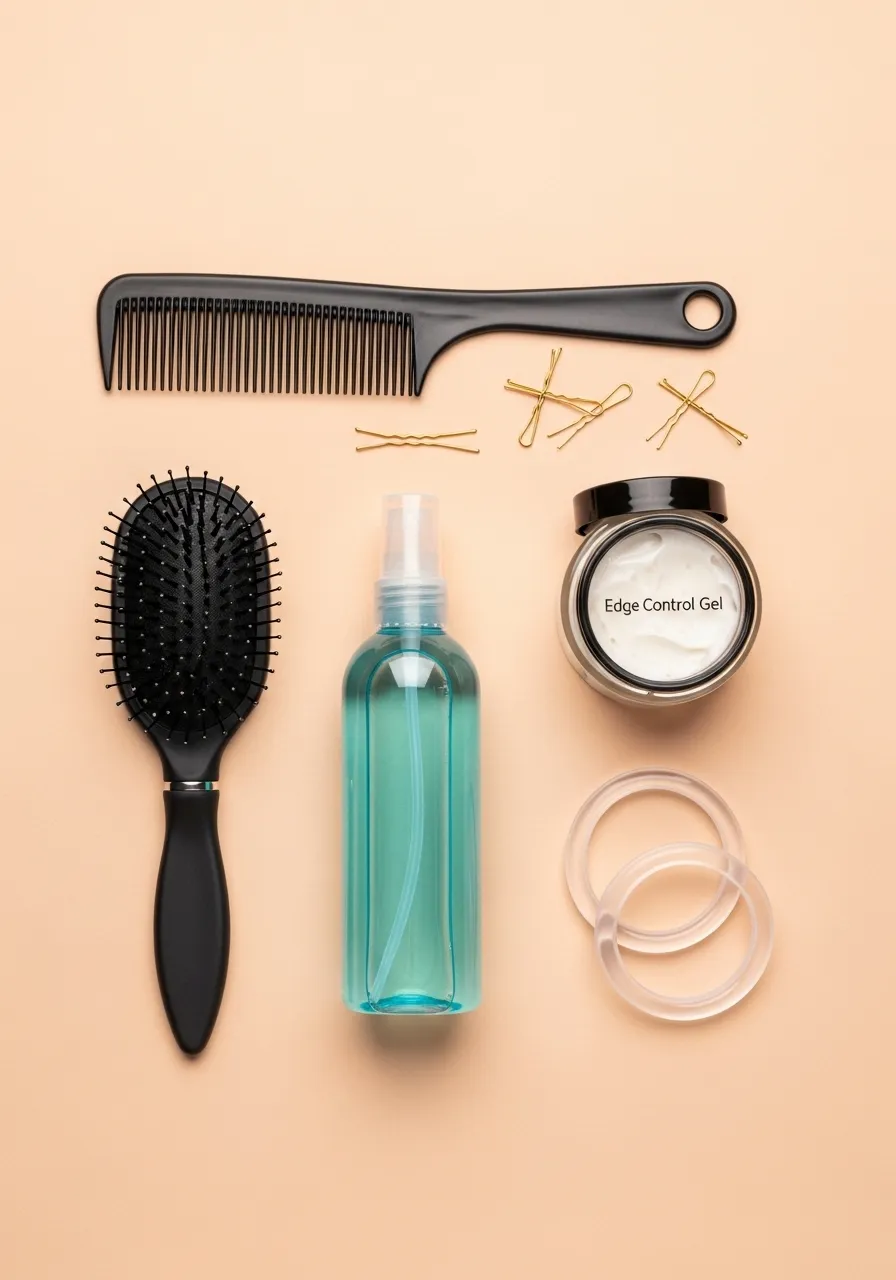
Getting the right tools together before you begin makes the entire process smoother, faster, and far less frustrating.
- A fine tooth comb or rat tail comb for clean, precise parts
- A wide tooth comb or detangling brush to smooth your hair before braiding
- Two or more hair ties or elastics to secure the ends
- Edge control gel or a light holding gel to smooth flyaways and baby hairs
- A light oil or hair serum to add shine and reduce frizz throughout the braids
- Bobby pins for securing any loose sections while you work on the other side
- A mirror setup that allows you to see the back of your head, ideally two mirrors positioned across from each other
Having everything within reach before you sit down means you will not have to stop halfway through with half-braided hair searching for a hair tie.
Prep Your Hair for the Cleanest Braids
The condition of your hair before you start braiding makes a significant difference in how neat and long-lasting your boxer braids will be.
- Start with clean, detangled hair that is completely free of knots and tangles from root to tip.
- Lightly dampen your hair with water or a leave-in conditioner spray if it is dry, as slightly damp hair is easier to section, smoother to braid, and holds the style better.
- Apply a small amount of edge control or gel all over your hair and smooth it down with your hands for a sleeker, more polished starting point.
- If your hair is very thick or curly, stretch it slightly by blow drying on a low heat setting or by smoothing it in sections before beginning.
Well-prepped hair is the difference between braids that look polished and intentional and braids that look messy and fall apart by midday.
How to Create the Perfect Center Part
The center part is the foundation of boxer braids and getting it straight and even is what gives the finished style its clean, symmetrical look.
- Use the pointed end of your rat tail comb to draw a straight line from the center of your forehead all the way back to the nape of your neck.
- Take your time with this step and check it from multiple angles before moving forward.
- Once you have your part, clip or tie one section of hair out of the way so it does not mix with the section you are braiding first.
- Smooth each section down with a little gel to keep everything neat and in place as you work.
A clean, straight center part instantly makes your boxer braids look professional and intentional rather than rushed.
Step by Step Guide to Braiding
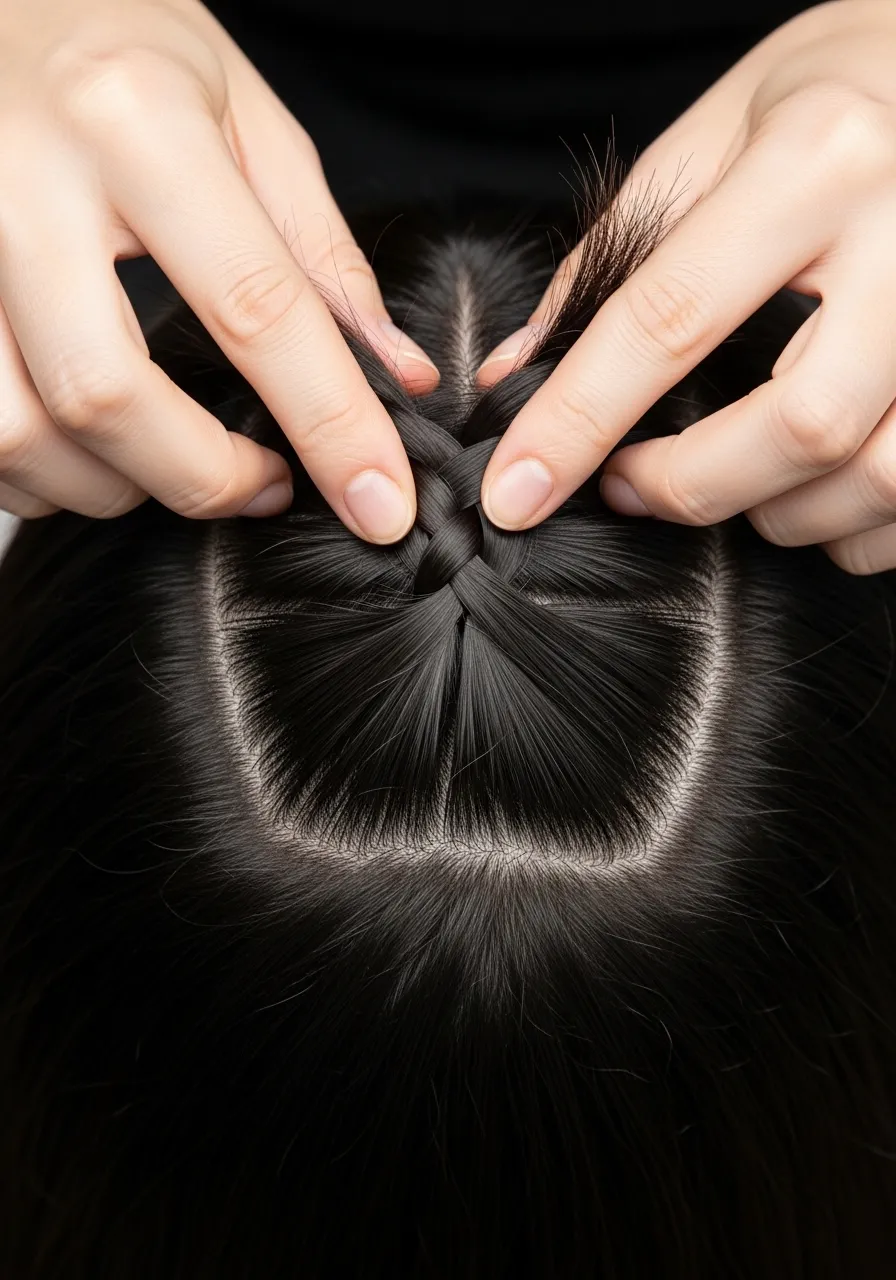
Now comes the main event. If you already know how to do a basic three strand braid, boxer braids are simply that same technique with one small but important difference. Instead of crossing sections over each other, you cross them under, and you continuously add new hair from the scalp as you work your way down.
- Start at the very front of one section, right at the hairline, and divide the first small portion of hair into three equal strands.
- Cross the right strand under the middle strand, then cross the left strand under the middle strand. This underhand crossing is what creates the raised, three-dimensional look that defines boxer braids.
- As you move to the next stitch, pick up a small amount of new hair from the scalp on each side before crossing it under the middle section.
- Keep your tension firm and consistent throughout. Too loose and the braid will look puffy and uneven. Too tight and it will be uncomfortable and may cause tension on the scalp.
- Continue adding hair and crossing under all the way down until you run out of hair to add from the scalp.
- Finish the remaining length in a regular three strand braid and secure the end with a hair tie.
- Repeat the exact same process on the second section.
Take your time on your first attempt. Speed comes naturally with practice and even slightly imperfect braids look beautiful and intentional once both sides are done.
How to Make Your Boxer Braids Look Extra Neat
A few finishing touches can take your boxer braids from good to absolutely flawless.
- Once both braids are complete, go back with a small amount of edge control and a soft bristle brush or toothbrush to smooth down any flyaways along your hairline and part.
- Gently tug on the edges of each braid section to pancake the braid slightly, which makes it look fuller, wider, and more voluminous.
- Apply a light shine oil or serum over the entire braid to give it a healthy, polished finish that photographs beautifully.
- If any sections look uneven, carefully loosen and re-braid just that part rather than starting from the beginning.

These small finishing details are what make the difference between a hairstyle that looks done at home and one that looks like it was done by a professional.
How Long Do Boxer Braids Last
One of the best things about boxer braids is how long they hold up when done correctly.
- On straight or wavy hair, boxer braids can last two to three days with proper overnight care.
- On natural or textured hair, they can last significantly longer, sometimes up to a week or more.
- Wrap your braids in a satin scarf or sleep on a satin pillowcase at night to preserve the neatness and prevent frizz while you sleep.
- In the morning, apply a tiny amount of light oil to refresh the shine and smooth down any hairs that have loosened overnight.
Boxer Braid Variations to Try Next
Once you have mastered the classic boxer braid, there are so many fun variations to explore and experiment with.
- Feed-in boxer braids using extensions for extra length and thickness
- Jumbo boxer braids for a bold, fashion-forward statement look
- Boxer braids into a bun or ponytail for an elevated sporty style
- Zigzag parted boxer braids for added visual interest and creativity
- Half-up boxer braids, leaving the rest of the hair down for a softer, more relaxed look
You Have Got This
Boxer braids are one of those hairstyles that feel intimidating the first time and then become second nature surprisingly quickly. Give yourself one dedicated practice session, follow the steps in this guide, and you will have a go-to style that works for every occasion, from everyday errands to special events.
Save this guide for your next braid day, practice this weekend, and share it with a friend who has been wanting to learn this look for ages.
Leave a Reply