
Short afro hairstyle ideas are having a major moment right now, and for good reason. They are low-maintenance, stunning, and work for almost every face shape. Whether your hair is just growing out or you have been rocking a short natural for years, there are so many ways to switch up your look without spending a lot of money. This list covers 21 cute and easy short afro hairstyle ideas that you can actually do at home. Each style is simple, stylish, and backed by real tips you can use today. If you’re also exploring Natural afro hairstyle ideas, embracing your natural texture with protective styles, defined curls, and simple everyday routines can help you achieve beautiful, healthy, and versatile looks with ease.
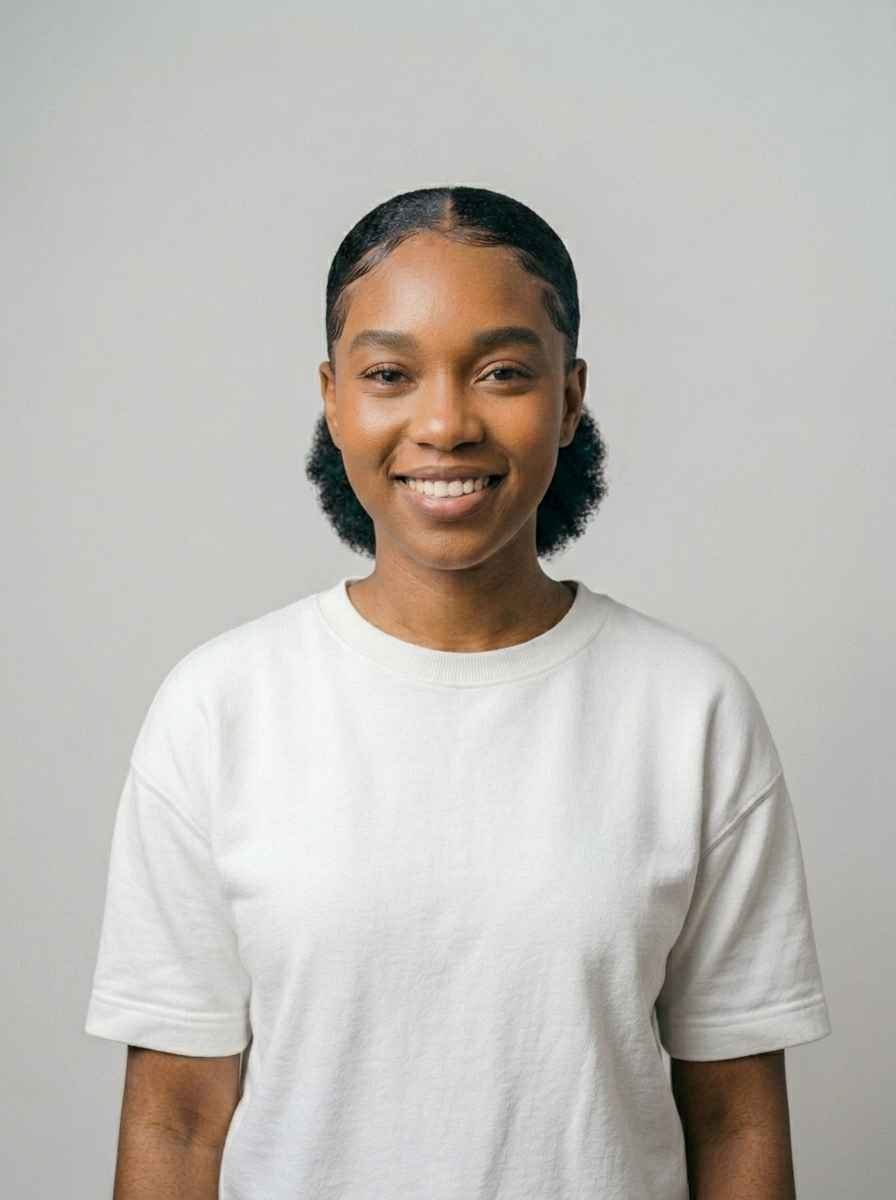
1. The Classic TWA (Teeny Weeny Afro)

The TWA is the ultimate starting point for short natural hair. It is small, simple, and surprisingly stylish.
A TWA typically measures between half an inch and two inches of hair. You do not need much to make this look great.
The secret is moisture. Well-moisturized coils look fuller and more defined. Use a lightweight leave-in conditioner and seal with a small amount of oil.
For a clean, rounded shape, use your fingers or a wide-tooth pick to gently lift the roots.
This style works on its own. You do not need gel, products, or heat.
Budget tip: A jar of shea butter costs under $10 and keeps your TWA looking fresh for weeks.
You can also define the edges with a toothbrush and a tiny bit of edge control gel. This takes the look from basic to polished in seconds.
The TWA is great for hot weather, workout days, or when you simply want a no-fuss routine. It grows out beautifully too, so every week brings a slightly new look with zero extra effort.
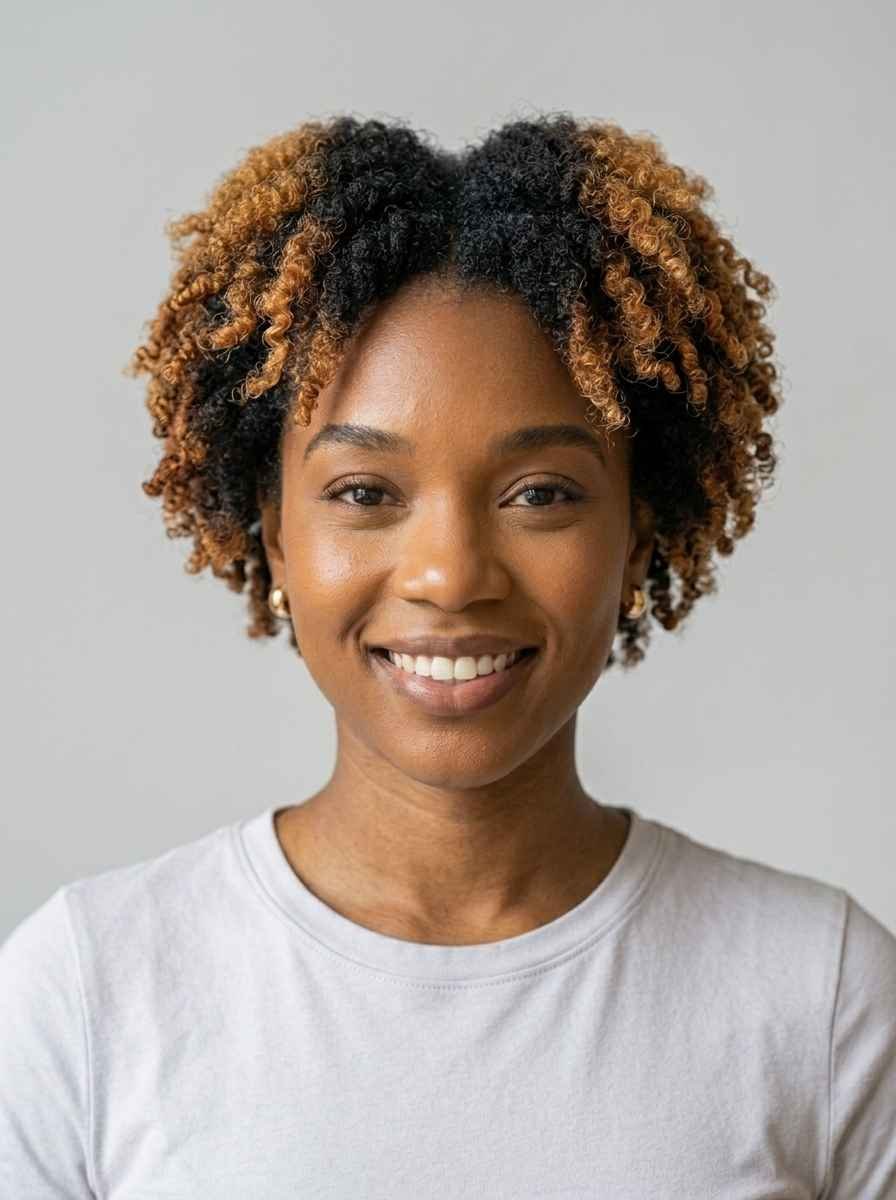
2. Defined Twist Out on Short Hair

A twist out on short hair gives you definition and volume that a plain wash and go sometimes cannot.
The process is simple. You two-strand twist damp hair, let it dry completely, then unravel each twist carefully.
For the best results, always twist on stretched or slightly damp hair. Twisting soaking wet hair can cause shrinkage and frizz.
Use a small amount of a curl defining cream or butter before twisting. This helps each coil hold its shape.
Once your hair is dry, unravel each twist slowly using your fingers. Never use a comb — it destroys the definition.
Budget tip: Cantu Curl Activating Cream is under $7 and works incredibly well for twist outs on short hair.
You can leave the twist out loose or use a headband to push it back. Both look great.
Short twist outs usually last two to three days. On day two, use a tiny bit of oil to refresh the curls. On day three, pineapple or pin the hair up before bed to preserve it longer.
This style suits almost every natural hair type from 3C to 4C.
3. The Afro Puff with a Headband

This is one of the easiest short afro styles you can do in under five minutes.
Grab a wide headband or a scarf and push it back from your hairline. Let your afro sit naturally on top.
The headband does all the heavy lifting. It frames the face, controls any frizz, and adds a pop of color or pattern to your look.
This works best when your hair has a little volume. If your TWA is very short, try a thicker band that grips the hair slightly higher.
For extra polish, lay down your edges with a soft brush and a pea-sized amount of edge control.
Budget tip: Fabric headbands come in multipacks on Amazon for $8 to $12. You get a whole set in different colors for less than the cost of one salon visit.
You can match the headband to your outfit or go bold with contrast. A bright yellow or red headband against dark natural hair always looks stunning.
This style also works with wrap scarves. Fold a square scarf into a strip and tie it across your head. It is a simple, stylish detail that costs almost nothing.
4. Finger Coils on Short Natural Hair
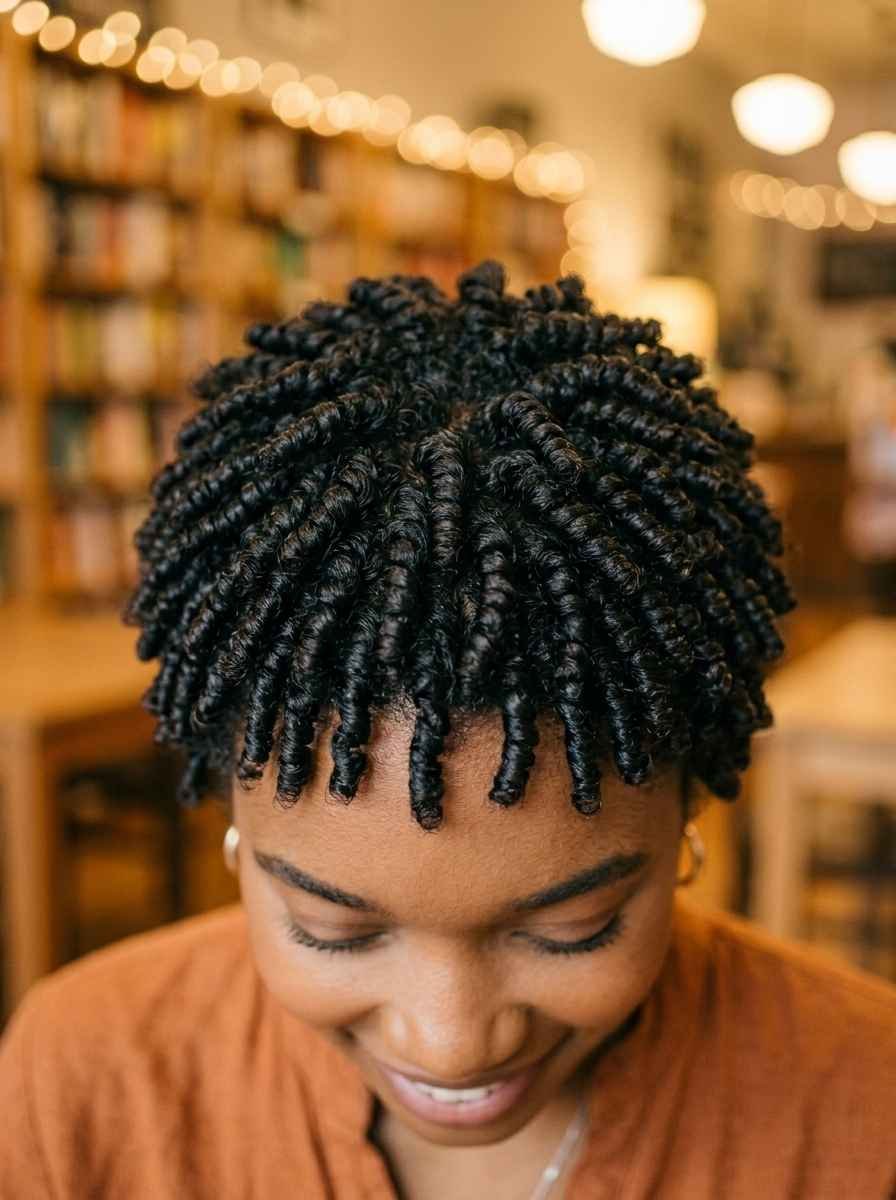
Finger coils are one of the most beautiful ways to define short natural hair.
The technique is simple. Take a small section of damp hair, apply curl cream, and wrap it tightly around your finger from root to tip. Slide your finger out slowly and let the coil sit.
Repeat across your entire head. This takes patience but the results are worth it.
The coils look clean, intentional, and very polished. They also last three to five days if you protect them at night with a satin bonnet.
For very short hair, your coils will sit tight against the scalp. As your hair grows, they will spring out more and create a fuller look.
Budget tip: Any curl defining gel works for this. ECO Styler Gel in the olive oil formula costs about $4 and creates excellent coil definition.
You do not need to re-coil every day. Just spritz with water and gently scrunch to revive them.
Finger coils also look great with a clear or colored gel that adds shine. If you want a glossy, polished finish, a light gloss gel applied over the coils before they dry works perfectly.
5. The Tapered Afro
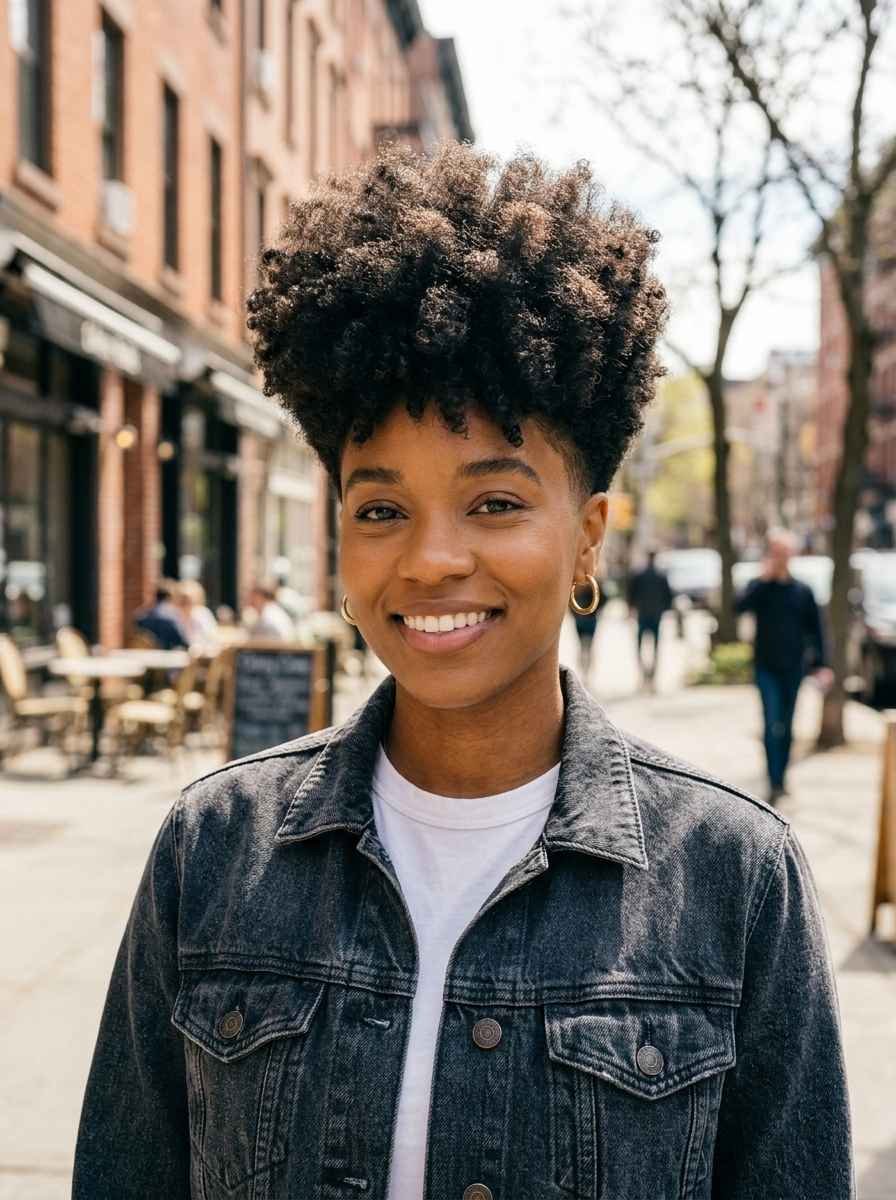
The tapered afro is a shape that looks sharp, clean, and intentional.
The sides and back are cut shorter, while the top is left full and rounded. This creates a dramatic silhouette that suits almost every face shape.
If you go to a barber or stylist, ask for a taper fade on the sides with the top left natural. Most barbers can do this easily, and it usually costs $20 to $40 depending on your location.
At home maintenance is simple. Keep the top moisturized and shaped, and use a trimmer or scissors to clean up the sides every two weeks.
The taper gives you structure without a lot of daily styling effort. You just need to keep the top moisturized and the sides fresh.
Budget tip: Invest once in a good pair of clippers for $25 to $30. You can maintain the taper at home between professional cuts and save money over time.
This style works great on both women and men. It is popular in professional settings because it looks neat and styled even when you have done nothing to it.
Pair the tapered afro with bold earrings or a clean neckline for a complete polished look.
6. Bantu Knots on Short Natural Hair
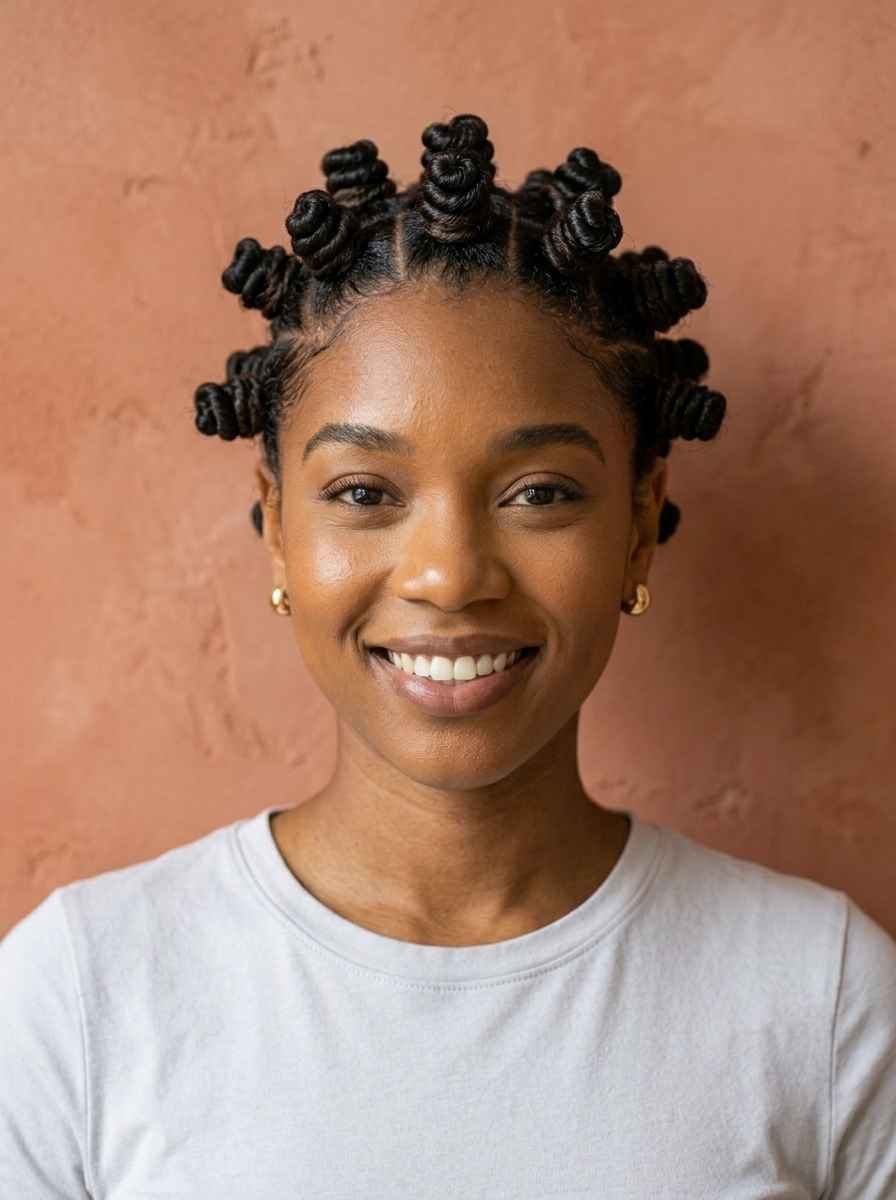
Bantu knots are a traditional African style that look absolutely beautiful on short natural hair.
To create them, you section your hair, twist each section tightly, then coil it around itself into a small knot. Secure with a bobby pin or let the tension hold it in place.
The smaller your hair sections, the more knots you will have — and the fuller the look.
Bantu knots work as a protective style. They keep your ends tucked and reduce manipulation, which helps your hair retain length over time.
You can wear the knots as a style on their own. Or you can take them down after they dry for a beautiful Bantu knot out with soft waves and curls.
Budget tip: You do not need special products. A basic leave-in conditioner and a small amount of gel or butter is all you need. This style costs nothing extra if you already have these at home.
Doing your Bantu knots at night and taking them down in the morning saves you styling time during the day.
Use a rat-tail comb to make clean parts between sections. Neat parts make the knots look intentional and symmetrical.
This style typically lasts three to five days and looks better as the days go on.
7. The Flat Top Afro

The flat top is an iconic afro shape with roots in the 1980s and 1990s. It is making a strong comeback and it looks bold and powerful.
The top of the hair is shaped into a flat, horizontal surface while the sides are tapered or faded. The geometric shape is the whole point of this style.
Getting a flat top requires a stylist or barber with experience in natural hair shaping. The initial cut usually costs $30 to $60.
After that, maintenance at home is easy. You just need to keep the top moisturized and use a wide-tooth afro pick to lift the roots daily.
The pick gives the flat top its height and fullness. Lift from the root, not the ends.
Budget tip: An afro pick costs $1 to $3 at any beauty supply store. It is the most important tool for maintaining this look.
The flat top suits square and oval face shapes particularly well. The height adds visual length to round faces too.
You can keep it conservative with a low flat top or go bold with a higher, more dramatic shape. Either way, this style makes a statement without requiring daily effort.
8. Mini Braids on Short Afro

Mini braids on short natural hair are a protective style that also looks beautiful as a finished look.
You braid small sections of your own hair from root to tip. On short hair, the braids will be short but the style still looks intentional and neat.
The key is making even, clean sections. Use a rat-tail comb to part the hair neatly before you braid.
You can wear mini braids loose, pinned back, or with accessories woven through them.
This style protects your ends and reduces daily manipulation. It is great during hair growth phases.
Budget tip: Do them yourself at home. You only need a comb, some light holding gel, and maybe a little oil for your scalp. Total cost: almost nothing if you already have these products.
Mini braids last one to two weeks depending on your hair type. Moisturize your scalp with a light oil every few days to keep it healthy while the braids are in.
When you take them down, you may find a soft, crimped texture underneath. This is a bonus. Let it air dry and you have a beautiful braid out style with no extra effort.
9. Side Part Afro

A side part changes everything about a short afro. It shifts the whole silhouette and adds an elegant, sophisticated feel.
Use a rat-tail comb to create a clean part on one side of your head. Then use your fingers or a pick to direct the hair slightly to the opposite side.
The side part works on almost all afro textures from loose curls to tight coils.
You can lay the part down with a small amount of gel for a cleaner look. Or leave it more natural for a softer effect.
This style looks great with statement earrings. The parted side opens up your face and draws attention to your jawline and cheekbones.
Budget tip: You already own a comb. A small jar of edge control gel costs $4 to $6 and lasts months. That is all you need.
The side part also works well with the tapered afro. If your sides are shorter, the part between the short and full sections creates a natural line that looks very intentional.
Try the part on both sides to see which suits your face better. Most people find one side looks more natural than the other.
10. The Wash and Go
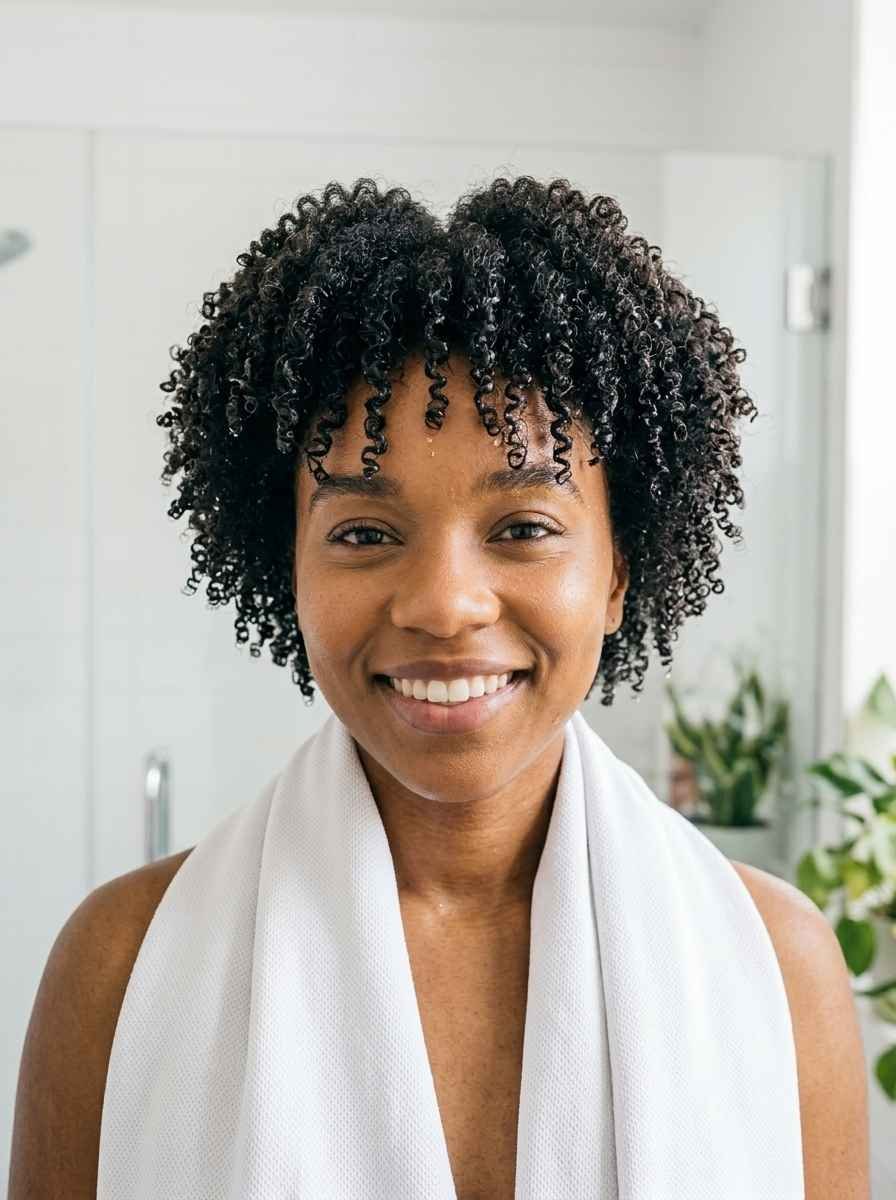
The wash and go is exactly what it sounds like. You wash your hair, apply a few products, and go about your day.
It is the most natural expression of your curl pattern and works best when your hair is properly moisturized.
The basic method: Shampoo, condition, then apply a curl-defining cream or gel on soaking wet hair. Do not touch it while it dries.
Scrunching upward while applying the product helps clump the curls together and creates better definition.
Let your hair air dry or use a diffuser on low heat for faster results.
Budget tip: Aunt Jackie’s Curl La La Defining Curl Custard costs about $8 and gives excellent wash-and-go results for all curl types.
Avoid touching your hair while it is wet. This causes frizz. Keep your hands out until the hair is at least 80 percent dry.
On the second and third day, hair, lightly dampen with water and scrunch to revive the curls. You do not need to redo the style every single day.
The wash and go is perfect for summer, beach trips, or any day when you want to spend zero time on your hair.
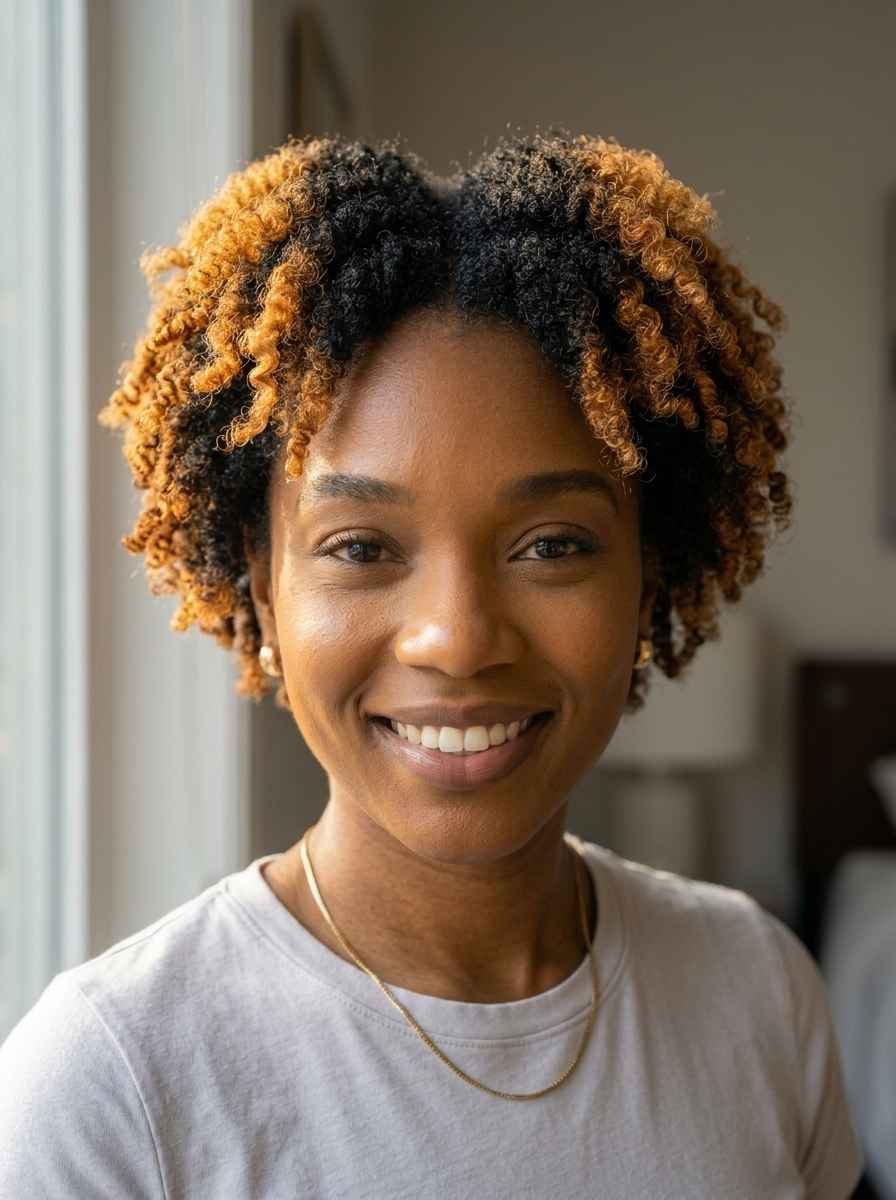
11. Afro with Colored Tips
Adding color to the tips of a short afro is one of the most eye-catching things you can do without committing to a full color job.
The tips are the ends of your coils. Even a subtle color change on just the last half inch of hair creates a beautiful contrast.
Options range from warm blonde and caramel tones to bold reds, pinks, or blues. You can go subtle or dramatic.
For a DIY version, use a semi-permanent hair color or a color depositing conditioner on just the tips. These products are gentler than permanent dye and wash out over a few weeks.
Budget tip: Arctic Fox semi-permanent dye costs about $10 per bottle. You only need a tiny amount for the tips of short hair, so one bottle lasts several applications.
Protect the colored tips by using a deep conditioner weekly. Color can dry out the ends, so extra moisture is essential.
This style looks incredible in sunlight. Natural light brings out the color contrast in a way that photographs beautifully.
You can also try a henna treatment for a natural reddish tint on the tips. Henna is affordable, natural, and conditioning for your hair at the same time.
12. The Slicked Back Afro Puff
This style takes the classic afro puff to a more polished level by slicking the front hair down before the puff begins.
Apply edge control or a firm gel to the front hairline and smooth it back with a soft bristle brush. The goal is a clean, sleek look from the hairline to where the puff starts.
Secure the puff at the back or crown with a soft hair tie. Avoid tight rubber bands that can cause breakage.
This style is great for professional settings or formal events. It looks put-together without requiring a salon visit.
On short hair, the puff may be small, but the slicked front edges make it look intentional and styled.
Budget tip: Got2B Glued Spiking Glue costs about $5 and provides a strong hold for laying edges flat all day. A little goes a long way.
Tie the puff with a silk or satin scrunchie instead of a regular elastic. This reduces tension on your strands and prevents breakage at the hairline.
This look pairs beautifully with a bold lip or statement earrings. The clean hairline draws the eye upward and frames the face in a flattering way.
13. Pin Curl Set on Short Natural Hair
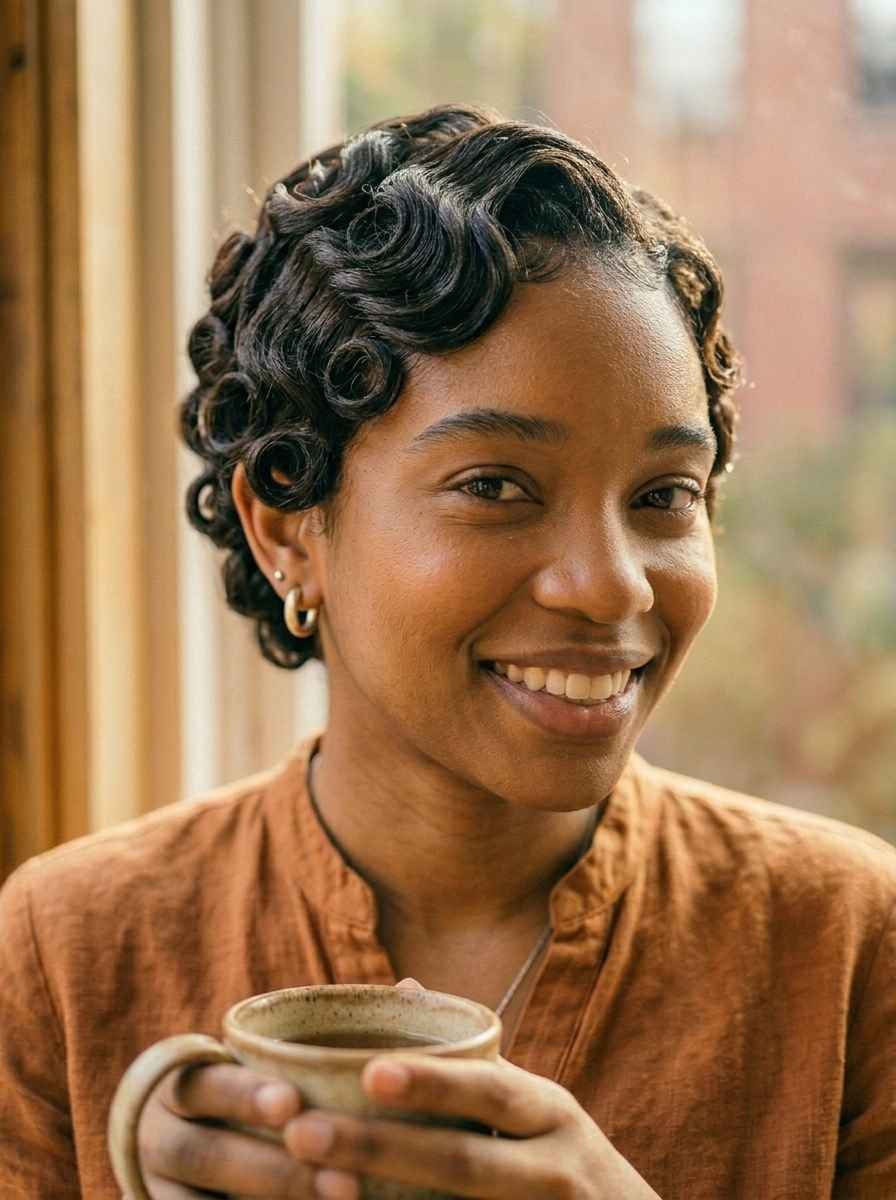
Pin curls create a softer, more romantic look on short natural hair compared to other styling methods.
The technique involves wrapping small sections of damp hair around your finger and then pinning each curl flat to your head with a bobby pin. Once dry, you remove the pins and a beautiful wave pattern is revealed.
The direction you wrap each curl determines the final pattern. Wrapping away from your face opens up the curls for a more classic look.
This style works best on hair that is at least two inches long. Shorter hair may not hold the pin curl shape as well.
Use a holding product like a light mousse or curl cream before pinning to help the curls set and last longer.
Budget tip: A pack of 60 bobby pins costs about $2. That is all you need for this style along with products you likely already own.
Once the pins are out, use your fingers to gently separate the curls without disrupting the wave. Never brush pin curls out with a bristle brush.
Pin curl sets typically last two to four days. Sleep with a satin bonnet to preserve the curls overnight without flattening them.
14. The Mohawk Afro
The mohawk afro is one of the boldest short natural hairstyles out there. It takes a strong personality to wear it, and it always gets attention.
The sides of the hair are cut or tapered close to the skin. The center strip of natural hair is left full and runs from the forehead to the back of the head.
You can wear the center hair free in a natural afro strip, or define it with coils and curl cream for a cleaner look.
The height and shape of the center section are what make this style dramatic. Use an afro pick to lift the roots of the center section upward for maximum volume.
Budget tip: A barber visit for the side taper costs $15 to $30. Maintain the sides at home with a trimmer between visits to stretch the time between professional cuts.
This style works for all occasions depending on how you style the center. Keep it natural and fluffy for casual days or define each coil for a more polished event look.
Accessories can take this style further. Try a few small braided sections woven into the center strip, or add a row of small studs along the taper line for a detailed look.
15. Headwrap with Short Afro
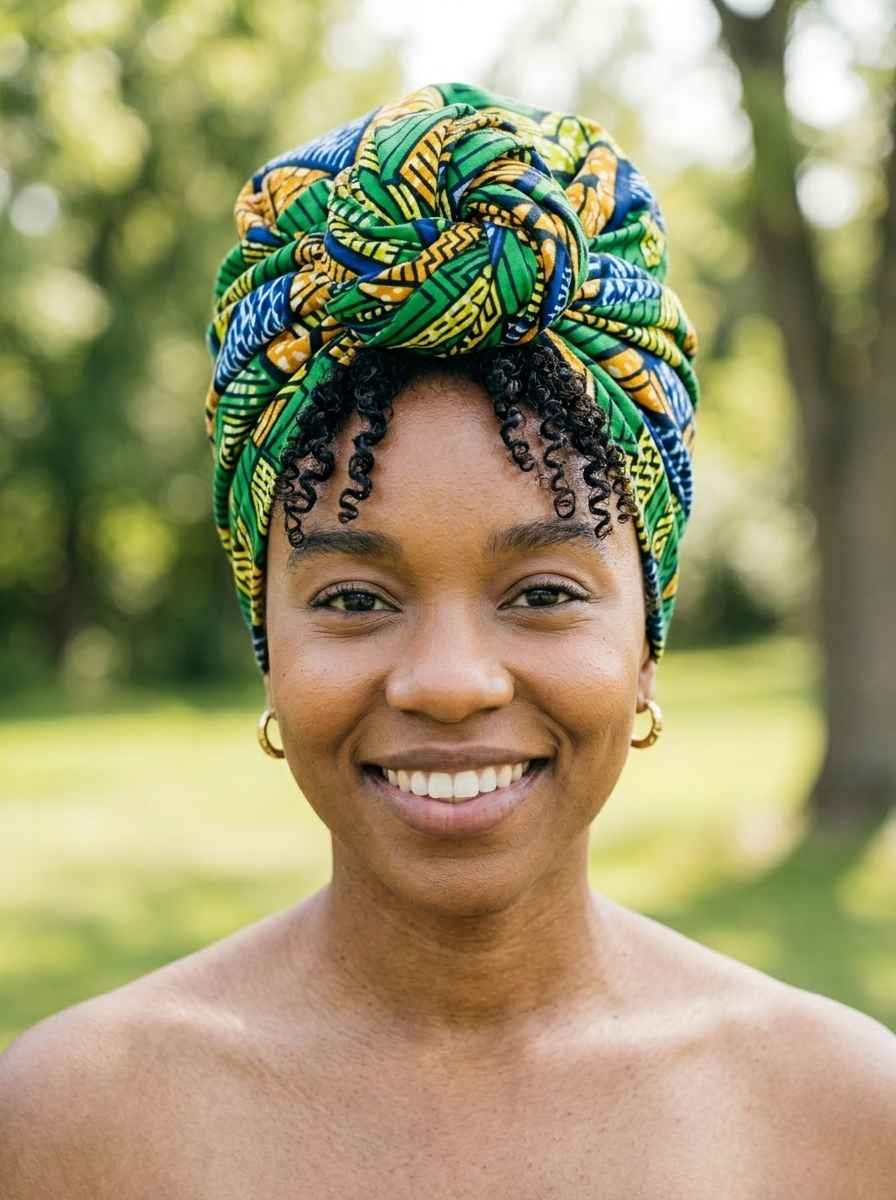
A headwrap is one of the most practical and beautiful accessories you can pair with a short afro.
It protects your hair, hides a bad hair day, and adds an instant pop of color and culture to your look.
You can wrap almost any fabric into a head covering. Long scarves, satin bonnets styled as wraps, or purpose-made head tie fabric all work.
For a quick style, fold a rectangular scarf into a wide strip and wrap it around your head, tying at the front or back. Let a few curls peek out at your edges for a softer look.
For a taller, more dramatic wrap, use a longer piece of fabric and build height at the crown by folding and tucking as you wrap.
Budget tip: African print head wrap fabric costs $3 to $10 per yard at fabric stores or on Etsy. One yard is enough for multiple wrapping styles.
Practice is the key here. The more you wrap, the faster and cleaner it gets. Watch YouTube tutorials for different tying methods — there are dozens.
A headwrap also protects your hair from the sun and wind. It is both a style choice and a practical protective tool.
16. Two Strand Twist Out
The two-strand twist out is one of the most popular natural hair styles for a reason. It consistently gives beautiful definition and volume.
Twist out and finger-coil methods are different. A twist out is created by taking two sections of hair and wrapping them around each other. When taken down, they create a defined spiral pattern.
Apply a curl-defining cream or butter to each small section before twisting. This is what creates the definition when the twist is unraveled.
Twist on damp hair, not soaking wet or fully dry. Slightly damp is the sweet spot.
Let the twists dry completely before taking them down. Unraveling too early ruins the definition. Sitting under a hooded dryer for 20 minutes speeds up the process.
Budget tip: Mielle Organics Honey and Ginger Leave-In Conditioner costs about $10 and works beautifully for twist-outs on all hair types.
Unravel each twist slowly from the end upward. Then gently separate the twists at the roots to add volume.
The more you separate, the bigger and fuller the twist out looks. But over-separating can cause frizz, so stop when it looks right.
17. Short Afro with Accessories
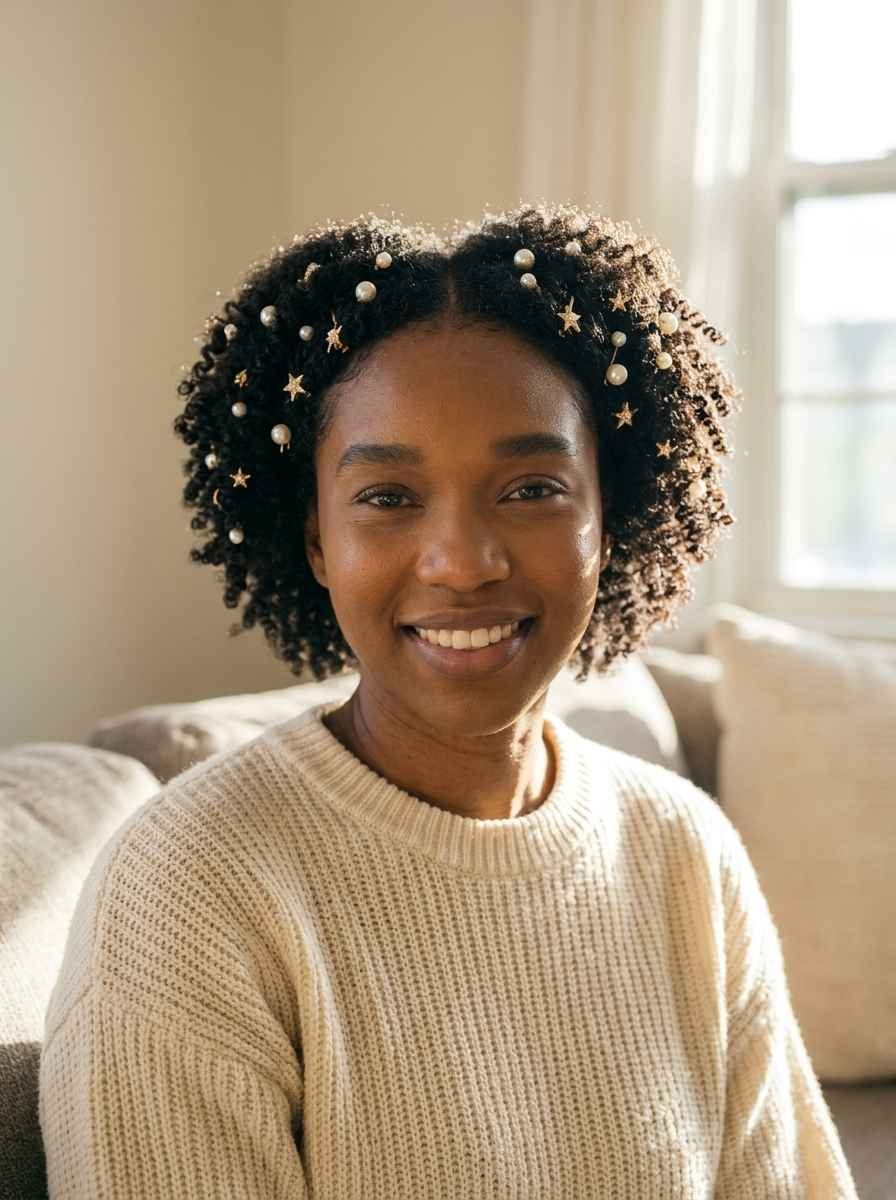
Hair accessories are a simple, affordable way to make your short afro look completely different without changing the style itself.
Bobby pins, pearl pins, small barrettes, butterfly clips, and hair jewels are all easy options that add personality and detail to your look.
On a short afro, you can scatter a few gold pins throughout the coils for a subtle sparkle. Or create a small design on one side with a row of pins.
Barrettes can be used to pin back one side of the hair for an asymmetric look. Butterfly clips work great to hold up a section of hair at the crown.
Hair jewels and gems designed for natural hair simply clip or press into the coils without causing damage.
Budget tip: Packs of decorative pins and clips cost $3 to $8 on Amazon. You can find pearl pins, gold bar pins, and star shapes all in one set.
This is the fastest way to make a simple TWA look like a styled, intentional hairstyle. It takes under five minutes.
Hair accessories also work for special occasions. A few rhinestone pins scattered through your afro for a wedding or event look absolutely beautiful without requiring a salon appointment.
18. Asymmetrical Short Afro

An asymmetrical afro is an artistic take on the classic rounded shape. Instead of even volume on both sides, one side is deliberately fuller, longer, or shaped differently than the other.
This creates a striking, fashion-forward look that stands out.
There are two ways to create this. The first is to have a stylist cut the hair shorter on one side. The second is to use styling products and pins to push the volume to one side while flattening the other.
The second option is fully reversible and costs nothing extra. Apply a smoothing gel on one side and use bobby pins to lay it flatter. Use a pick to add height to the other side.
Budget tip: This is a styling technique, not a cut. If you try the pinned version, you do not need to spend anything beyond what you already own.
The asymmetrical look suits oval, heart, and long face shapes particularly well. It draws the eye sideways and creates visual balance for longer faces.
Wear bold earrings on the shorter side of the style to balance the look. A single statement earring on the flatter side works beautifully.
This style of photograph is incredibly well from a three-quarter angle.
19. The Bold Shaped Afro
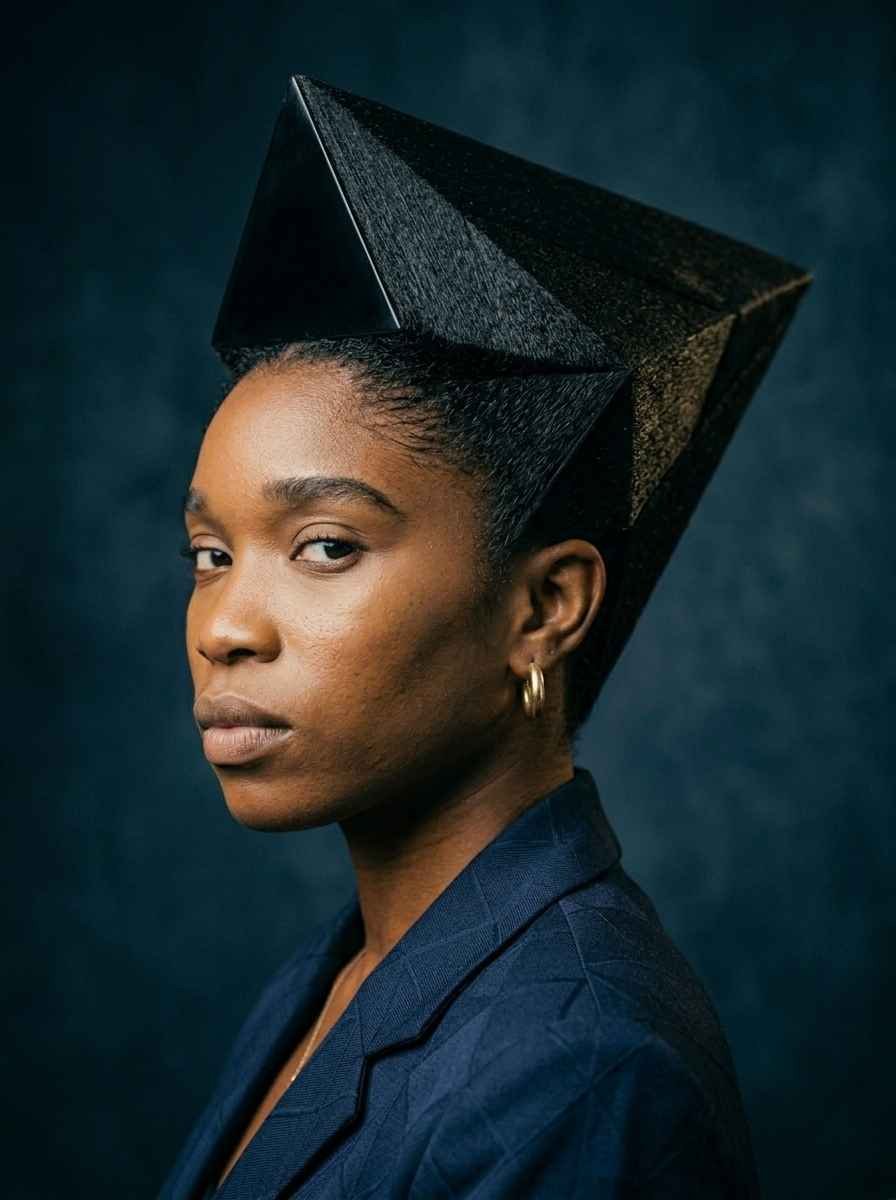
A shaped afro has been deliberately sculpted into a specific silhouette. Round, square, angular, or oval the shape is the style.
A professional afro shaping at a natural hair salon costs $20 to $50. It involves trimming the outer edges to create a precise, even silhouette.
Once you have the shape established, you can maintain it at home with small trims every four to six weeks.
Use a pick to lift your hair before the cut so the stylist can see the true volume and shape clearly.
A perfectly shaped afro looks amazing with or without any other styling. The shape itself does all the work.
Budget tip: Between professional shapings, use scissors very carefully to snip away any obviously stray hairs that break the silhouette. Only trim the very outermost edge.
The round afro is the most classic shape. But square, diamond, and high oval shapes are all gaining popularity and look incredible.
Your face shape should guide the afro shape you choose. Round faces often look best with height at the crown. Square faces look great with a softer, rounder edge.
20. Short Afro with Baby Hairs
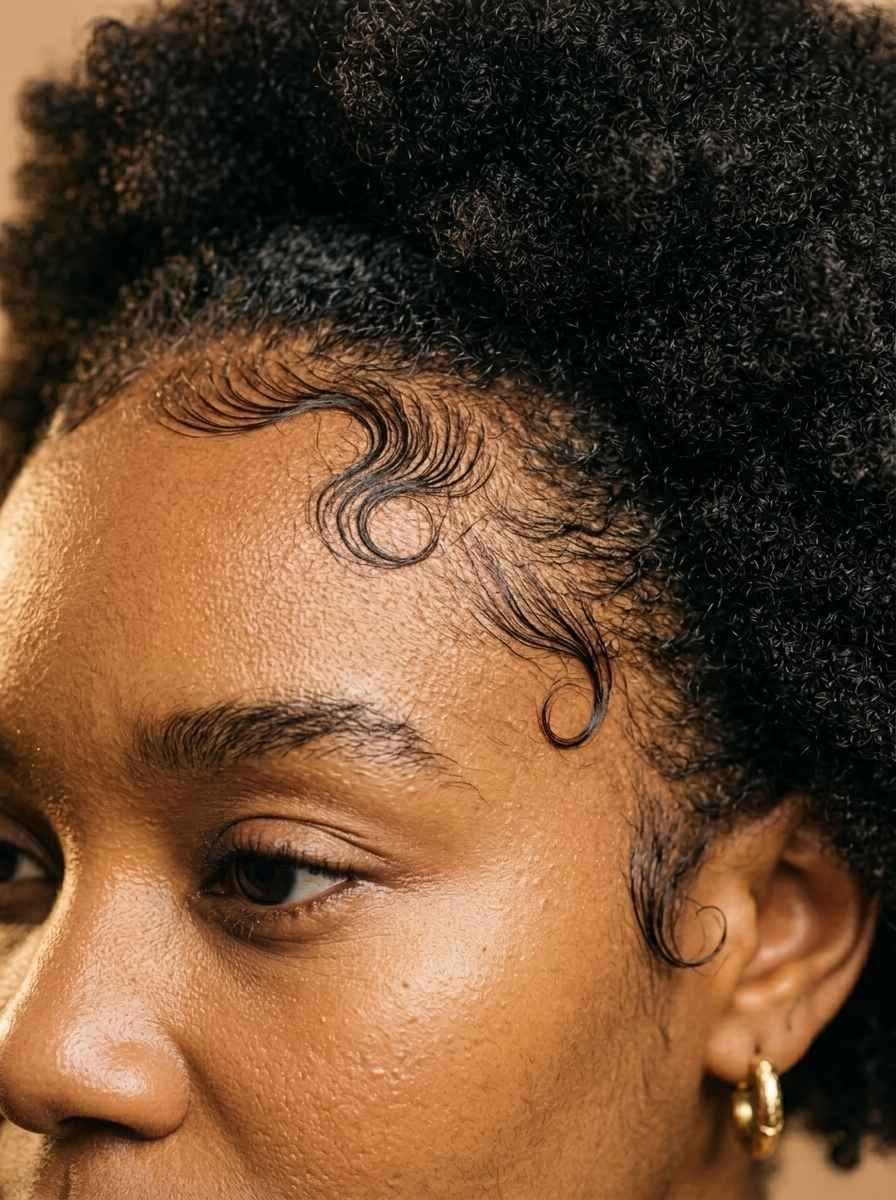
Baby hairs are the fine, short hairs that grow along your hairline. Styling them is a simple way to add a detailed, finished look to your short afro.
You can lay baby hairs into swirls, waves, or curved patterns along your forehead and temples.
Use a small soft toothbrush or a dedicated baby hair brush with a firm hold gel. Apply the gel to the brush, then use it to shape the baby hairs into your desired pattern.
Classic styles include small C-shapes, S-wave patterns, or a single swoop that curves across the forehead.
Let the baby hairs dry completely before you leave the house. If you touch them while they are wet, the pattern disappears.
Budget tip: A cheap toothbrush and Eco Styler Gel — total cost under $6 — is the same setup professional stylists use. You do not need special tools.
If your baby’s hair is very short or sparse, a light-hold gel works better than a heavy one. Heavy gel can clump thin baby hairs together and make them look less defined.
This detail takes about three minutes to add, but dramatically changes how polished your entire look feels.
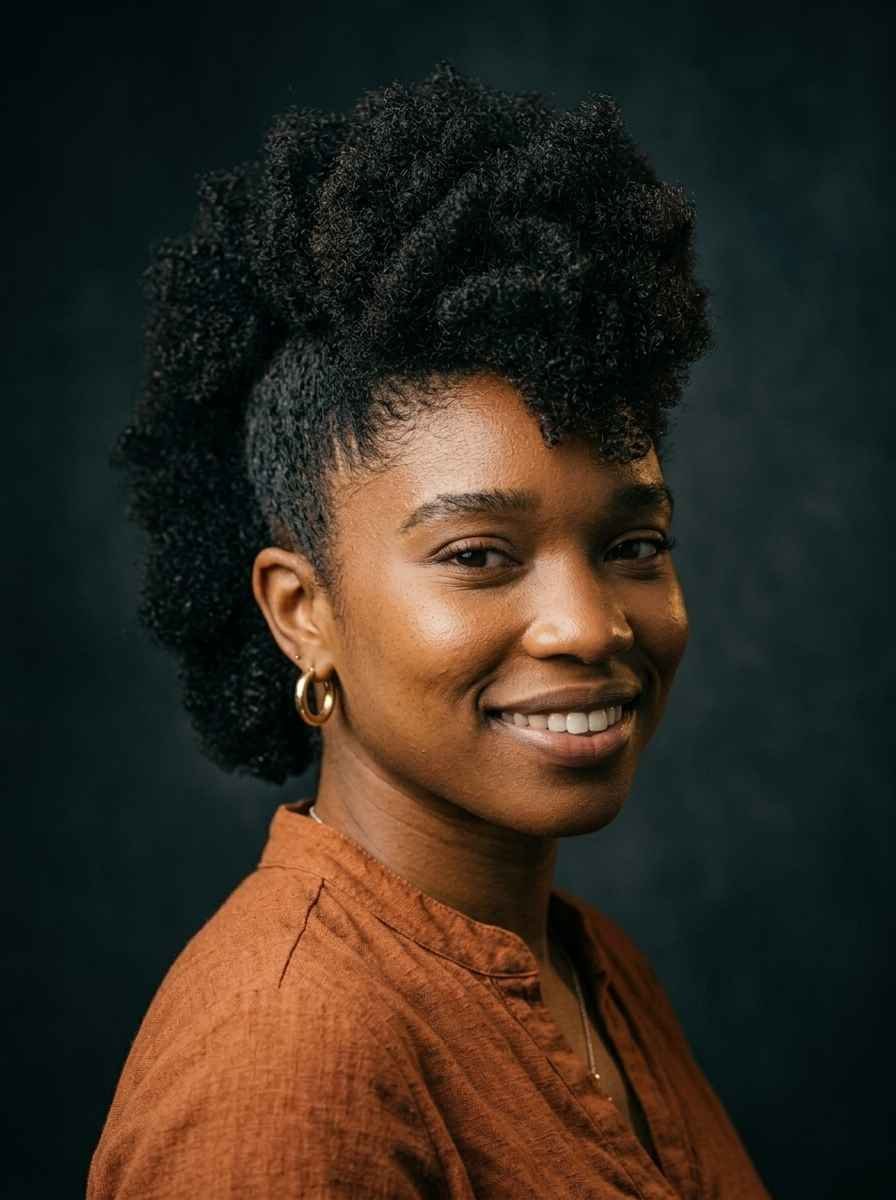
21. The Protective Style Afro Puff Combo

This style combines the benefits of a protective style with the beauty of an afro puff.
You braid or twist the front and sides of your hair flat against the scalp, then gather the remaining length at the crown into a small, rounded puff.
The braided sections protect your edges and temples. These areas are most prone to breakage, so keeping them in a braided pattern reduces stress on the hair.
The puff at the top adds height and keeps the style looking full rather than flat.
You can braid the front sections straight back, in cornrow patterns, or in small individual flat twists. All three options look clean and work well with the puff.
Budget tip: This entire style requires no products beyond what you already own. A soft hair tie for the puff and a comb for the braided sections is all you need.
This style lasts three to five days. Refresh the puff daily by misting with water and reshaping with your fingers.
At night, loosely wrap the puff section with a satin scarf and leave the braided sides free. This keeps both parts of the style looking fresh without flattening.
Conclusion
Short afro hairstyles are proof that you do not need long hair, expensive products, or regular salon visits to look amazing. From a simple TWA to bold, shaped silhouettes, there is a style on this list for every mood, occasion, and budget. The best part is that many of these looks take under ten minutes and cost almost nothing to recreate at home. Start with one style that feels manageable and build from there. Your natural hair is beautiful exactly as it is. These ideas are just ways to help you celebrate it in new ways every single day.
Leave a Reply