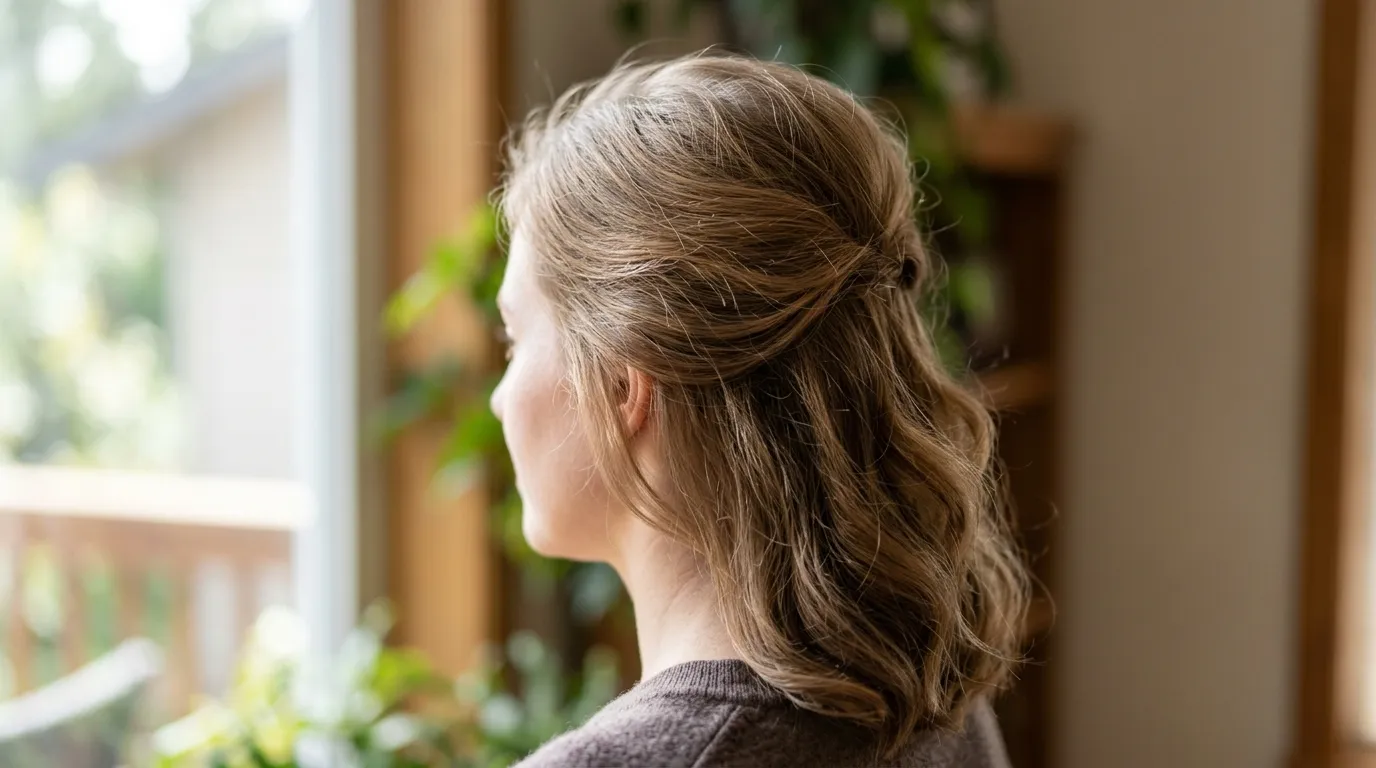
1. Root Lifting Blow Dry
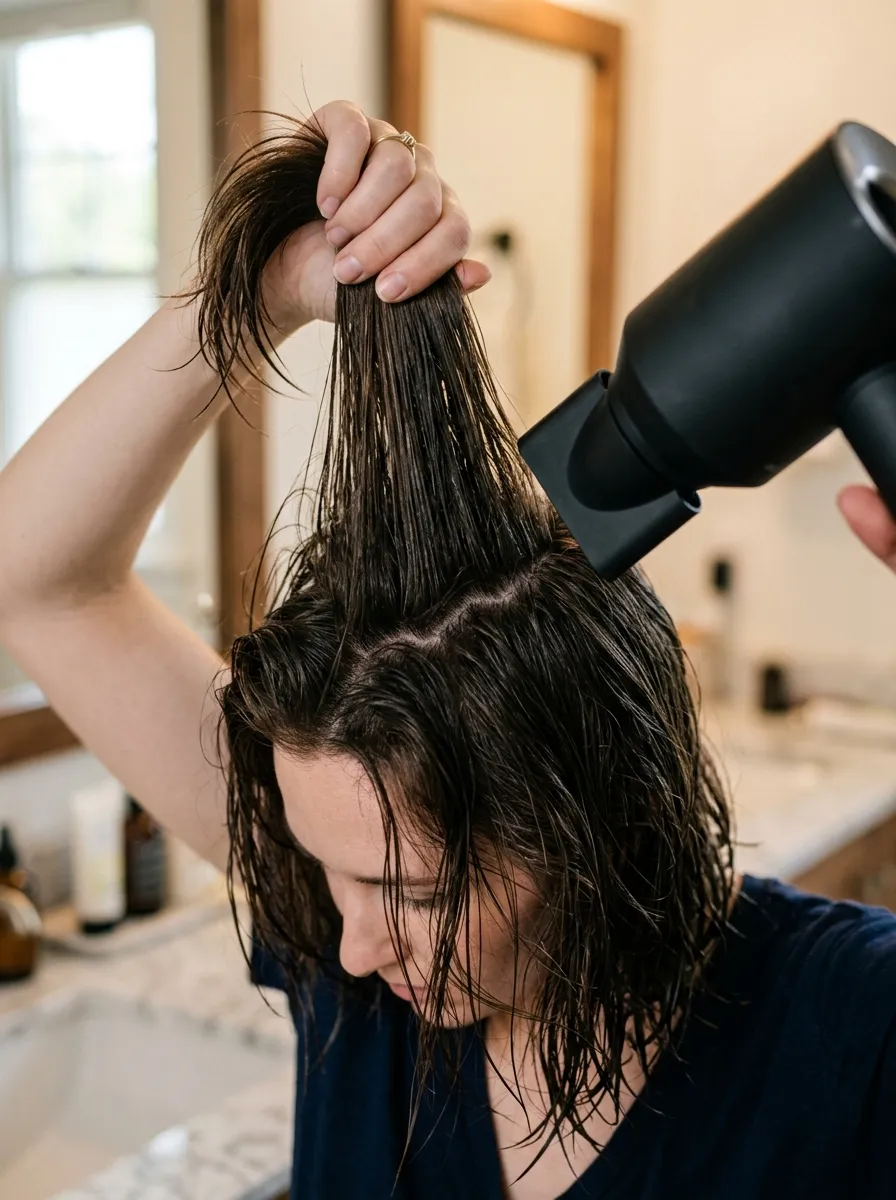
Start with damp hair and flip your head upside down. Point the dryer at your roots, not the ends. Use your fingers to lift each section away from your scalp as you dry. This trains your hair to dry in a raised position instead of flat. Root direction matters more than product when it comes to fullness. Work in small sections so heat reaches every root, not just the top layer. A round brush can help if you want extra lift, but fingers work fine for a quick morning routine. Finish by flipping your head back up and giving your roots one last blast of cool air. This locks the shape in place. The whole process adds only a few extra minutes to your normal routine. No new products required, just a change in technique. Try it after your next wash and check how much longer your hair holds shape by afternoon. Small habit shifts like this one often make the biggest visible change for fine hair that tends to fall flat fast.
2. Texturizing Sea Salt Spray
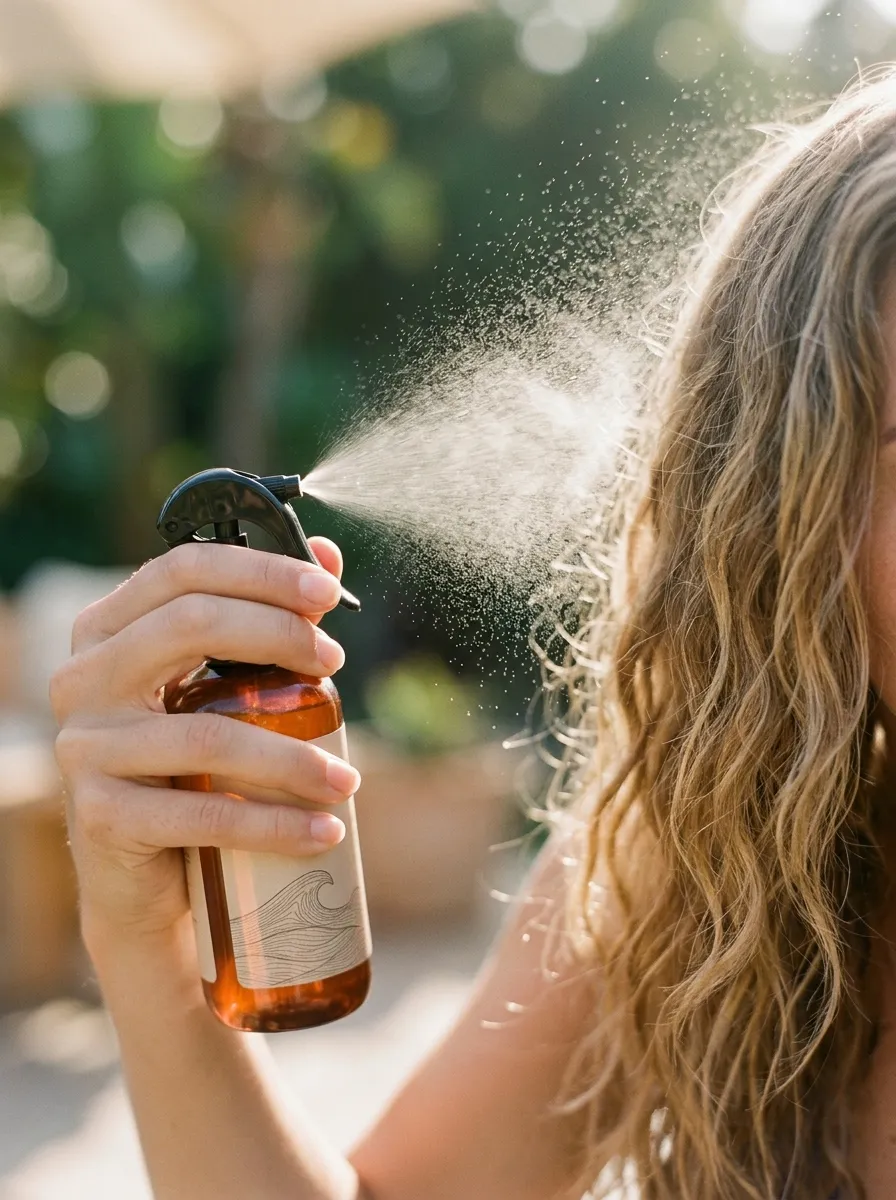
A sea salt spray adds grip to smooth, slippery strands. Spray it onto damp or dry hair and scrunch gently with your hands. The salt creates texture that helps hair hold a style longer. This works well before air drying or before using a curling wand. You can make a budget version at home with warm water, a pinch of sea salt, and a small drop of leave in conditioner in a spray bottle. Shake before each use. Apply mostly at mid lengths and ends, since roots already have natural oil that adds grip. Avoid soaking the hair fully, a light mist is enough. Let it air dry or diffuse for extra texture. The result is hair with more grip, which means styles last longer and volume stays put. This is one of the easiest swaps for anyone tired of hair sliding flat within an hour. Keep a small travel size bottle in your bag for touch ups during the day.
3. Velcro Rollers While Multitasking
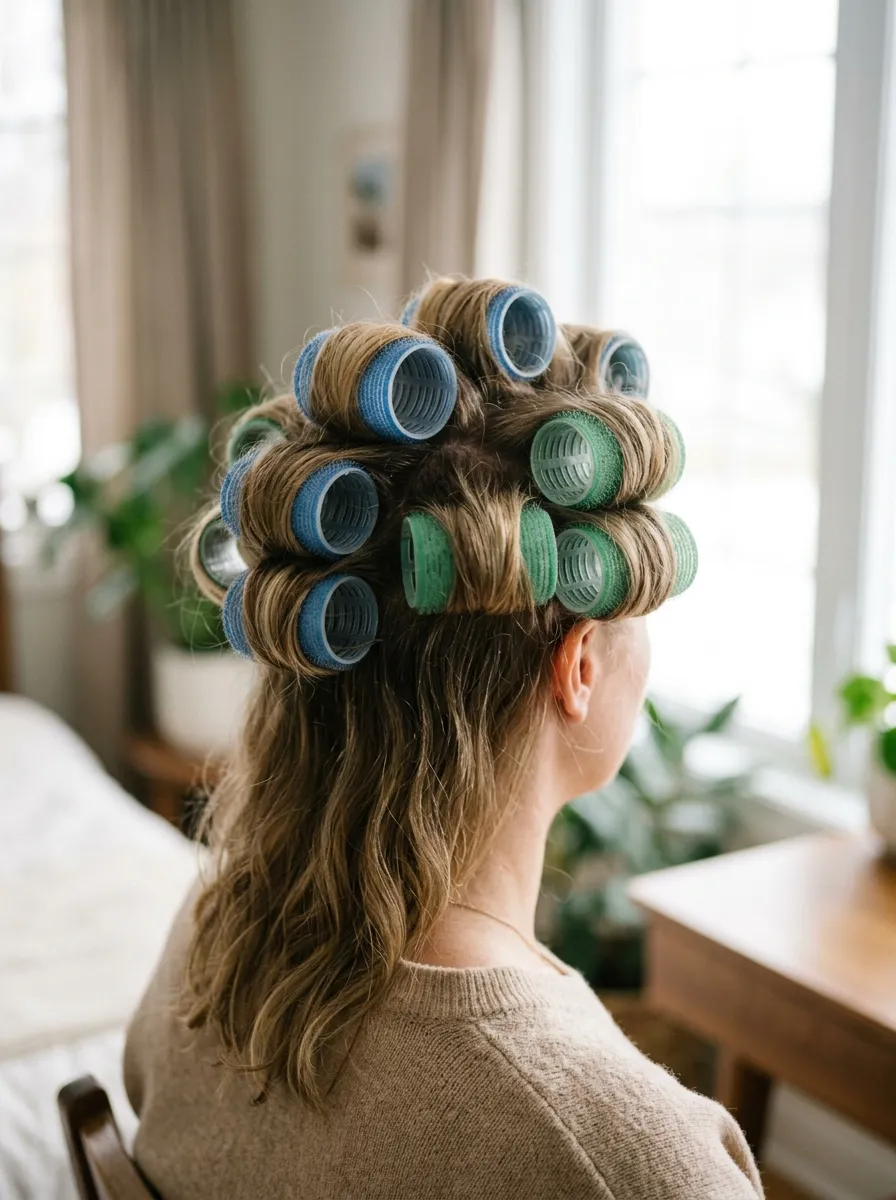
Velcro rollers are an old trick that still works. Set a few at your crown while you do your makeup or make coffee. They grip hair without heat, which is gentler on fine strands. Fifteen to twenty minutes is usually enough time for the shape to set. Remove them gently to avoid pulling hair out. This method is affordable since a set of rollers costs very little and lasts for years. Use medium size rollers at the roots and skip them on the ends if you want a softer look. Pair this with a light hairspray before setting for a style that holds through the day. Velcro rollers work well for anyone who wants root lift without a hairdryer or hot tool. They are also travel friendly since there is no cord or heat involved. Set them in the morning while getting dressed, then brush through gently once removed for natural looking fullness at the crown that lasts.
4. Backcombing at the Crown
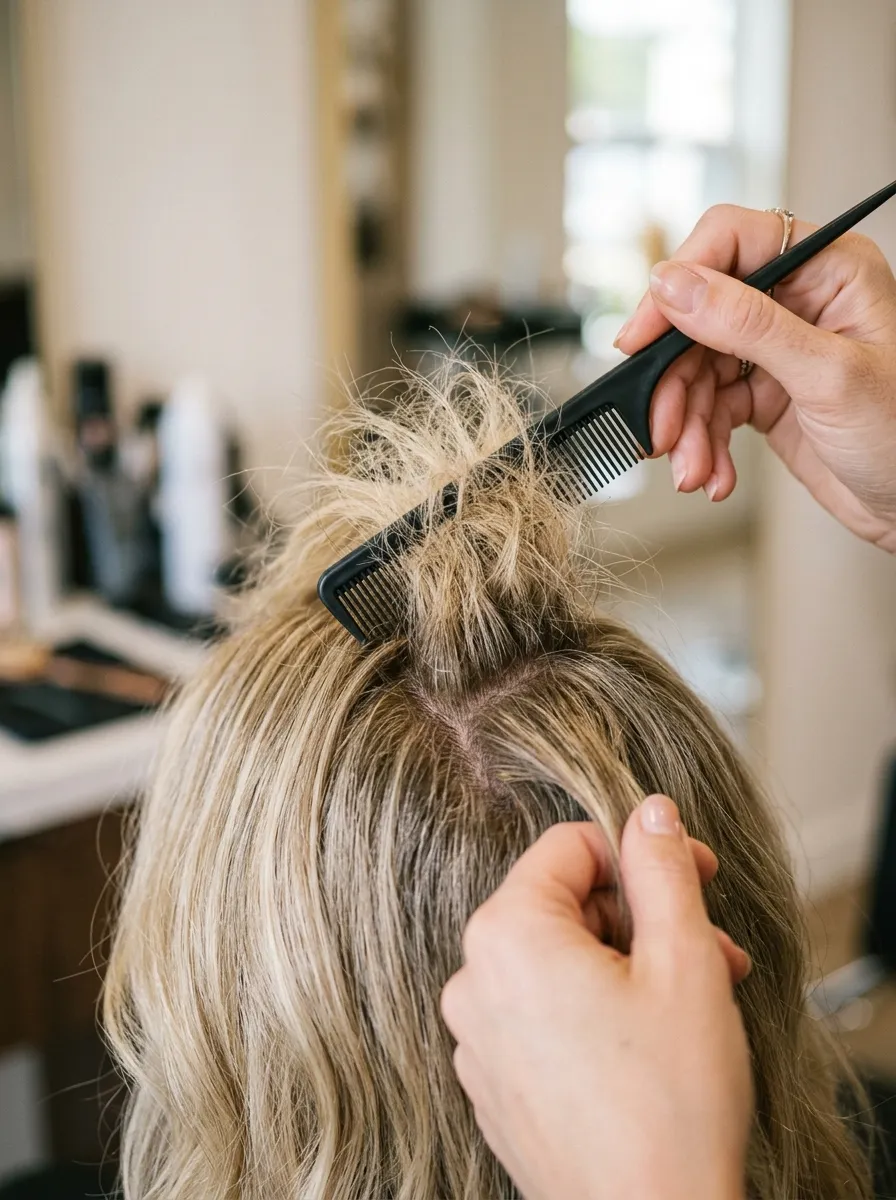
Backcombing, often called teasing, is a classic method for building height. Take a small section at the crown, hold it up, and comb downward in short strokes near the roots. This creates a soft cushion under the top layer of hair. Smooth the top layer over the teased section for a natural finish. A fine tooth comb works best for control. Use light hairspray before and after to help the shape hold. This method costs nothing beyond a comb you already own. Keep the teasing subtle for daytime looks, or build more height for evening styles. Brush it out gently at the end of the day to avoid tangles. Backcombing pairs well with a low ponytail or half up style since the teased section stays hidden underneath smoother hair. Practice on a small section first if you are new to this technique, since less is often more with fine hair that can tangle easily under too much backcombing.
5. Dry Shampoo Volumizer
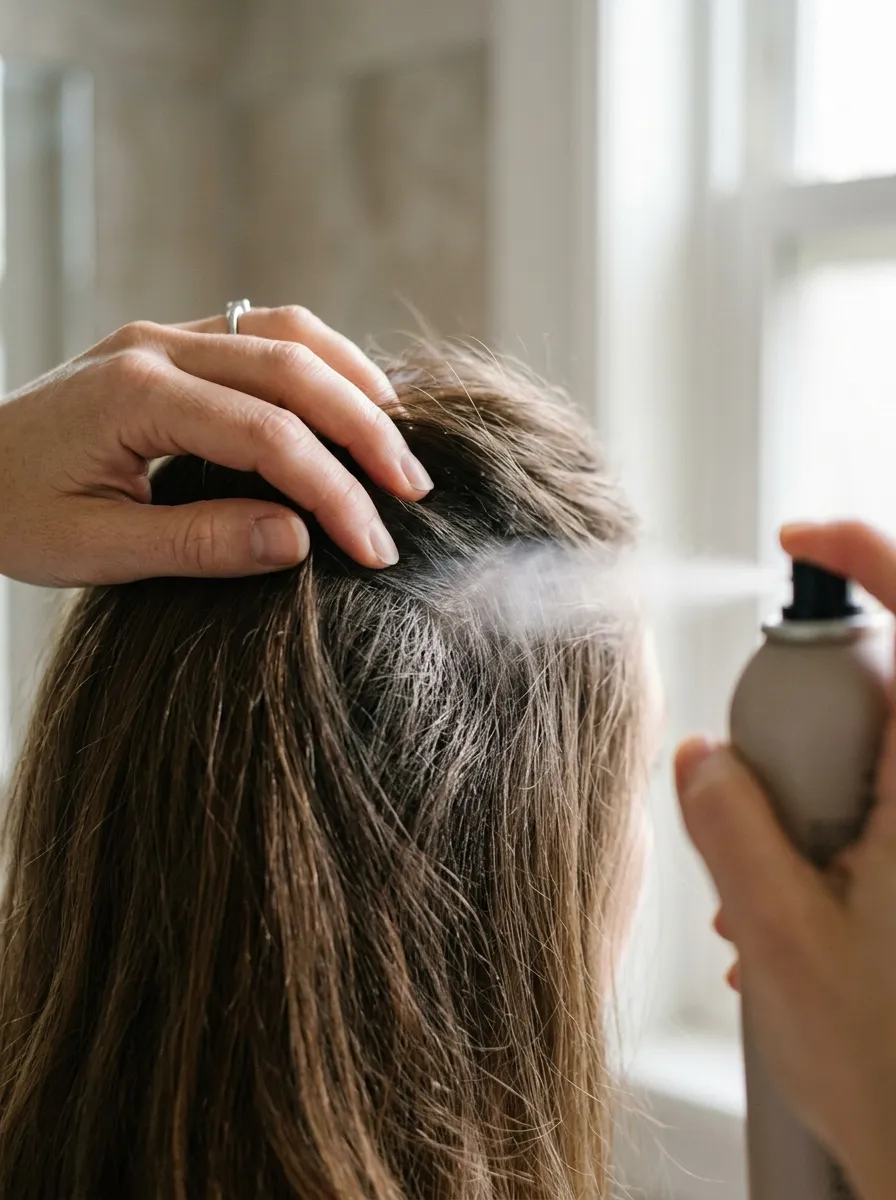
Dry shampoo is not only for second day hair. Spray a small amount at the roots on freshly washed hair too. The powder absorbs oil and adds grip, which gives roots a lifted look instantly. Part your hair into sections and spray close to the scalp, then massage with your fingers. Avoid overspraying, a light layer is enough. This trick works especially well right before you style, since it gives your hairdryer or brush something to grip onto. A budget version can be made with cornstarch and a small amount of cocoa powder for darker hair shades, applied with a makeup brush at the roots. Let it sit for a minute before brushing through. This method is quick and affordable, and it doubles as an oil control step for those who wash less often. Keep a travel size can in your bag for a midday refresh whenever roots start looking flat again.
6. Long Layers Haircut
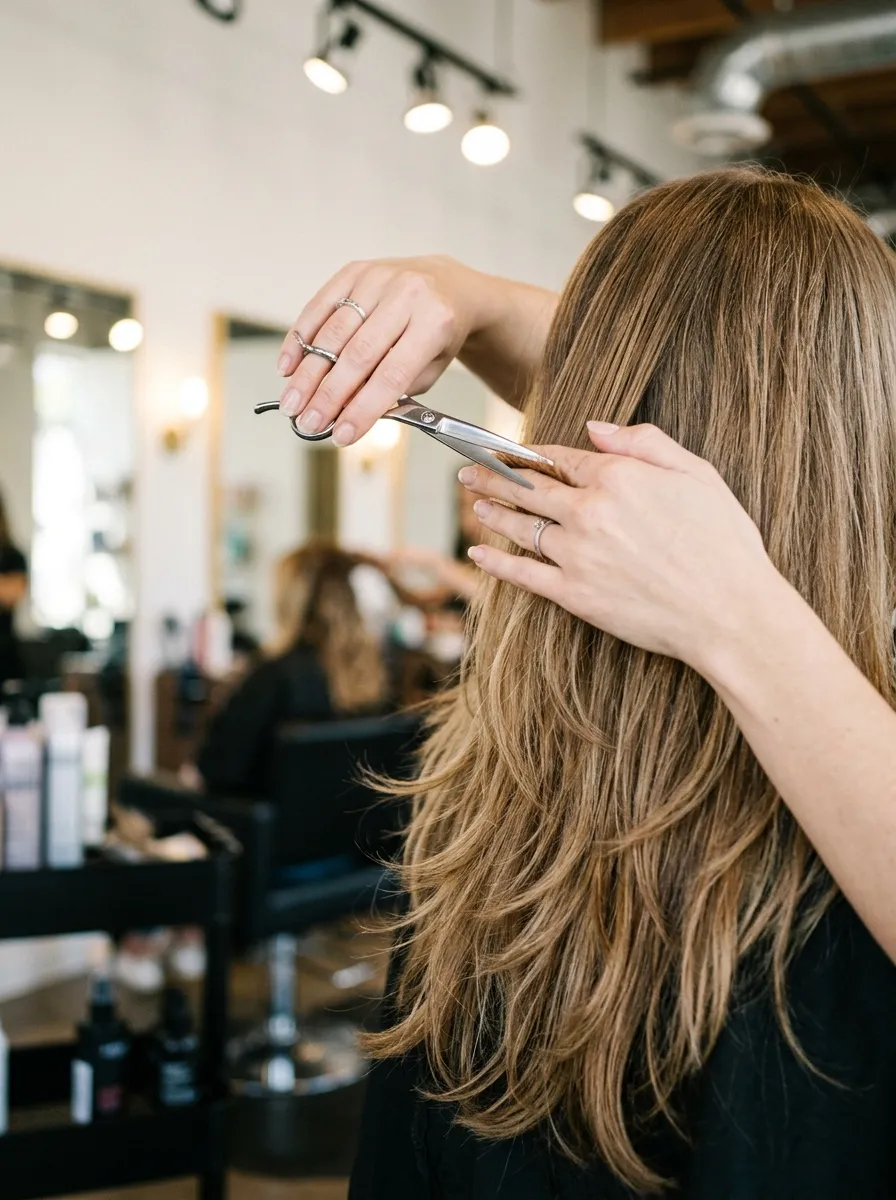
Layers remove weight from thick bottom sections and let hair move more freely. This movement reads as fullness even though nothing was added. Ask your stylist for long layers rather than short choppy ones, since shorter layers can sometimes make fine hair look thinner at the ends. Long layers keep length while still giving hair bounce. This is a onetime cost that pays off for months, since the shape holds until your next trim. Regular trims every eight to ten weeks also help since split ends make hair look weak and flat. If a full cut is not in the budget right now, ask your stylist about a light layer refresh, which usually costs less than a full restyle. Layers work with straight, wavy, or curly fine hair, since the goal is simply removing bulk from the bottom while keeping the top full. This is one of the more permanent solutions on this list for anyone tired of daily styling effort.
7. Blunt Bob Blowout
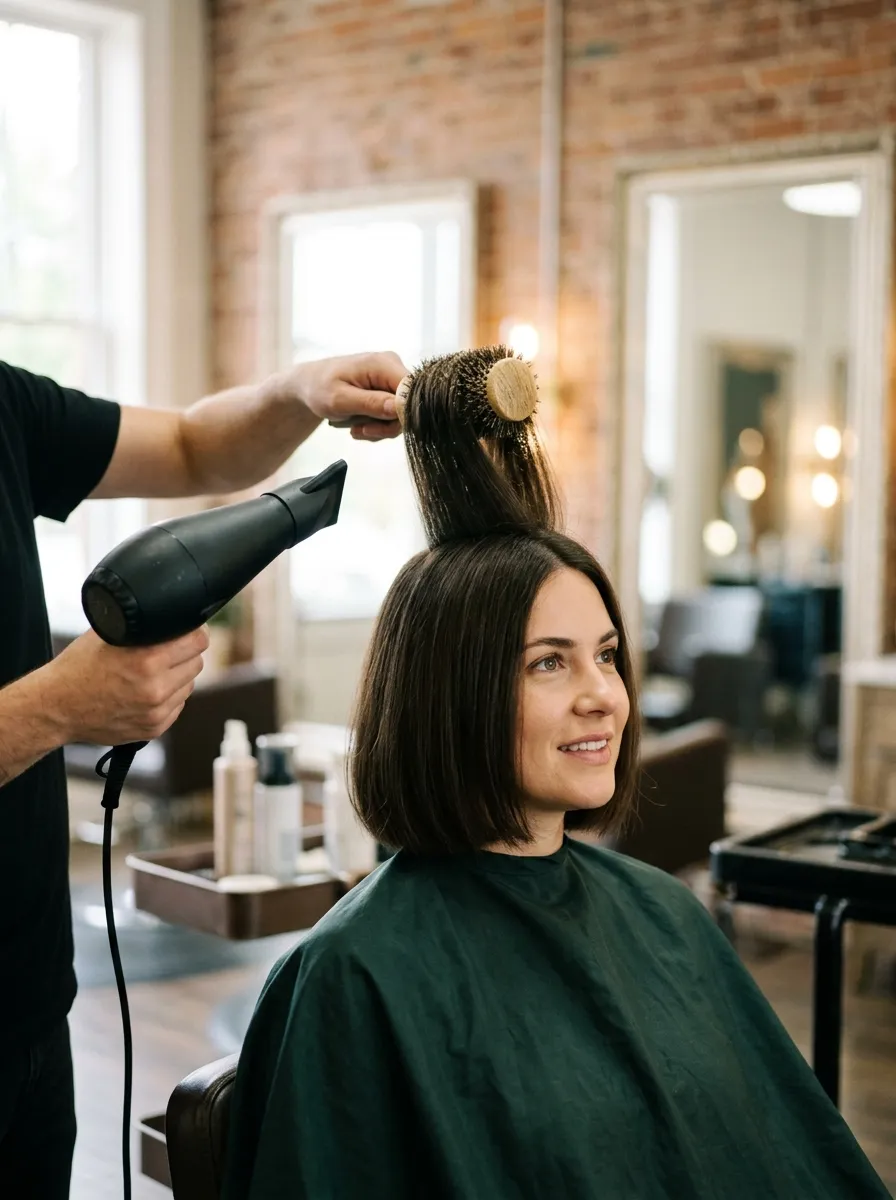
A blunt bob cut just above or at the shoulders naturally looks thicker on fine hair. Shorter, blunt ends carry more visual weight per strand than long, tapered ends. Pair this cut with a round brush blowout for extra lift at the roots. Ask your stylist to keep the ends straight across rather than layered for the fullest look. This cut also requires less daily effort since the length is easier to manage. At home, recreate the blowout using a round brush and a blow dryer with a concentrator nozzle, lifting each section at the roots as you dry. Finish with a light hairspray to hold the shape. This is a great option for anyone who wants a low maintenance style that still looks full every day. The blunt shape catches light evenly across the ends, which adds to the appearance of density even on the finest hair types.
8. Diffuser Curls
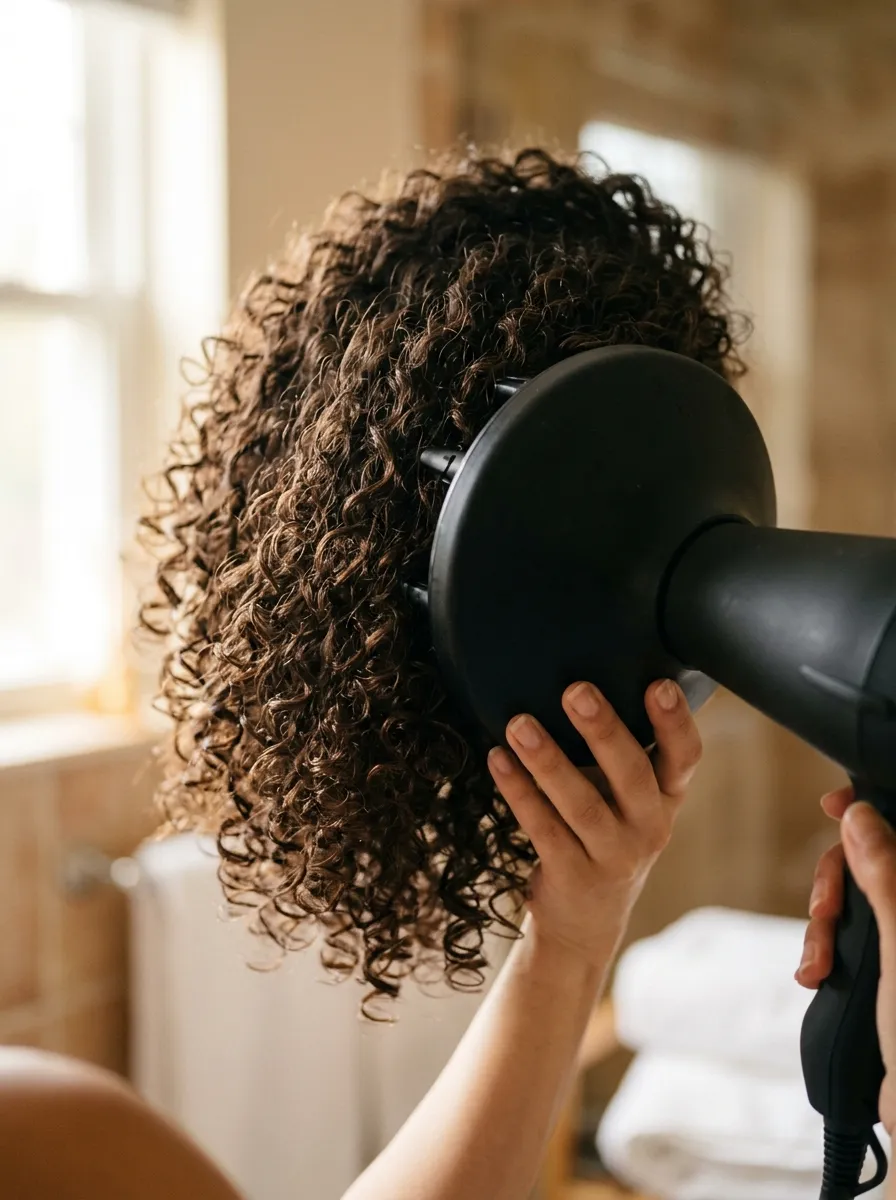
A diffuser attachment on your blow dryer helps curls and waves keep their shape without frizzing flat. Scrunch damp hair upward into the diffuser bowl and hold for a few seconds before moving to the next section. This method dries curls in place rather than blowing them straight. Flip your head upside down while diffusing for extra root lift. Add a curl cream or light mousse before diffusing to help define the pattern. This works well for naturally wavy or curly fine hair that tends to lose its shape by midday. A diffuser attachment is a small, affordable purchase that fits most standard hair dryers. Keep the heat setting on low or medium to avoid frizz, since high heat can make fine strands brittle over time. Once fully dry, avoid touching your hair too much, since fine curls can fall flat with excess handling. Let the style set fully before styling further.
9. Volumizing Mousse
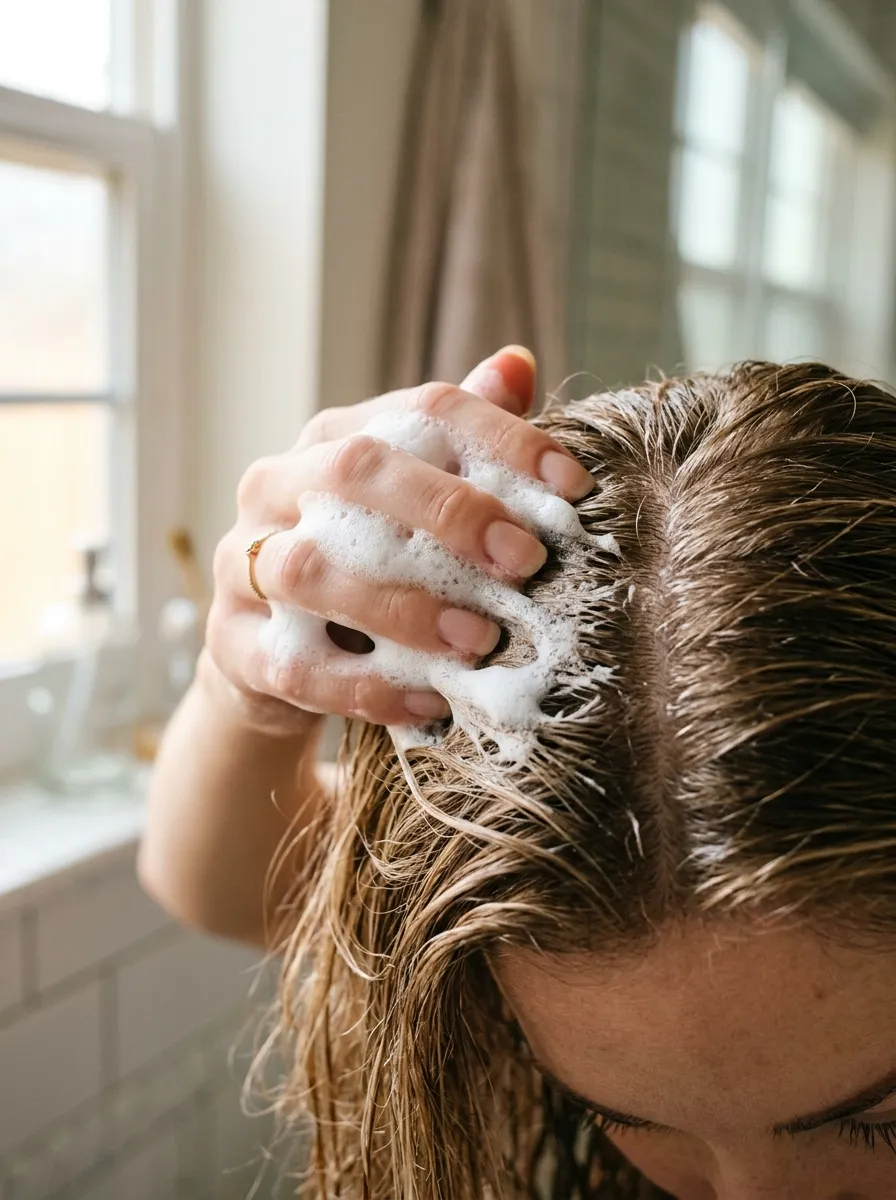
A small amount of mousse goes a long way on fine hair. Apply it to damp roots and mid lengths before blow drying. Too much product weighs hair down, so start with a golf ball size amount and add more only if needed. Work it through with your fingers rather than a brush for even coverage. Mousse builds a light cushion that helps hair hold curls, waves, or straight blowouts longer through the day. Look for lightweight or volumizing formulas made for fine hair specifically, since heavier mousse types can flatten strands instead of lifting them. Budget drugstore options often work just as well as pricier salon brands for this purpose. Apply before any heat styling for the best hold. Avoid applying mousse to already dry hair, since it can leave a sticky texture. This simple product step pairs well with almost any other idea on this list, from blow drying to diffusing to setting with rollers.
10. Clip In Extensions
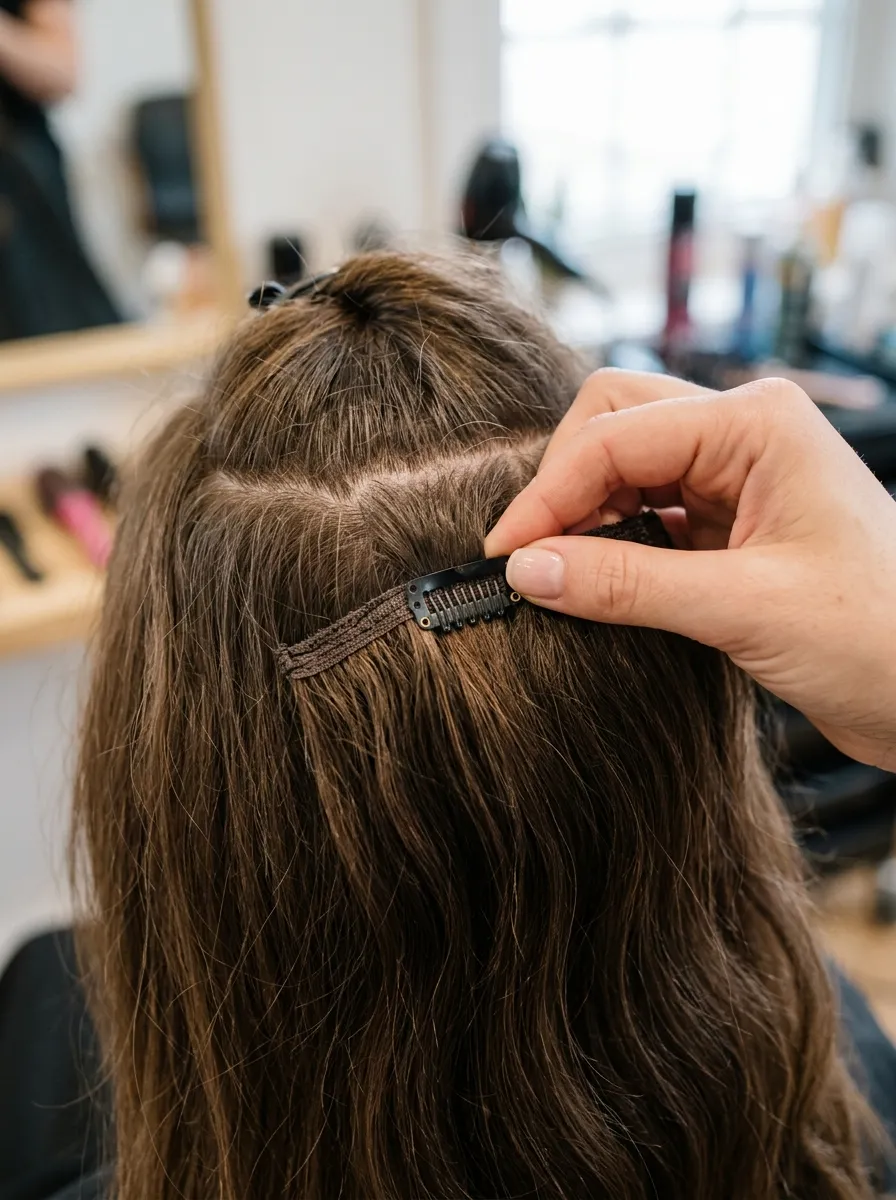
Clip in extensions add instant length and thickness without any commitment. They clip into place along the mid section of your head and blend with your natural hair. Choose a set that matches your hair color and texture closely for the most natural look. Apply them section by section, starting at the lower back of your head and working upward. This method is fully reversible and can be removed at night, which makes it a flexible choice for special occasions or everyday wear. Budget synthetic sets cost far less than human hair versions and work fine for occasional use. Style your natural hair and the extensions together with a curling wand to blend the two seamlessly. This is a practical solution for anyone who wants a fuller look for a single event without a long term change. Store the set flat or on a hanger to keep the wefts from tangling between uses.
11. Overnight Braid Waves
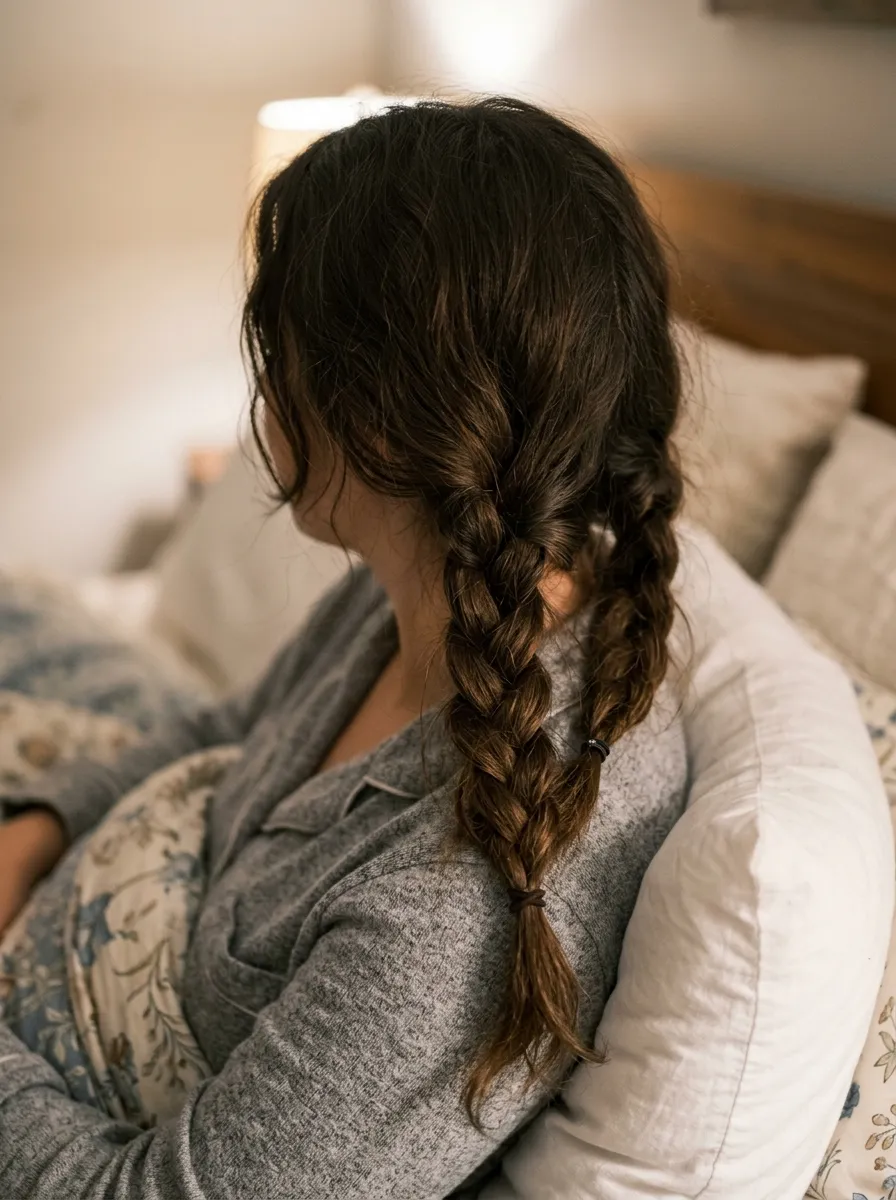
Braiding damp hair before bed creates soft waves by morning without any heat. Two to four loose braids work well depending on how much texture you want. Secure each braid with a soft fabric tie to avoid dents. Sleep on the braids overnight, then unravel them gently in the morning and shake out with your fingers. This method costs nothing and adds texture that reads as fullness once the waves are separated. Avoid tight braids close to the scalp, since these can cause a crimped look rather than soft waves. A silk or satin pillowcase helps keep the braids smooth overnight and reduces frizz. This is a great option for anyone who wants heat free styling before a busy morning. Try it the night before an event so you wake up with texture already in place, saving time on your regular routine while still getting a full, wavy look.
12. Cold Air Finish
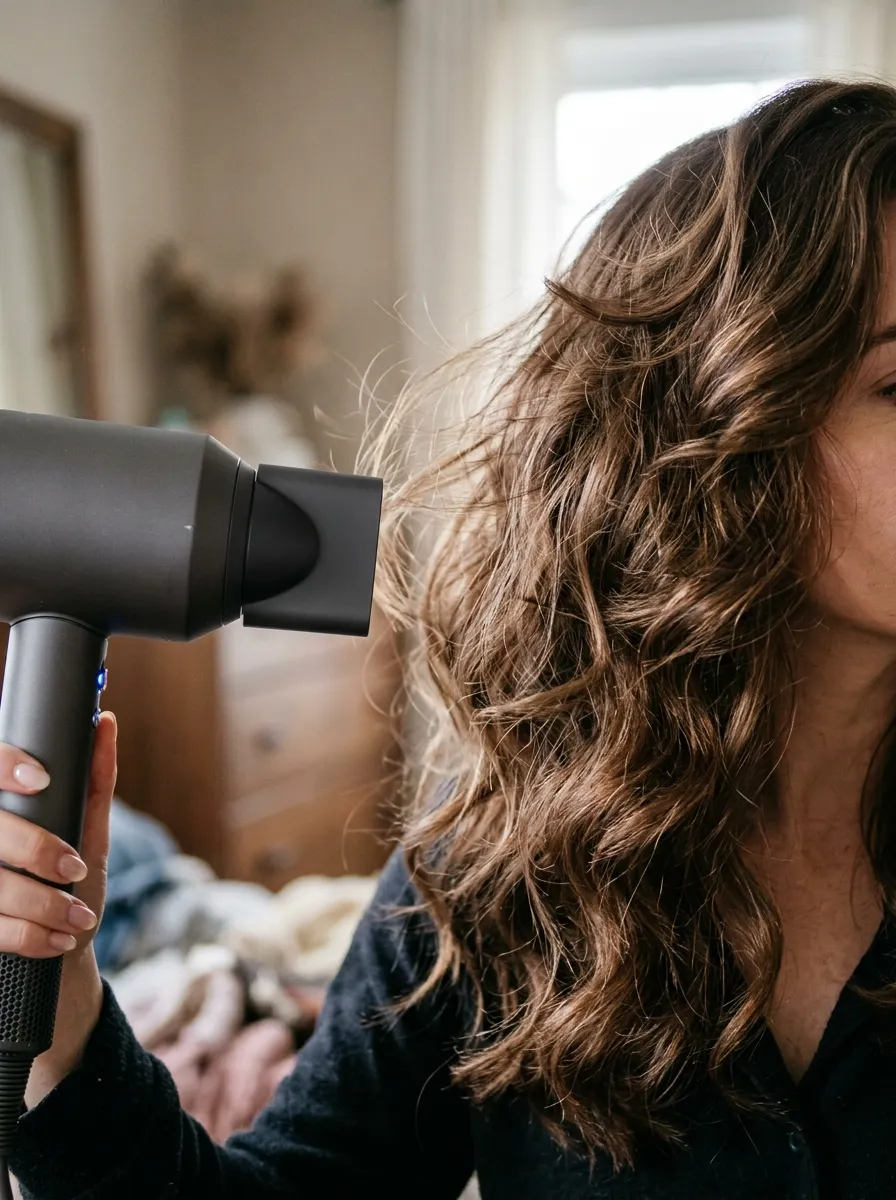
Once your hair is styled, finish with a blast of cool air instead of stopping on warm. Cool air helps close the hair cuticle and locks the shape you just created. This step takes only a few extra seconds but makes a real difference in how long a style lasts. Most hairdryers have a cool shot button built in for exactly this purpose. Aim it at the roots and along the lengths for a few seconds each. This works well after any heat styling method, whether it is a blowout, curls, or a straightener pass. It costs nothing extra and uses a tool you already own. Skipping this step is one of the most common reasons styles fall flat by midday. Make it a habit to finish every hairdryer session with a cool blast before reaching for the styling brush or your fingers to shape the final look.
13. Side Part Switch
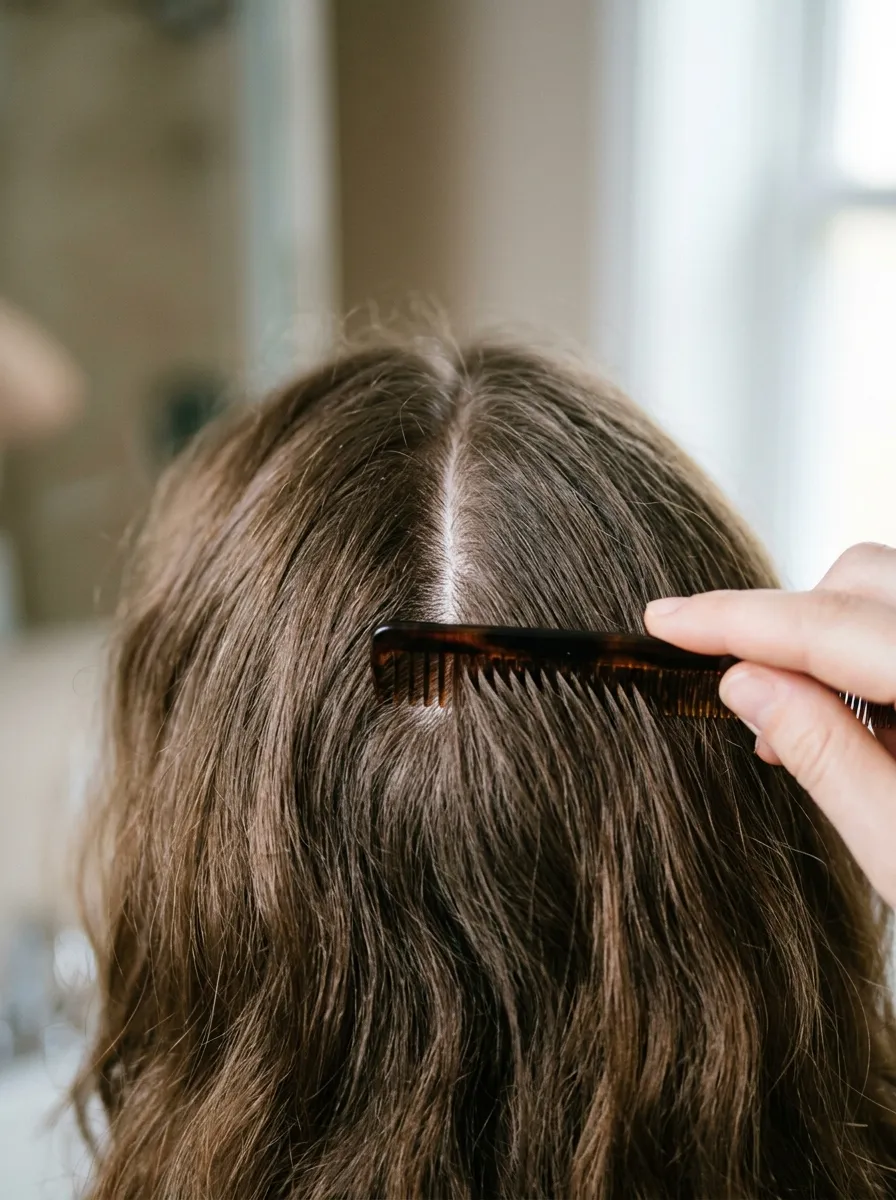
Changing your part from the middle to one side instantly adds the appearance of fullness. A deep side part lifts hair away from the scalp on one side, creating natural height. This costs nothing and takes only seconds to try. Use a comb to create a clean, deep part rather than a shallow one for the most noticeable effect. Brush hair away from the new part line and let it fall naturally. This trick works especially well for hair that has been parted in the same spot for a long time, since the switch gives roots a break from being pressed flat in one direction. Pair this with a light backcombing at the part line for extra lift. Try switching your part for a week and see how much fuller your hair looks in photos and mirrors. This is one of the simplest, most affordable changes on this entire list.
14. Root Clip Trick
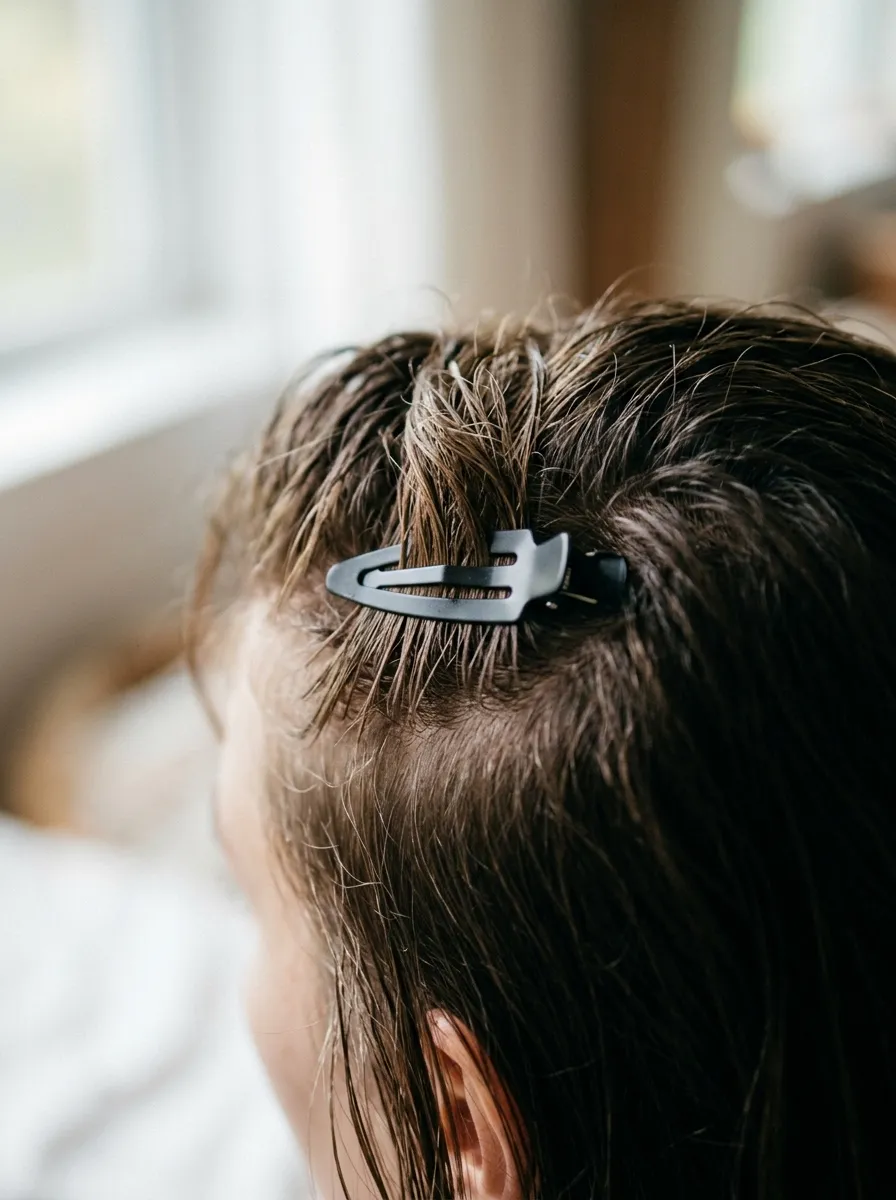
Clip small sections of hair upward at the roots while your hair air dries or sets. This trains the roots to dry in a raised position rather than flat against your scalp. Use small plastic clips, the kind found in any drugstore beauty aisle for a low cost. Apply mousse or texturizing spray first, then clip sections up and let them sit for fifteen to twenty minutes while you get ready. Remove the clips gently once hair is dry or nearly dry. This method pairs well with air drying on days when you skip the hairdryer entirely. It requires no heat and no expensive tools, just a few clips you can find cheaply. This is a great option for anyone who wants root lift on a wash day when time is limited for a full styling routine. Try it on a lazy morning and notice the difference in how your roots sit by the afternoon.
15. Root Powder
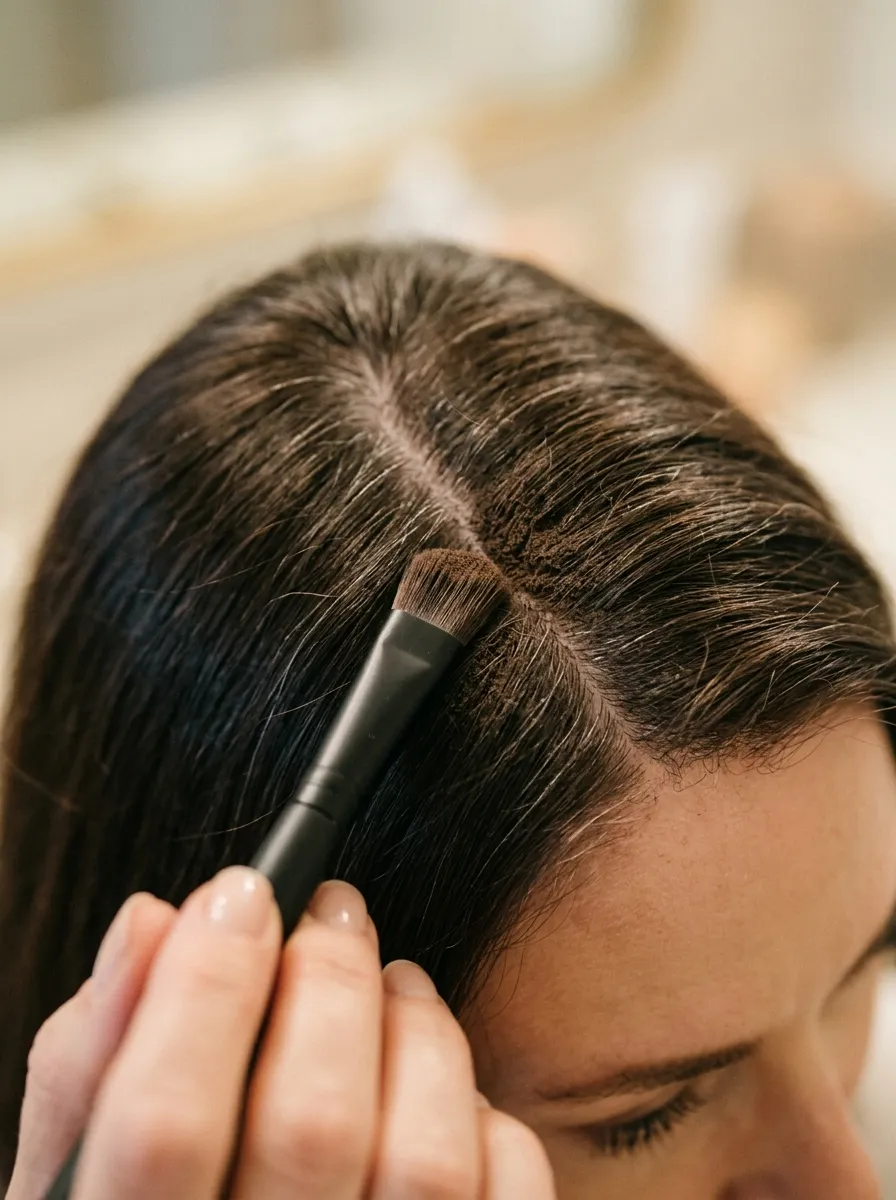
Root powder products are designed to build texture and grip right at the scalp. Apply a small amount with the applicator brush or your fingers, focusing only on the roots. Massage gently to distribute evenly. This works well before any styling method, since it gives your hair something to grip onto during a blow dry or curl set. Choose a shade close to your natural hair color to keep the effect looking natural rather than obvious. A budget alternative is a small amount of translucent baby powder applied the same way for a similar grip effect. This step takes less than a minute but changes how roots sit for the rest of the day. Combine it with a root clip or backcombing for maximum lift. This is a small, affordable product step that many people skip but notice a real difference once they start using it regularly at the roots.
16. Upside Down Blow Dry
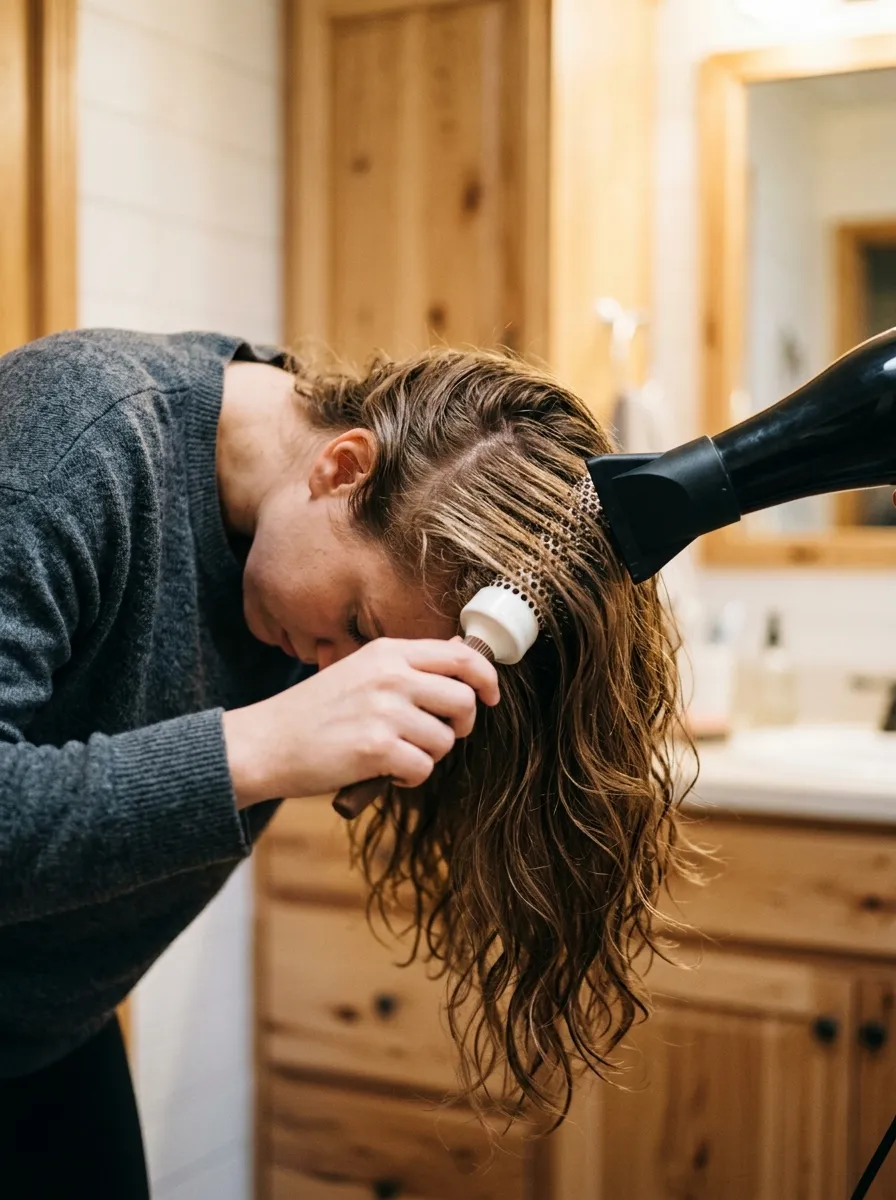
Flip your head upside down and dry your hair from underneath. Gravity naturally lifts roots away from the scalp in this position, giving the whole style a fuller base to work from. Use your fingers or a brush to move sections around as you dry for even coverage. This method works whether you are drying hair straight or scrunching for waves. Once mostly dry, flip your head back up and check the roots, adding a bit more heat at the crown if needed. This costs nothing extra since it only changes your positioning during a routine you already do. It takes a little practice to dry evenly from this angle, but the payoff is roots that sit higher without any extra product. Pair this with a texturizing spray applied before drying for the best combined effect. Many people find this the single easiest change to make for daily fullness.
17. Hot Rollers
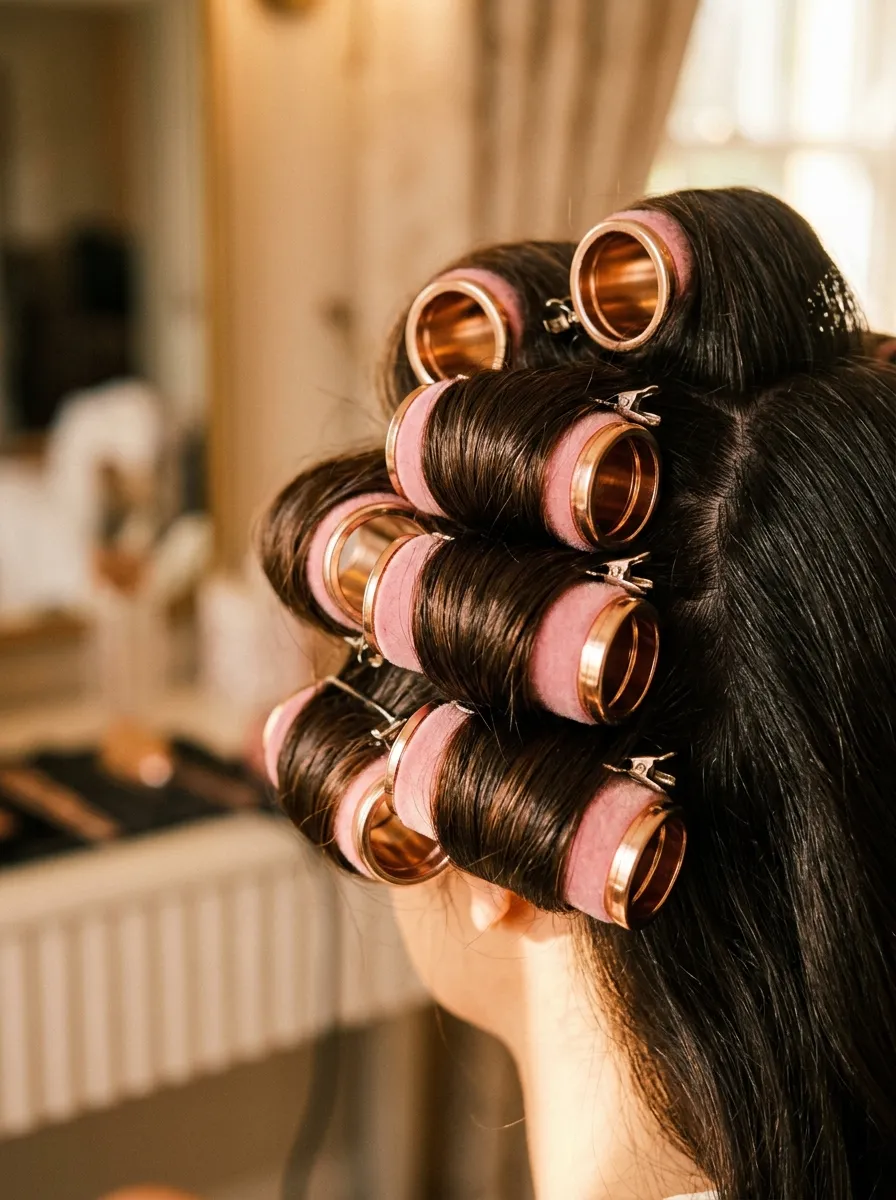
Hot rollers heat up and are then set into sections of hair for ten to fifteen minutes before removal. They create soft, bouncy curls with strong root lift, since the roller sits close to the scalp while the hair sets around it. Apply a heat protectant spray before setting to keep strands healthy. Larger rollers give looser waves while smaller ones create tighter curls, so choose a size based on the look you want. This method works well for special occasions when you want a style that holds for hours. A set of hot rollers is a onetime purchase that lasts for years with proper care. Let the curls cool fully before removing the rollers for the longest lasting hold. Brush through gently once cool for a soft, full finish. This is a reliable option for anyone who wants dependable volume without relying on a curling wand every time.
18. High Pony With A Bump
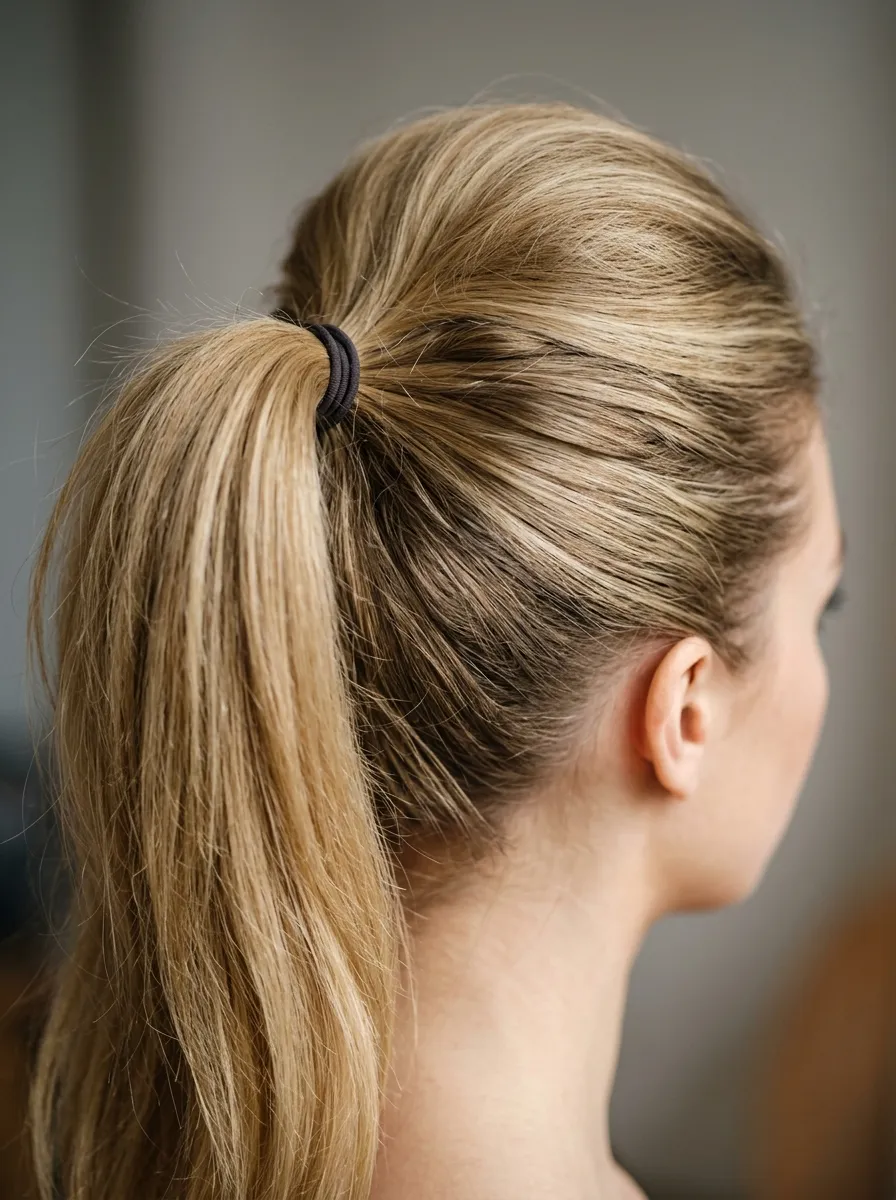
A ponytail does not have to look flat at the roots. Before pulling hair back, backcomb a small section at the crown for a soft bump. Smooth the top layer over the teased section, then gather hair into a high ponytail and secure with a soft elastic. Pull a small piece of hair around the base to hide the elastic for a polished look. This style works for both casual and dressed up occasions and takes only a few extra minutes compared to a plain ponytail. Use a bit of hairspray to hold the bump in place through the day. This method costs nothing beyond a comb and an elastic you already own. It is one of the fastest ways to add height and fullness to an everyday style, especially useful on days when you want your hair pulled back but still want it to look full rather than flat against your head.
19. Half Up Topknot
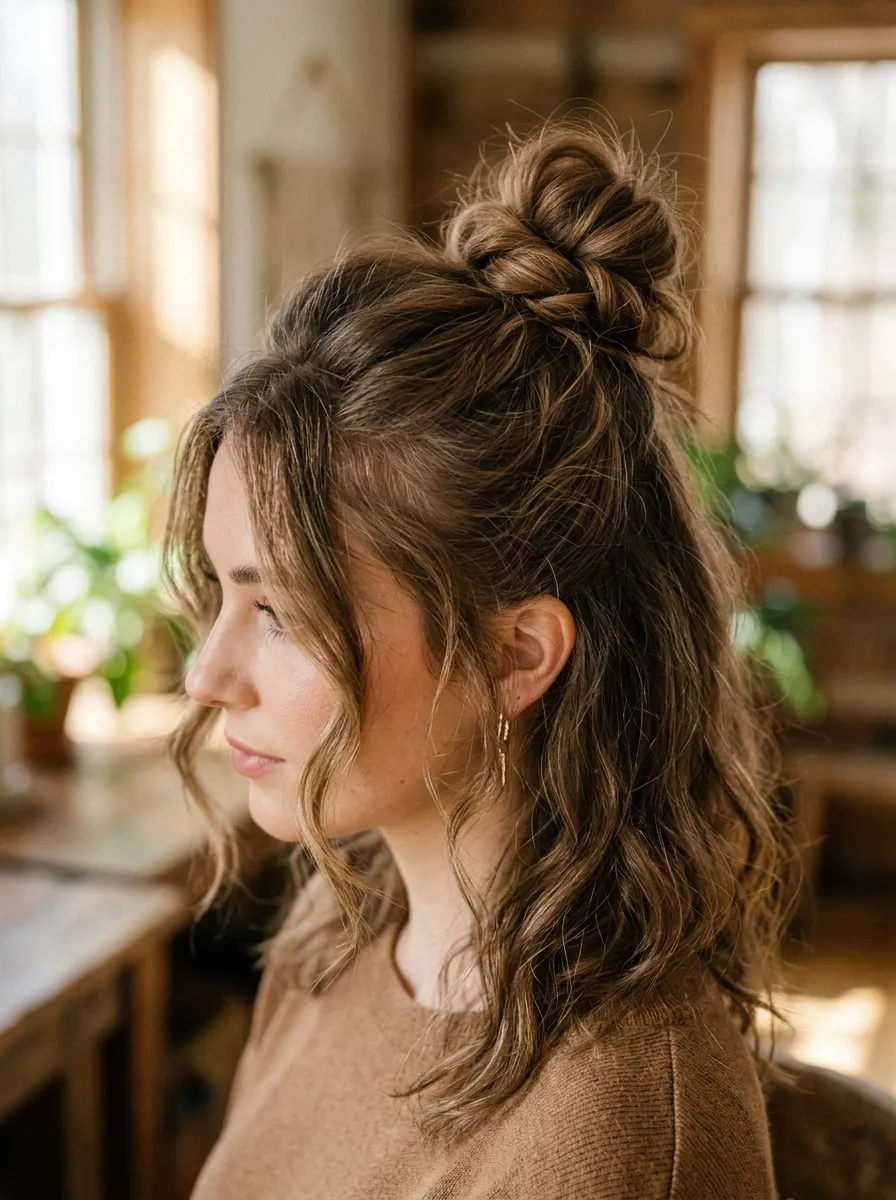
Gather the top section of your hair, backcomb it lightly at the roots, then twist it into a small knot and secure with bobby pins. Leave the rest of your hair down for a style that balances height at the crown with movement through the lengths. This works well for both casual days and slightly dressed up looks. Use a few bobby pins placed in an X pattern for the most secure hold. A light hairspray on the crown section before twisting helps the teased hair stay in place all day. This style costs nothing beyond pins you likely already own and takes only a few minutes once you get the technique down. It works on second or third day hair especially well, since a bit of natural oil helps the twist hold its shape longer. Try it on a day when your roots need a lift but you still want length showing through the rest of your style.
20. Wand Curls Away From Face
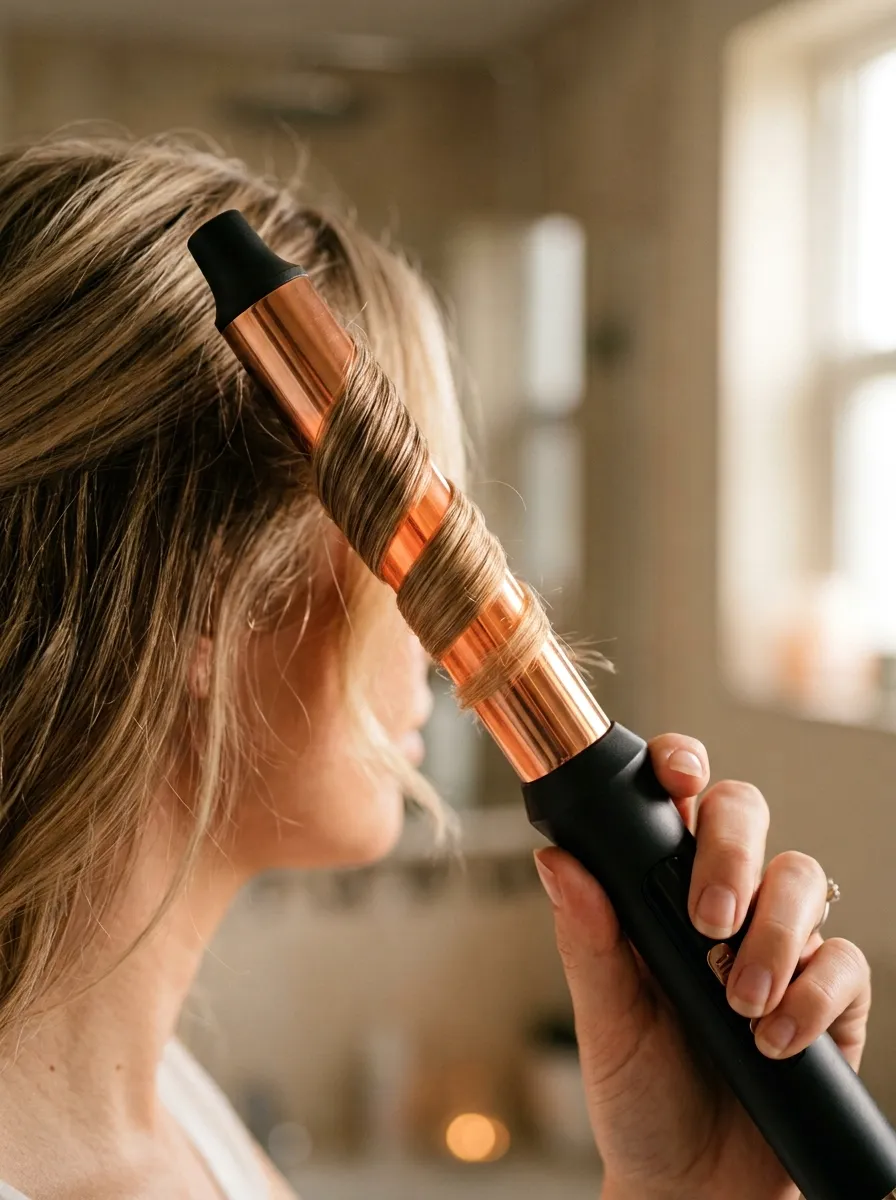
Curling hair away from your face rather than toward it creates a more open, full looking style. Wrap small sections around the wand, alternating direction by section for the most natural look. Hold each curl for a few seconds before releasing and let it cool in your hand before letting it fall. Smaller sections create tighter curls that read as more voluminous once they settle and loosen slightly. Spray a light hold hairspray on each section right after curling to lock the shape while it is still warm. Once all sections are done, run your fingers through gently to break up the curls into softer waves. This adds width and fullness across the whole style rather than a few defined ringlets. A budget curling wand works just as well as an expensive one for this method, since technique matters more than the tool price. Practice on a few sections first to get comfortable with the direction and timing.
21. Volumizing Shampoo Layering
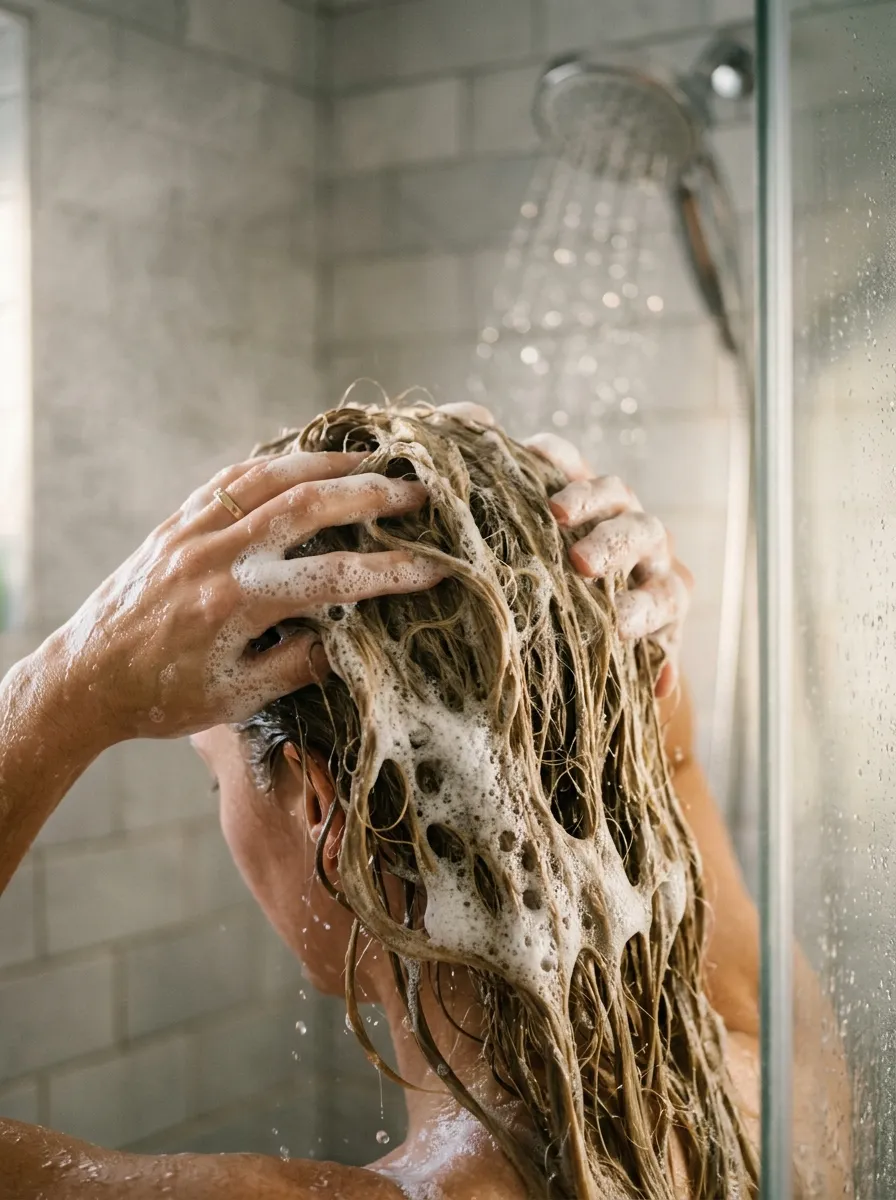
Pair a volumizing shampoo with a lightweight conditioner applied only to the mid lengths and ends, not the roots. Heavy conditioner at the scalp is one of the most common reasons fine hair looks flat by the next day. Focus shampoo on the scalp to remove buildup, then rinse thoroughly before applying a small amount of conditioner lower down. Look for shampoo labeled for fine or thin hair, since these formulas are made without heavy oils that weigh hair down. A budget drugstore volumizing shampoo works just as well as a salon version for most people. Rinse with cool water at the end of your shower to help close the cuticle and add shine along with fullness. This small routine change costs nothing extra if you are simply adjusting how you apply products you already own. Over time, this habit keeps roots lighter and helps every other styling method on this list last longer through the day.
22. Weekly Scalp Massage
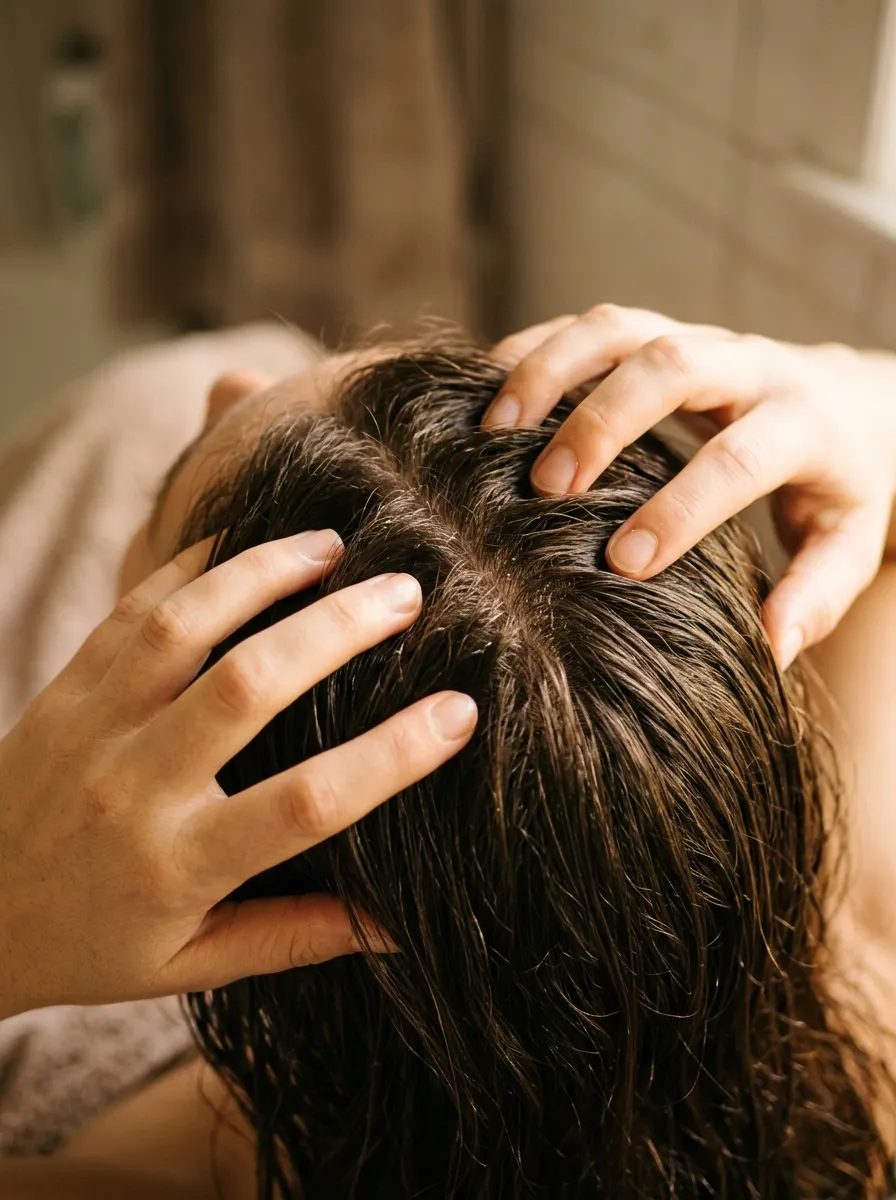
A scalp massage supports healthy hair growth over time by encouraging circulation to the roots. Use your fingertips, not your nails, and work in small circles across your entire scalp for a few minutes. Do this while shampooing or with a small amount of oil before washing. A wide tooth comb or a silicone scalp brush can help if you want a tool to guide the motion. This costs nothing if done with fingers alone, or very little for a basic scalp brush. Over weeks and months, a fuller looking hairline and roots can develop as circulation improves and hair grows in stronger. This is a long term habit rather than an instant fix, so pair it with the quicker styling methods above for both immediate and lasting results. Try it three or four times a week as part of your regular wash routine. Small, consistent habits like this one add up to real differences in how full your hair looks over time.
Conclusion
Fine hair does not have to mean flat hair. The methods above range from quick daily habits like a cool air finish and a side part switch to longer term changes like layers or a scalp massage routine. Most require nothing more than tools and products already sitting in your bathroom cabinet. Try a few ideas this week, starting with the ones that fit your current routine best, and build from there. Small, consistent changes add up to a fuller, more confident look every single day.
Leave a Reply